Configure Client Machines for Network/Diskless (PXE) Boot This article describes necessary steps for first-time system BIOS configuration for Network/Diskless (PXE) boot.
Table of Contents
Executive Summary
Required Time: 10 Minutes
Description: In order for Client Machines to boot from or otherwise access the System and Games images stored on your ggRock Server, you need to configure the BIOS of the Machines for Network/Diskless (PXE) boot. Before following this guide, ensure that you have followed the "Install the Debian OS on Your Server", "Install the ggRock Server Application", "Accessing the ggRock Server Application", and "Configure the ggRock Array" guides.
NOTE:
For the purposes of this guide, we will assume that we're setting up Client Machines in UEFI mode. The configuration of each motherboard/manufacturer combination will be different. Please consult the manual provided by the manufacturer for details on your specific platform.
Start by performing this process only on the system you will be setting up your initial System Image on, but in the end every system must be configured in the same manner.
This guide utilizes the ASRock X570 Taichi motherboard BIOS as an example.
Windows 11 Support
NOTE:
Please refer to the ggRock Windows 11 Support Status article for more information regarding Windows 11 support.
NOTE:
For Windows 11 Only
Your BIOS must be configured in UEFI mode with Secure Boot enabled, and TPM should be enabled as well for the best compatibility with all game titles.
Configure the System BIOS
1. Access your System BIOS. Typically this is performed by pressing the "F2", "F10", or "Escape" key on the keyboard immediately after powering the system on.

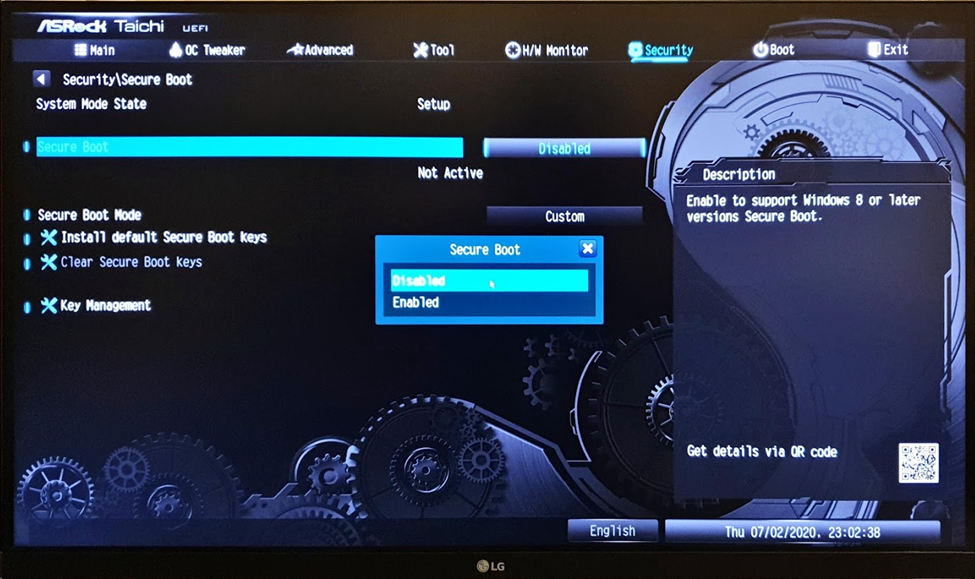
2. Disable Secure Boot. Typically this setting is located in the Security section of the system BIOS.
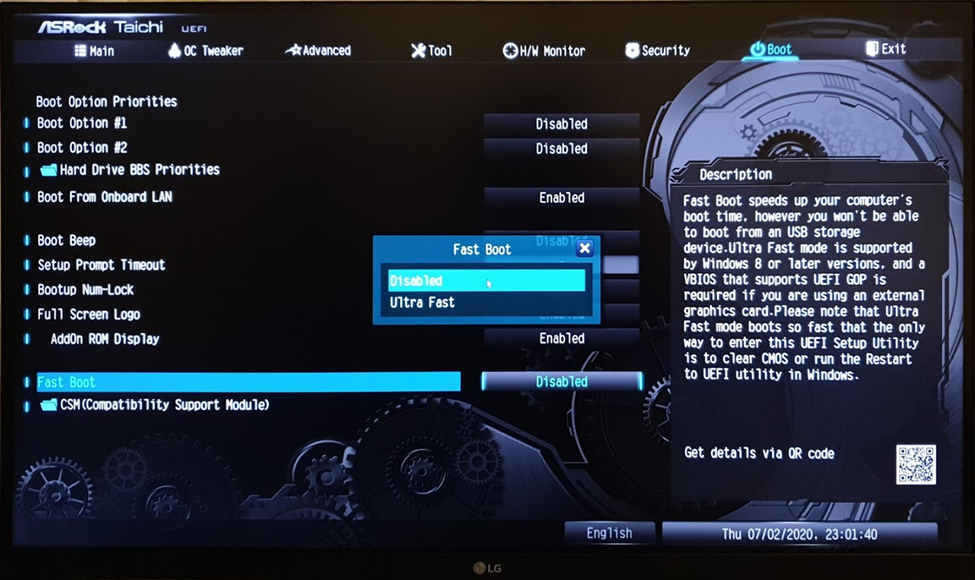
3. Disable Fast Boot. This setting is typically located in the Boot section of the system BIOS.
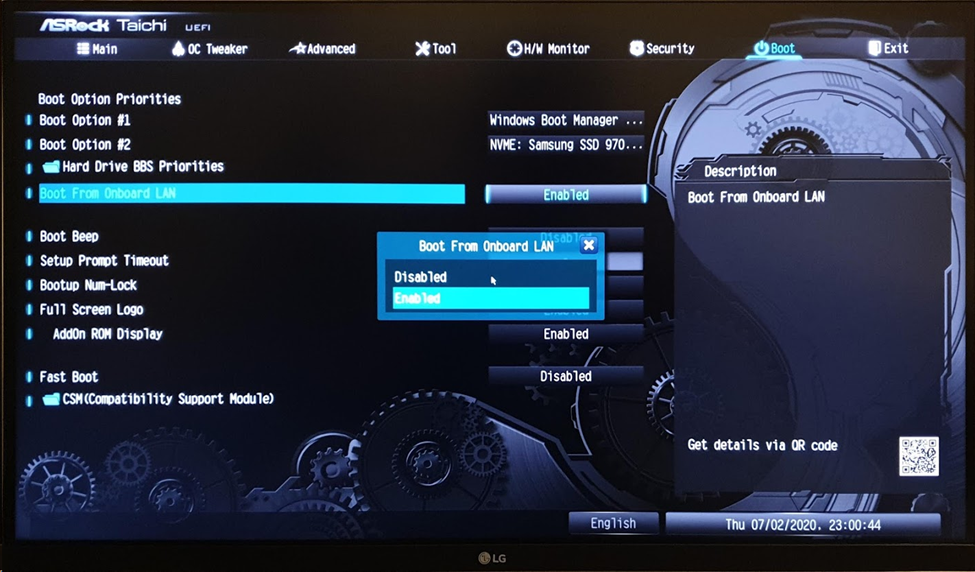
4. Enable Boot from Onboard LAN (Network/PXE Boot). Depending on your motherboard model/manufacturer, it may be necessary to save changes, reboot, and re-enter the system BIOS configuration utility in order to select these options.
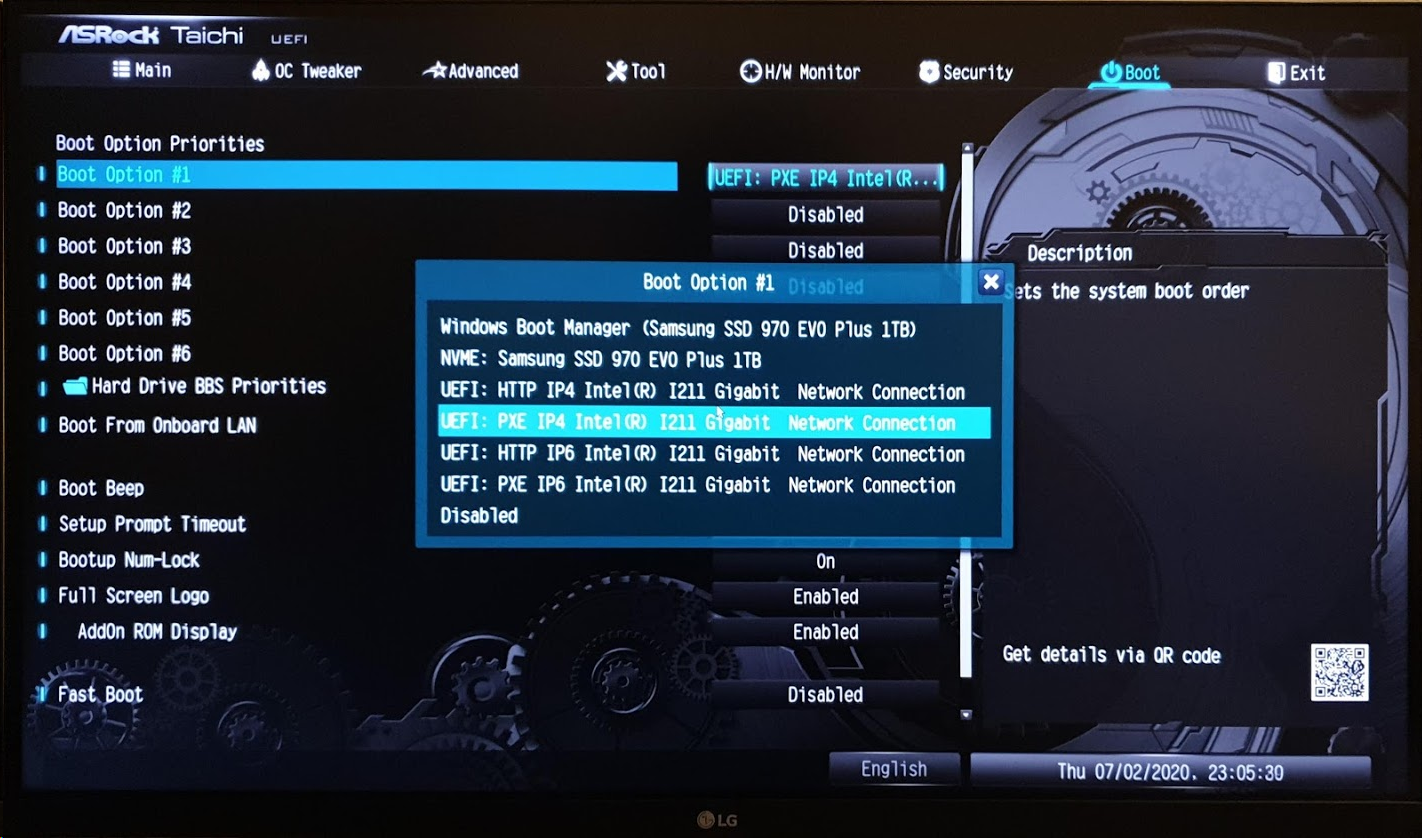
5. Enable Network Boot over PXE IPv4. Only enable the IPv4 PXE option. Only enable this for the wired LAN connection (not wi-fi). The ggRock Team recommends disabling any other boot options for the best reliability and ease of troubleshooting later.
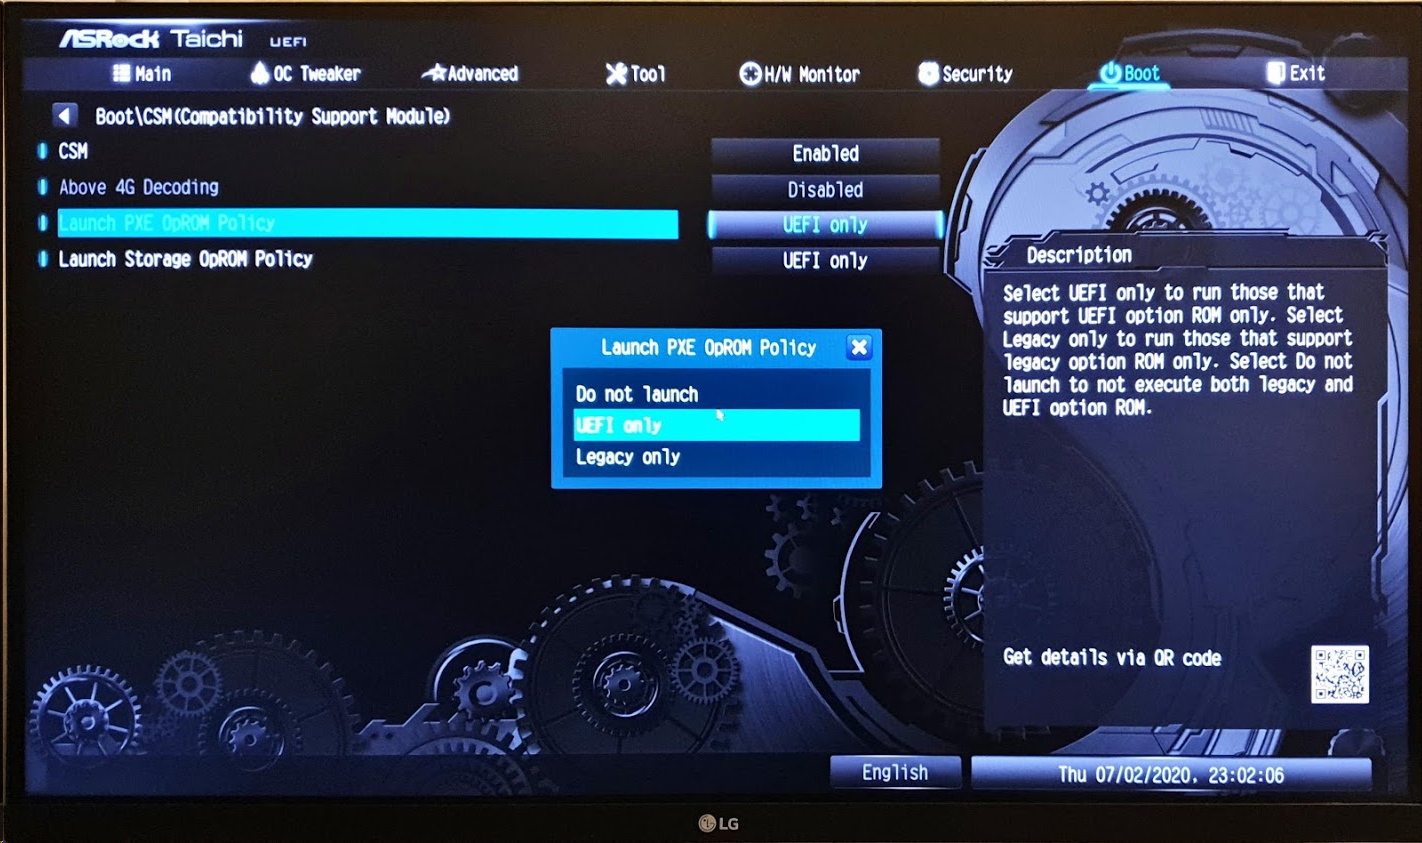
6. Enable UEFI mode for Network Boot. This setting is typically located within the Boot section of the system BIOS, sometimes within the CSM (Compatibility Support Module) section.
NOTE:
For Windows 11 Only
Please refer to the How to install custom Secure Boot keys article for the steps necessary to configure your system BIOS with the necessary certificates to permit PXE boot to ggRock after Secure Boot and TPM have been enabled.
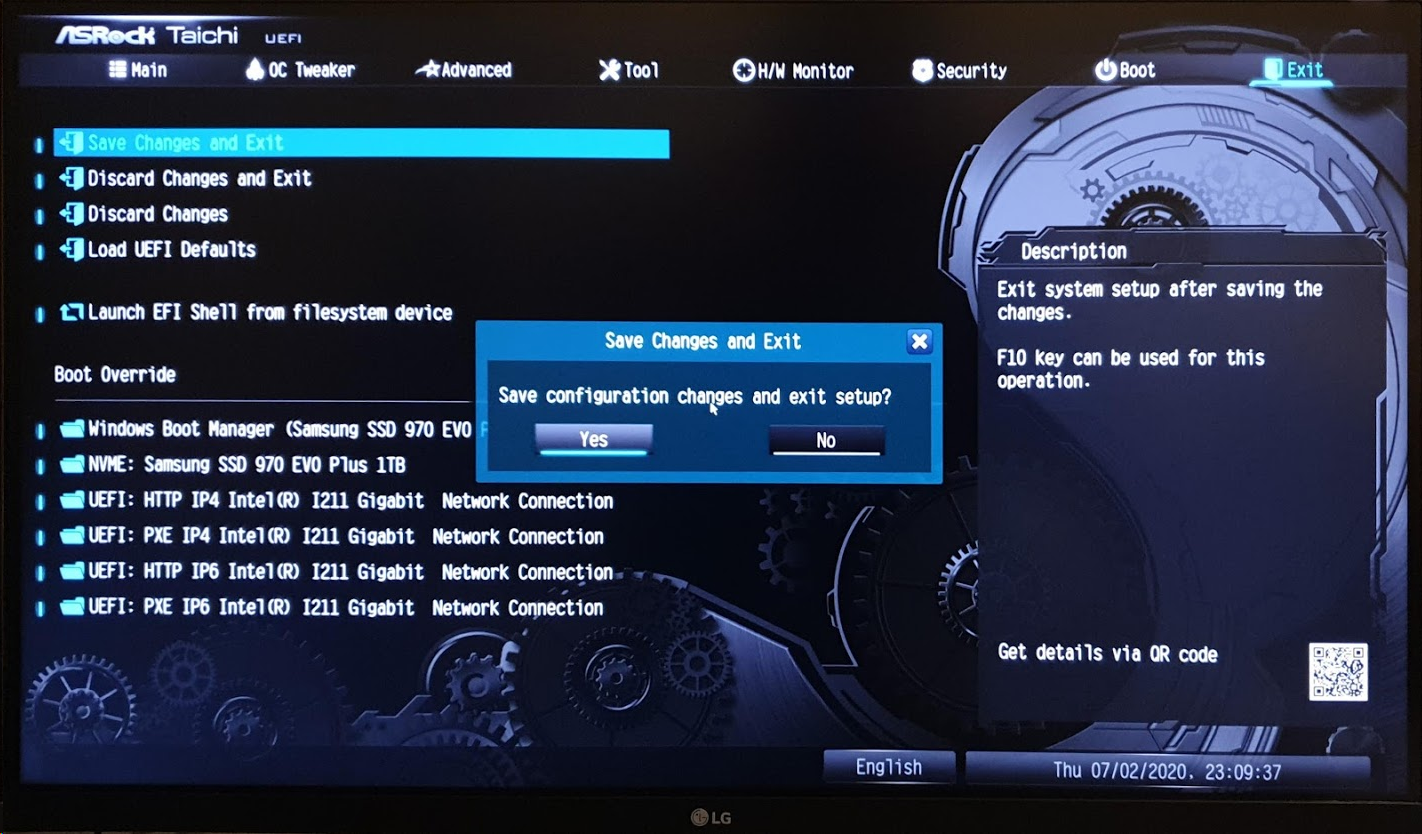
7. Save Changes and Exit. Once you have committed changes to the system BIOS, this Machine is ready to PXE boot over the network.
NOTE:
It will be necessary to replicate these changes to your other Machines before they will PXE boot, however you may delay this step until setup of your System and Games images is complete.