
This article describes necessary steps for installing the ggRock application for the first time.
Table of Contents
Executive Summary
Required Time: 45 Minutes
Description: Installation of the ggRock Server Application is a process which is mostly automated for ease of installation. The process involves running scripts, executing some terminal commands, and editing some text files. Before following this guide, ensure that you have followed the "Install the Debian OS on Your Server" guide.
Access Server Console
1. Access the server console via a direct keyboard/mouse/monitor connection to the server, SSH, or via Debian Control Panel.
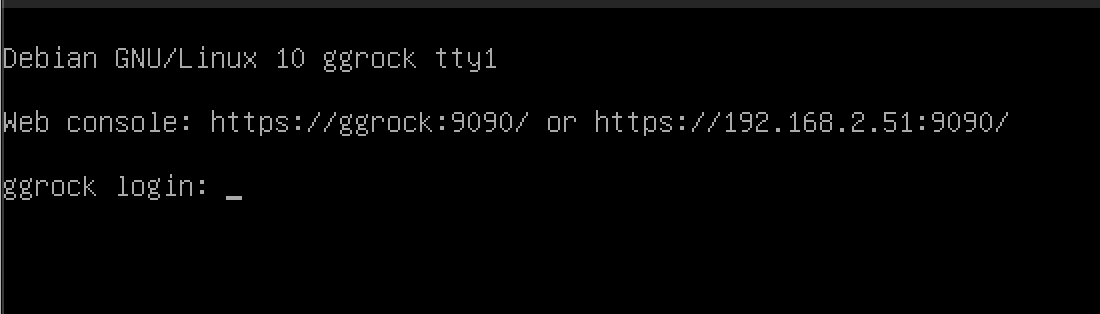
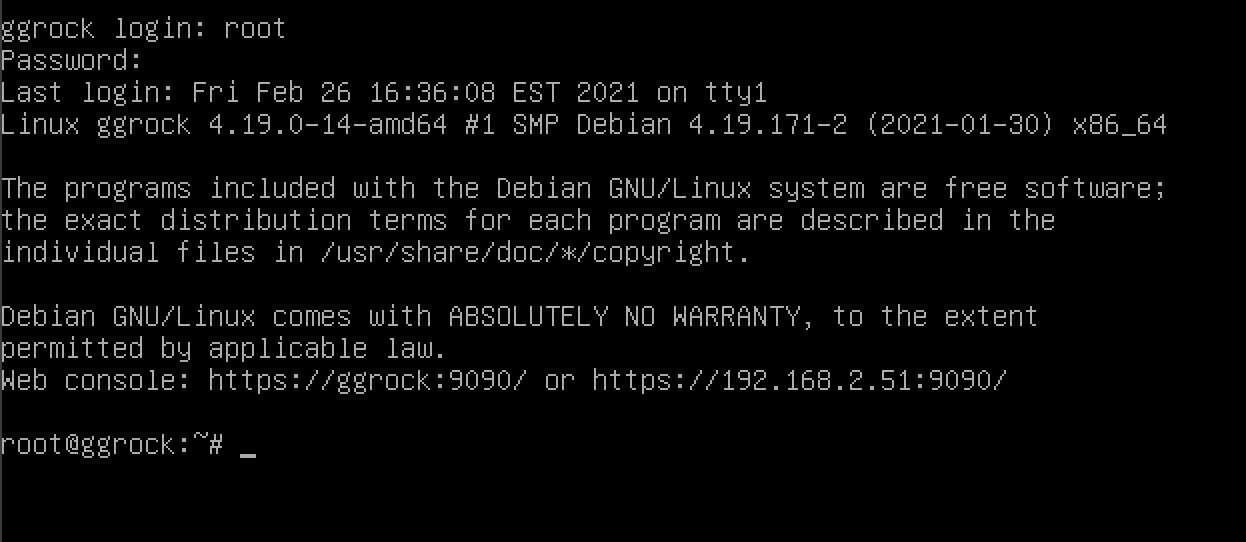
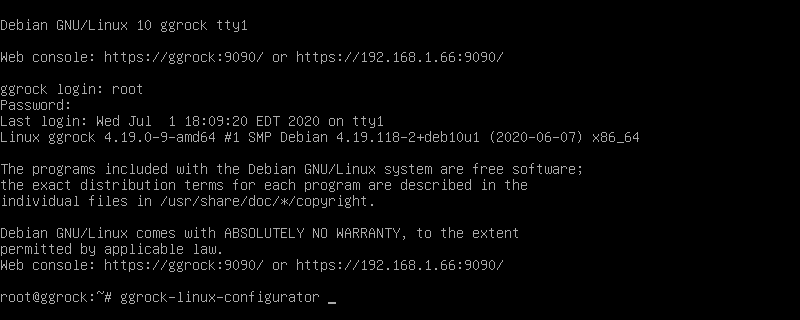
2. Log in with the root user, or another administrative user on the system. This is the password set in the "Set Up Users and Passwords" section of the "Install the Debian OS on Your Server" guide. Once logged in successfully, you should see "root@ggrock:~#" which is the root prompt.
NOTE:
Make sure that CAPS lock is turned off when entering your password if login fails.
ggRock Automated Install Script
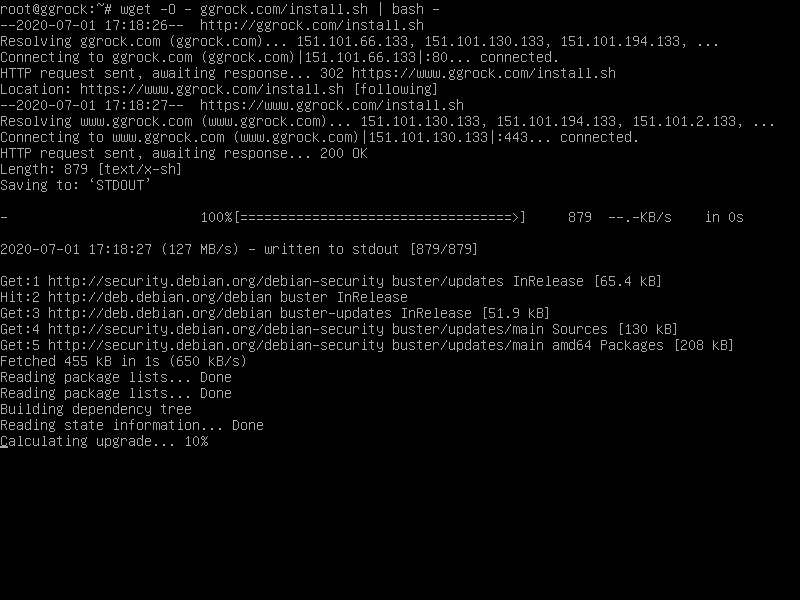
3. From the root prompt, initiate installation of ggRock via the automated install script by typing the following command and pressing "Enter" on the keyboard:
wget -O - ggrock.com/install.sh | bash -
NOTE:
All whitespace characters in the above string are mandatory.
The 'O' is a capital letter 'o', not the number zero '0'.
If you are Accessing Debian Control Panel or connecting to your server via SSH, you may copy and paste the above command.
ggRock Linux Configuration Utility
TIP:
The ggRock Linux Configuration Utility may be run from the terminal at any time by executing the "ggrock-linux-configurator" command.
NOTE:
If your server has multiple active network interfaces, you may see steps 4-9. However, if you do not see these steps, it is completely normal and you can proceed to step 10.
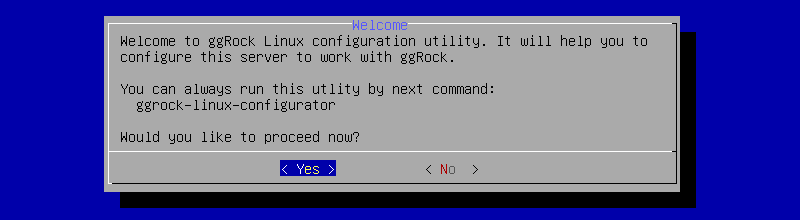
4. From the "Welcome" screen of the ggRock Linux Configuration Utility, highlight the
"< Yes >" button and press the "Enter" key on your keyboard.
5. From the "Install packages" screen, highlight the "< Yes >" button and press the "Enter" key on your keyboard to permit adding the "contrib" repository for required dependent packages necessary for proper functionality of the ggRock Server Application.
6. From the "Enable repositories" screen, highlight the "< Yes >" button and press the "Enter" key on your keyboard to enable the postgresql and grafana 3rd-party repositories which are necessary for proper functionality of the ggRock Server Application.
7. From the "IP address" screen, highlight the IP address of your server that is on the same VLAN, subnet, or network segment as the Machines in your center and press the "Enter" key on your keyboard to accept the changes. This address is the one your Machines will use for network (PXE) boot functionality.
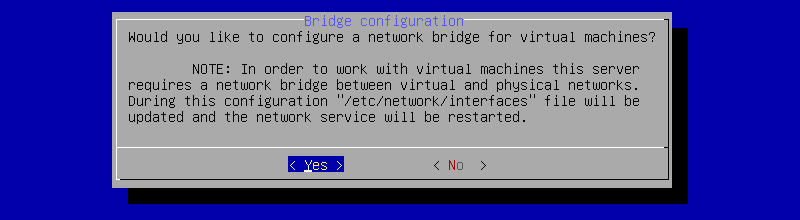
8. From the "Bridge configuration" screen, highlight the "< Yes >" button and press the "Enter" key on your keyboard to permit configuration of the network bridge which is required for Virtual Machine and Seamless Boot functionality.
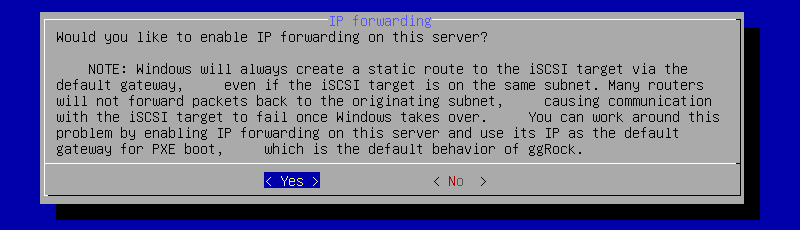
9. From the "IP forwarding" screen, highlight the "< Yes >" button and press the "Enter" key on your keyboard to enable IP forwarding, which is necessary for network (PXE) boot functionality.


Automated Installation Continues
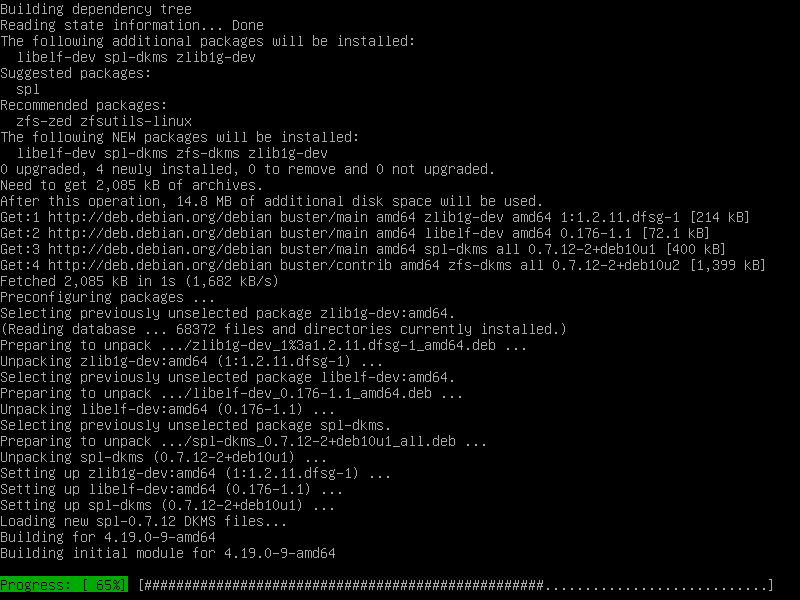
10. Observe the automated installation process of the ggRock Server Application and dependencies, which will take between 10 and 30 minutes to complete depending on server and network speed. This is a great time to grab a cup of coffee! ☕
11. Once installation has completed successfully, you will see the following message:
NOTE:
The string http://your.server.ip.address.here/ is unique to your server setup and is the local address you will utilize to access the ggRock Web UI from this point forward.

12. Reboot your server by entering the "reboot" command and pressing the "Enter" key on your keyboard.

Network Configuration Modification
13. Access the server console via a direct keyboard/mouse/monitor connection to the server, SSH, or via Debian Control Panel.

14. Log in with the root user, or another administrative user on the system. This is the password set in the "Set Up Users and Passwords" section of the "Install the Debian OS on Your Server" guide. Once logged in successfully, you should see "root@ggrock:~#" which is the root prompt.Step 15. Backup network config
15. Back up the /etc/network/interfaces network configuration file by entering the following command, then pressing the "Enter" key on your keyboard:

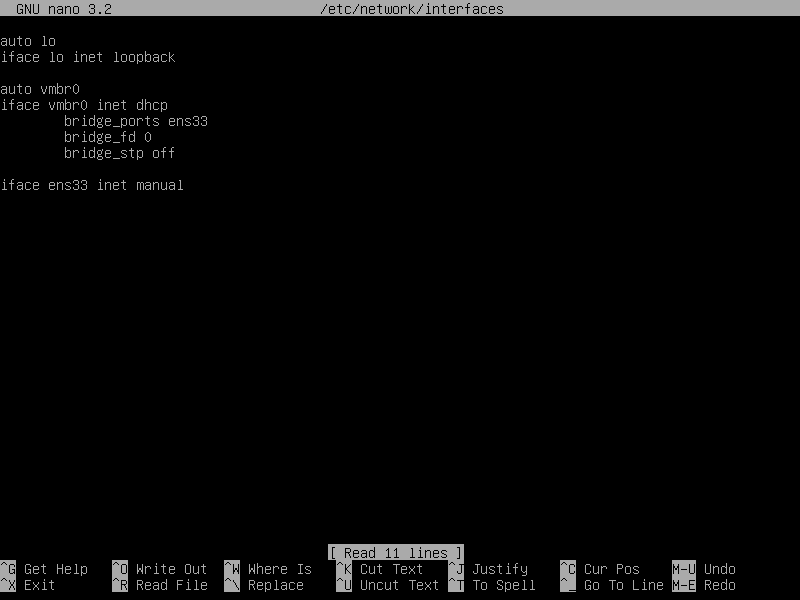
16. Use the "nano" command to open the /etc/network/interfaces file. Press "Enter" after the command is typed as is below.
nano /etc/network/interfaces
NOTE:
The initial content of the /etc/network/interfaces network configuration file is unique and will likely be different for your server setup and configuration.
17. Modify the /etc/network/interfaces network configuration file, making sure to utilize the values that are specific to your LAN configuration.
Replace the following two lines of /etc/network/interfaces
auto vmbr0
iface vmbr0 inet dhcp
With the following five lines:
auto vmbr0
iface vmbr0 inet static
address SERVERIP
netmask NETMASK
gateway GATEWAY
NOTE:
Make sure to replace the placeholder values with values of your own that apply to your network and configuration.
-
SERVERIP is the IP address you selected in Step 7 of this guide.
-
NETMASK is likely 255.255.255.0, though this is dependent on network configuration - please contact your network administrator if you are unsure.
-
GATEWAY is typically the IP address of your router, or the closest network hop to your server - please contact your network administrator if you are unsure.
-
The whitespace character before the address, netmask, and gateway keywords are single presses of the "Tab" key on the keyboard.
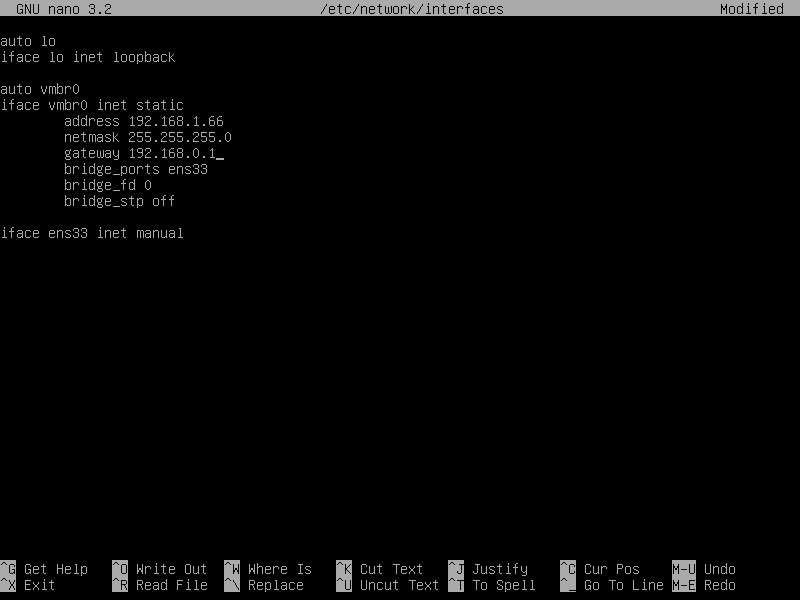
The final /etc/network/interfaces network configuration file should look similar to the following (replace the SERVERIP, NETMASK, and GATEWAY placeholders with actual IP address values corresponding to your network configuration):
auto lo
iface lo inet loopback

auto vmbr0
iface vmbr0 inet static
address SERVERIP
netmask NETMASK
gateway GATEWAY
bridge_ports ens33
bridge_fd 0
bridge_stp off

iface ens33 inet manual
NOTE:
The text ens33 is unique and will likely be different for your server setup and configuration.
18. Save the /etc/network/interfaces network configuration file by pressing
"CTRL + X" on the keyboard, then typing the letter 'Y', then pressing the "Enter" key on the keyboard.

DNS Configuration Modification
19. Back up the /etc/resolv.conf DNS configuration file by entering the following command, then pressing the "Enter" key on your keyboard:
cp /etc/resolv.conf /etc/resolv.conf.bak

20. Open the /etc/resolv.conf DNS configuration file in the "nano" text editor by entering the following command, then pressing the "Enter" key on your keyboard:
nano /etc/resolv.conf
NOTE:
This file will be unique to your server setup and configuration, so your initial copy of /etc/resolv.conf will not exactly match the below screen shot.
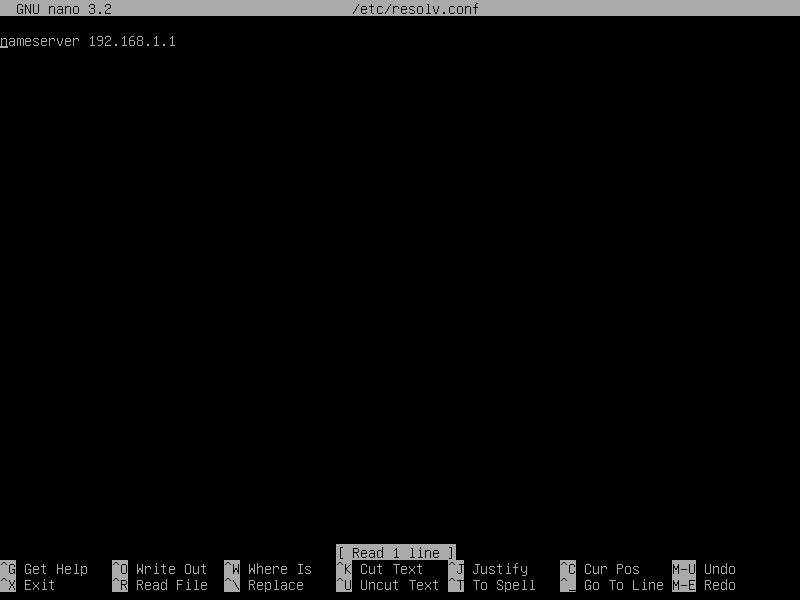
21. Modify the /etc/resolv.conf DNS configuration file.
Replace the following line of /etc/resolv.conf
nameserver 192.168.1.1
With the following two lines:
nameserver 8.8.8.8
nameserver 8.8.4.4
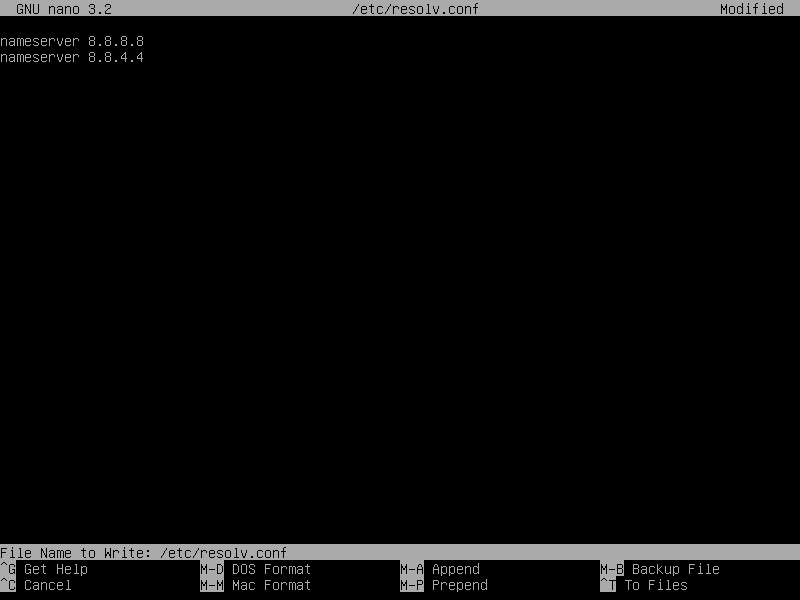
22. Save the /etc/resolv.conf DNS configuration file by pressing "CTRL + X" on the keyboard, then typing the letter 'Y', then pressing the "Enter" key on the keyboard.
23. Reboot the server by typing the reboot command and pressing the "Enter" key on your keyboard.

Re-Run ggRock Linux Configurator
24. Access the server console via a direct keyboard/mouse/monitor connection to the server, SSH, or via Debian Control Panel.

25. Log in with the root user, or another administrative user on the system. This is the password set in the "Set Up Users and Passwords" section of the "Install the Debian OS on Your Server" guide. Once logged in successfully, you should see "root@ggrock:~#" which is the root prompt.
NOTE:
Make sure that CAPS lock is turned off when entering your password if login fails.

26. From the root prompt, enter the ggrock-linux-configurator command, then press the "Enter" key on your keyboard.
NOTE:
You may only see steps 27-32 if your server has multiple active network interfaces, if you do not see the below screens this is normal and you may proceed to the end of the article.
27. From the "Welcome" screen of the ggRock Linux Configuration Utility, highlight the "< Yes >" button and press the "Enter" key on your keyboard.


28. From the "Install packages" screen, highlight the "< Yes >" button and press the "Enter" key on your keyboard to permit adding the "contrib" repository for required dependent packages necessary for proper functionality of the ggRock Server Application.


29. From the "Enable repositories" screen, highlight the "< Yes >" button and press the "Enter" key on your keyboard to enable the postgresql and grafana 3rd-party repositories which are necessary for proper functionality of the ggRock Server Application.


30. From the "IP address" screen, highlight the IP address of your server that is on the same VLAN, subnet, or network segment as the Machines in your center and press the "Enter" key on your keyboard to accept the changes. This address is the one your Machines will use for network (PXE) boot functionality.


31. From the "Bridge configuration" screen, highlight the "< Yes >" button and press the "Enter" key on your keyboard to permit configuration of the network bridge which is required for Virtual Machine and Seamless Boot functionality.


32. From the "IP forwarding" screen, highlight the "< Yes >" button and press the "Enter" key on your keyboard to enable IP forwarding, which is necessary for network (PXE) boot functionality.


Note:
At this point, you may elect to administer your ggRock server remotely by following the optional instructions in the Access Debian Control Panel Article.