
This article will explain how to enable and configure the user grouping feature.
Overview
If you want to give discounts or exclusive access to some games or merchandise, the user group feature can create a membership option for customers looking for a better experience.
Creating a User Group
1. Go to Settings -> Groups config -> User groups.
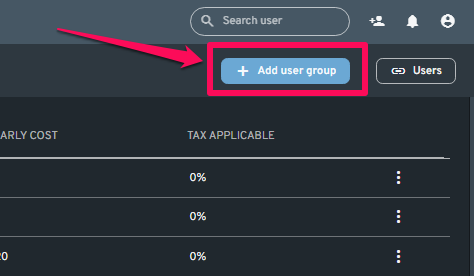
2. Click the "+ Add user group" button on the upper right of the screen.
3. Select a User Group Type:
Free User Group

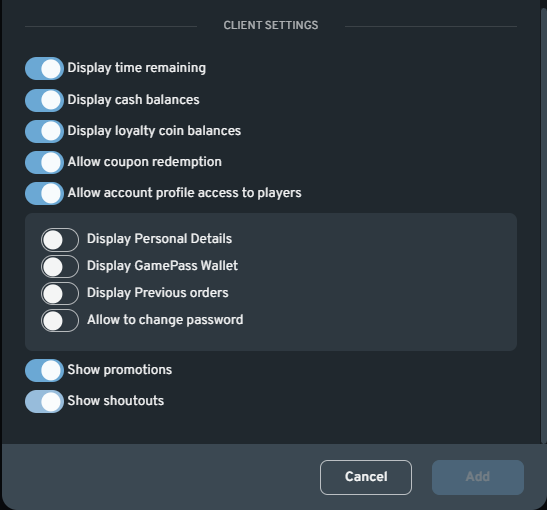
2. Client Settings - Select UI elements that will appear for the user group under Client Settings. It is not required to enable any of the options to complete the user group creation process.
3. Advance Settings - Advance Settings that you can use for your user group.
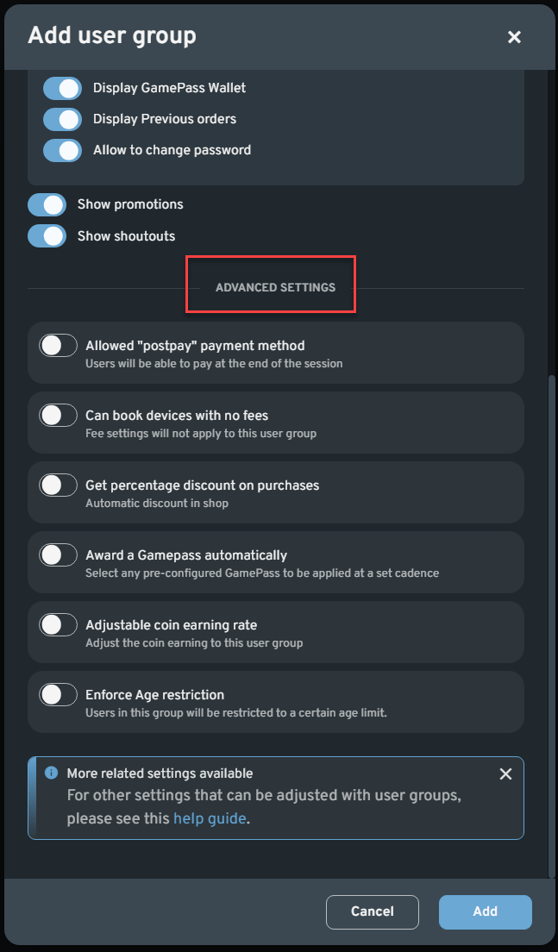
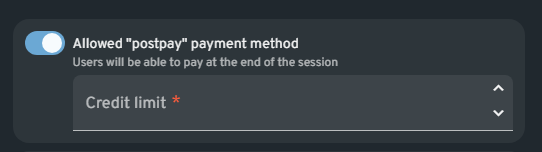
Allowed "postpay" payment method - Users will be able to pay at the end of the session
Can book devices with no fees - Fee settings will not apply to this user group
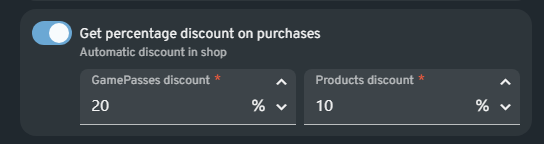
Get percentage discount on purchases - Automatic discount in shop
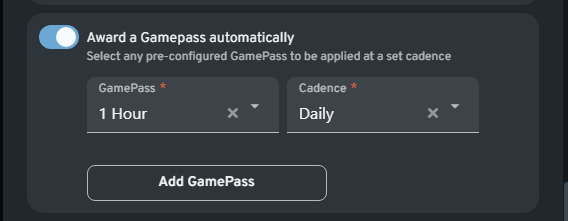
Award a Gamepass automatically - Select any pre-configured GamePass to be applied at a set cadence
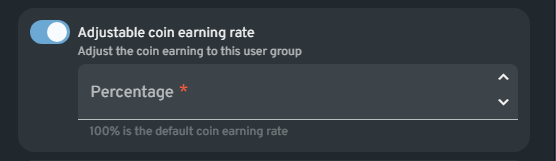
Adjustable coin earning rate - Adjust the coin earning to this user group
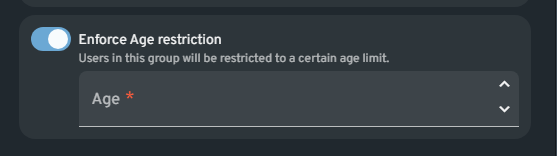
Enforce Age restriction - Users in this group will be restricted to a certain age limit.
4. Click the "Add" button to finish.

Paid User Group
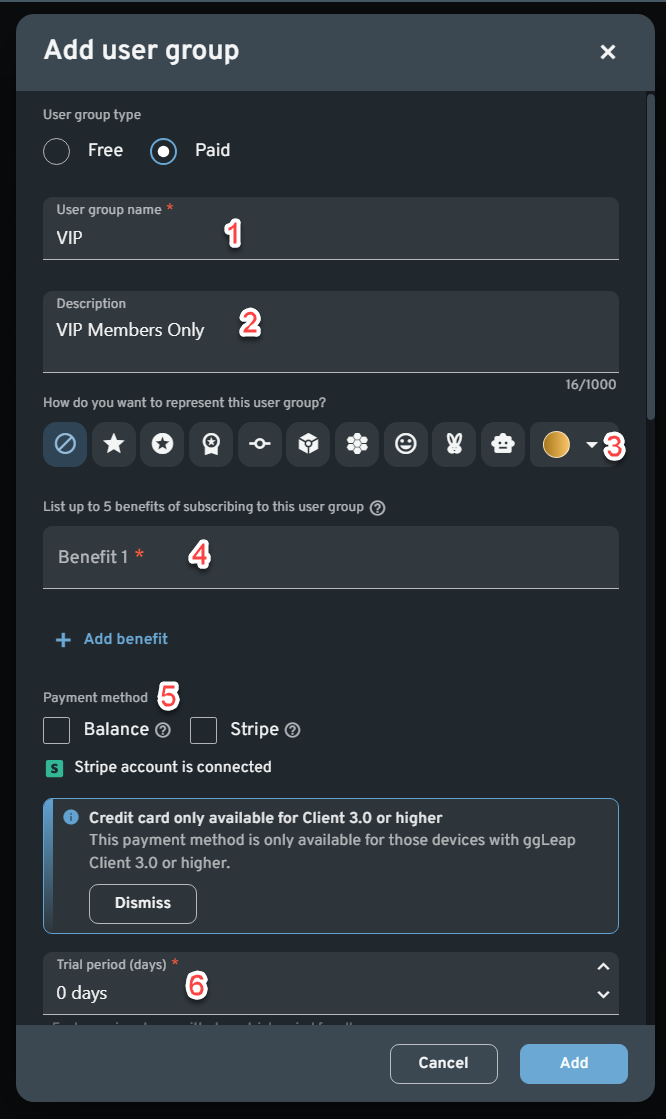
Fill out the following details for the Paid user group type:
1. User group Name - Enter the name of the user group you are going to create
2. Description - You can enter a brief description of the User group created
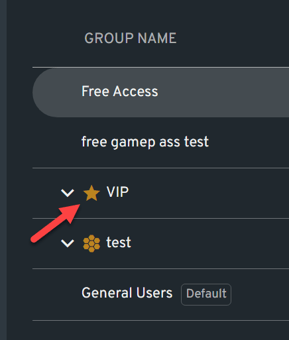
3. User Group Icon - Select on you want this User group represented on your list
4. Benefit - You can list up to 5 benefits by subscribing to this group
5. Payment method - Options are Balance (stored money in user's account) and Stripe.
NOTE:
To use the Stripe payment option, integrate the center's Stripe account in Financial Configuration.
Auto-renew is passed as true when users subscribe and an employee moves a user to a paid group.
The user can opt out of auto-renew anytime from ggleap client.
If the user doesn't have enough balance/stripe and declines payment for the next term, the user will be moved back to default.
6. Trial Period - Set the number of days for the Trial period.
7. Client Settings - Select UI elements that will appear for the user group under Client Settings. It is not required to enable any of the options to complete the user group creation process.
8. Advance Settings - Advance Settings that you can use for your user group.
Allowed "postpay" payment method - Users will be able to pay at the end of the session
Can book devices with no fees - Fee settings will not apply to this user group
Get percentage discount on purchases - Automatic discount in shop
Award a Gamepass automatically - Select any pre-configured GamePass to be applied at a set cadence
Adjustable coin earning rate - Adjust the coin earning to this user group
Enforce Age restriction - Users in this group will be restricted to a certain age limit.
9. Click the "Add" button to finish.

NOTE:
To make certain games licenses only accessible to specific user groups, make sure to read the following articles:
Enable Games to Appear on Client PCs
To make certain GamePass only accessible to specific user groups and/or apply rate consumption, make sure to read the article below: