
This article describes the enhanced and simplified procedure of creating a system image using the ggRock Seamless Boot Process.
General Process Outline
-
Configure the new machine's BIOS appropriately for UEFI or Legacy mode based on the needs of your center, ensuring that the machine in question is powered off, as well as configure network boot as the first boot device.
-
Import a pre-made System Image via the ggRock "Import Image" facility.
-
Run the "Add new hardware" wizard against the system image in question to begin the process, then power on the new machine in order to begin the process of scanning for and installing the network driver for that machine type in your system image.
Image Creation Requirements
-
Fully-configured ggRock server, per the ggRock Installation Articles.
-
Internet Connection
-
Your Client Machine - this should be a 1:1 example of a Machine or Machines present in your center
NOTE 1:
For the purposes of this manual we assume that all Machines in your center share the same motherboard. If you have multiple system types or motherboards, please refer to "Adding a New Machine Type to a ggRock Image using the ggRock Seamless Boot Procedure" for additional steps.
NOTE 2:
You may elect to use the legacy "Adding a New Machine Type to a ggRock Image using the ggRock IC Tool (Legacy Process)" guide for the purposes of adding a new machine type to your system image, however it is recommended to use the Seamless Boot procedure as it is quicker and easier.
Full Process
1. Configure the BIOS of the machine for which you will be adding support.
Based on the mode used to build your current system image, configure the BIOS of the machine for which you will be adding support to your system image in either UEFI or Legacy Mode. For details please refer to Configure Client Machines for Network/Diskless (PXE) Boot of the ggRock Installation Manual, or see your motherboard manufacturer's manual.
2. Access the ggRock Web UI.
Open a web browser and access the ggRock Web UI.
NOTE:
Please refer to the Access the Server Console step of the First-time Setup and Accessing the ggRock Server Application article to determine your server IP.
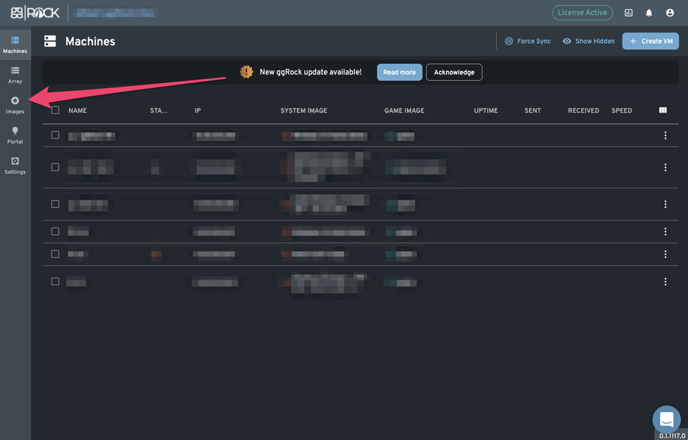
3. Click the "Images" tab within the ggRock Web UI.
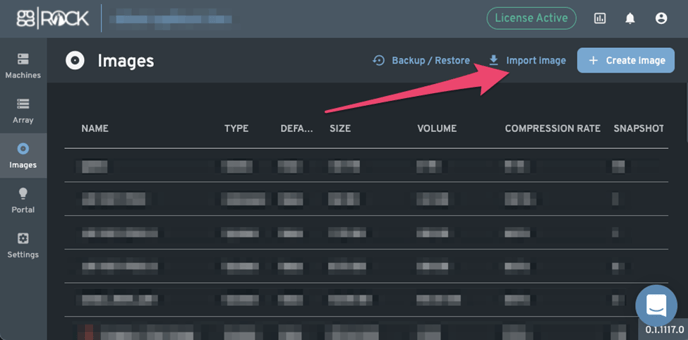
4. Click the "Import Image" button within the ggRock Web UI.
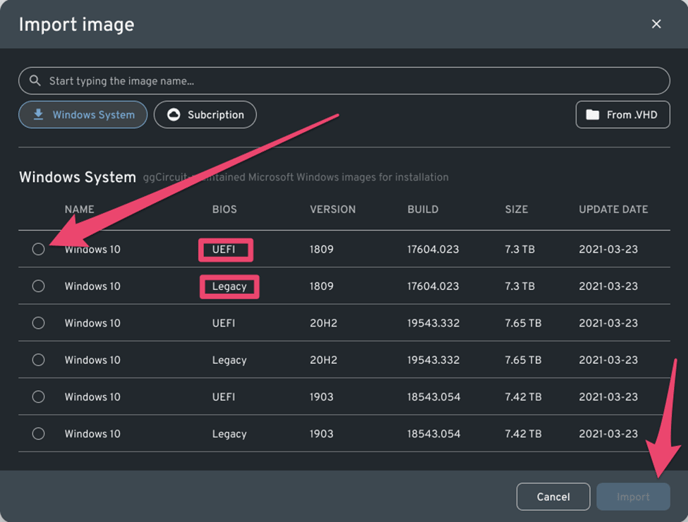
5. Depending on your needs based on your configuration (UEFI or Legacy Boot Mode) from Step 1, click the "Import" button corresponding to the image you wish to import. Select an image based on the Windows build you wish to use.
 NOTE 1:
As of the writing of this article, the only edition of Windows 10 available via the Import Image facility is Windows 10 Home edition (both UEFI and Legacy Mode).
The license key you enter (or that is pulled from the BIOS of your systems) will determine the edition of windows you will be running (Home, Pro, Education, Enterprise, etc).
See the Microsoft Windows 10 edition upgrade article for further information.
NOTE 2:
There is no license key installed in the pre-made images, you must license the product yourself using the OEM product key(s) stored in the BIOS of your Machines, using retail license keys for your Machines, or by using MAK or KMS activation if you are a volume license Microsoft customer.
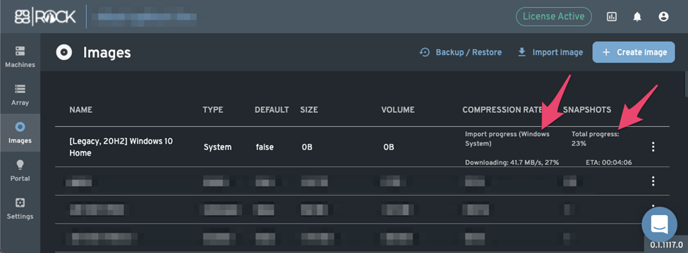
6. Observe the download, extract, and import process for the selected image which will float at the top of the Images list whilst it is downloading.
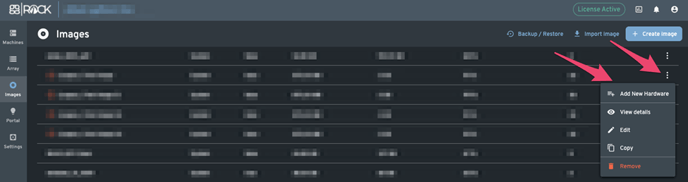
7. Click the Image Menu (overflow menu) to the right of the image to which you wish to add new hardware support, then click the "Add New Hardware" context menu item.
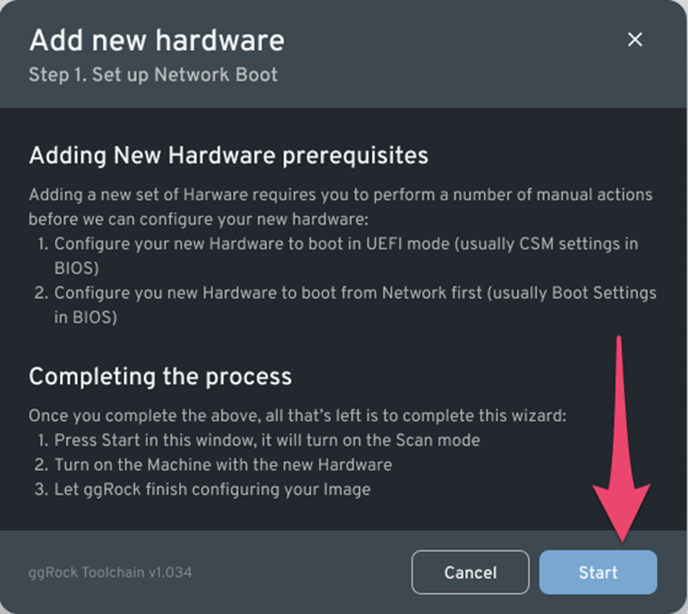
8. Proceed with Step 1 of the Add New Hardware wizard, confirming that your Machine's BIOS is configured in either UEFI or Legacy boot mode based on the configuration of your equipment and the needs of your center.
Ensure Network Boot is configured as the first boot device.
Click the "Start" button to proceed.
9. Wait while Step 1.5 of the Add New Hardware Wizard (Updating ggRock Toolchain) completes.

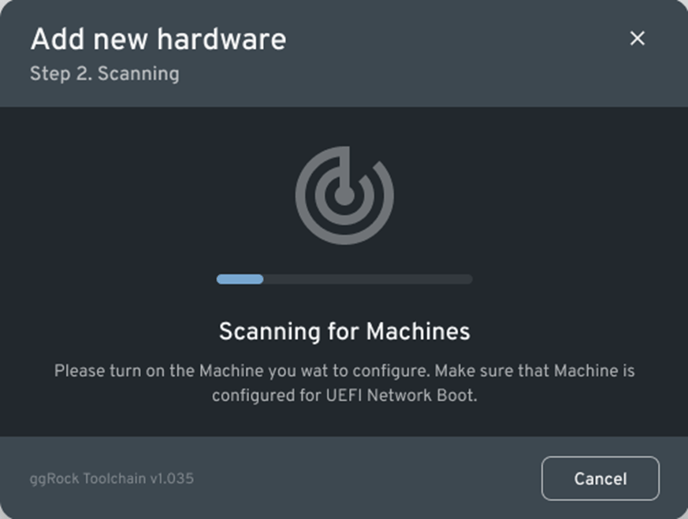
10. The Add New Hardware Wizard automatically enters the "Scanning for Machines" mode.
At this time, please power on the Machine for which we will be installing the network driver.
11. Wait while the Add New Hardware Wizard automatically enters the "Collecting Hardware Data" phase.
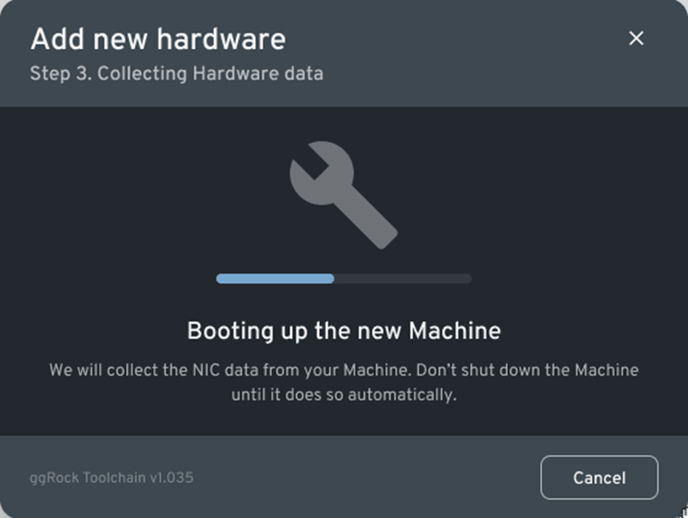 Observe that the machine in question boots to a bare-bones Windows OS which automatically detects the network card and transfers the information to the ggRock Toolchain VM for installation in your system image.
Once the Machine boots, you should also note that the Add New Hardware wizard proceeded automatically to the next step.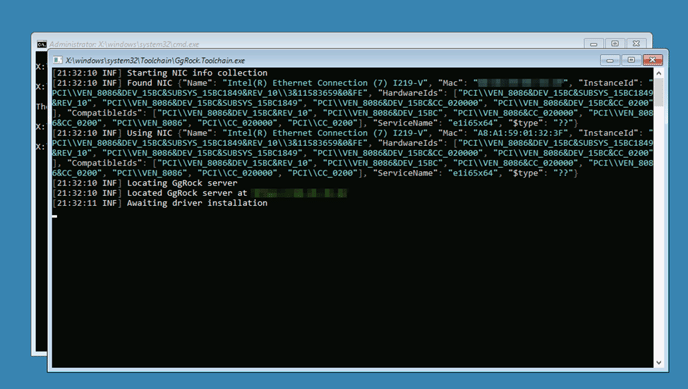
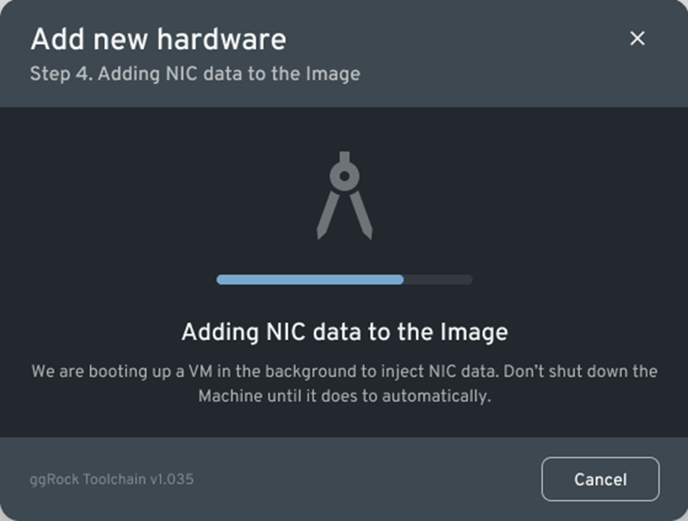
12. Wait while the Add New Hardware Wizard automatically enters the "Adding NIC data to the Image" phase.
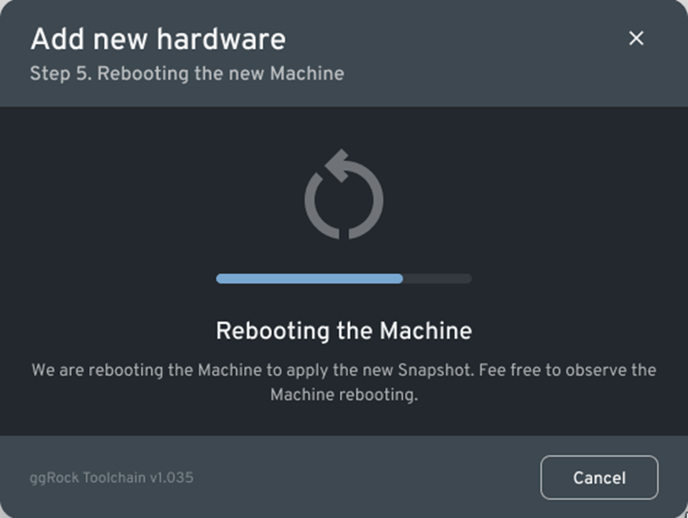
13. Wait while the Add New Hardware Wizard automatically enters the "Rebooting the new Machine" phase.
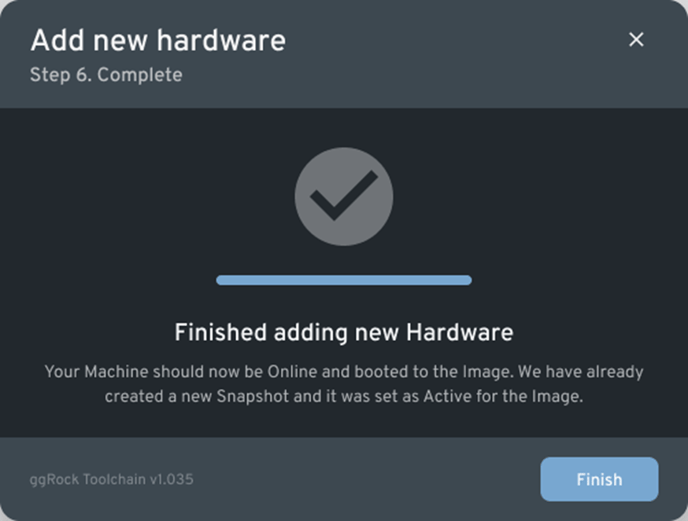
14. Observe that the Add New Hardware Wizard has proceeded to the final step. Click the "Finish" button.
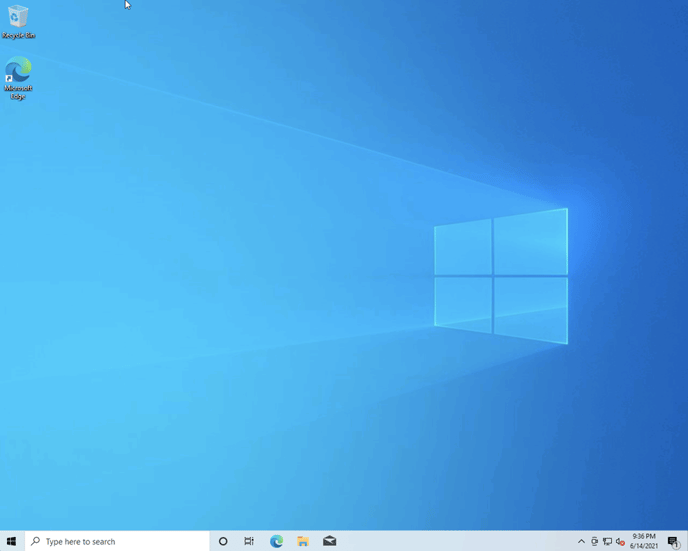
15. Observe that the Machine in question has now successfully booted to the image you have added its network hardware to.
16. Continue ggRock Configuration.
Continue with the Configure ggRock Manual at "First-Time Power On".