
Recommended Game Launcher Configuration This article describes recommended game launcher configuration when installing to your games drive
Table of Contents
Battle.net Launcher
Epic Games Launcher
Origin Launcher
Steam Launcher
Uplay Launcher (Ubisoft Connect)
League of Legends (Riot Launcher)
Valorant (Riot Launcher)
General Recommendations
See the "ggRock Games Recommended Configuration" guide for further information on the general decision making process for game launcher configuration.
Battle.net Launcher
1. Visit the Blizzard Entertainment Battle.net Desktop App Download Page to download the latest version of the Battle.net Launcher.

2. Locate and execute the downloaded file - by default this will be in your "Downloads" folder.

3. When prompted, select a language and click the "Continue" button to proceed.

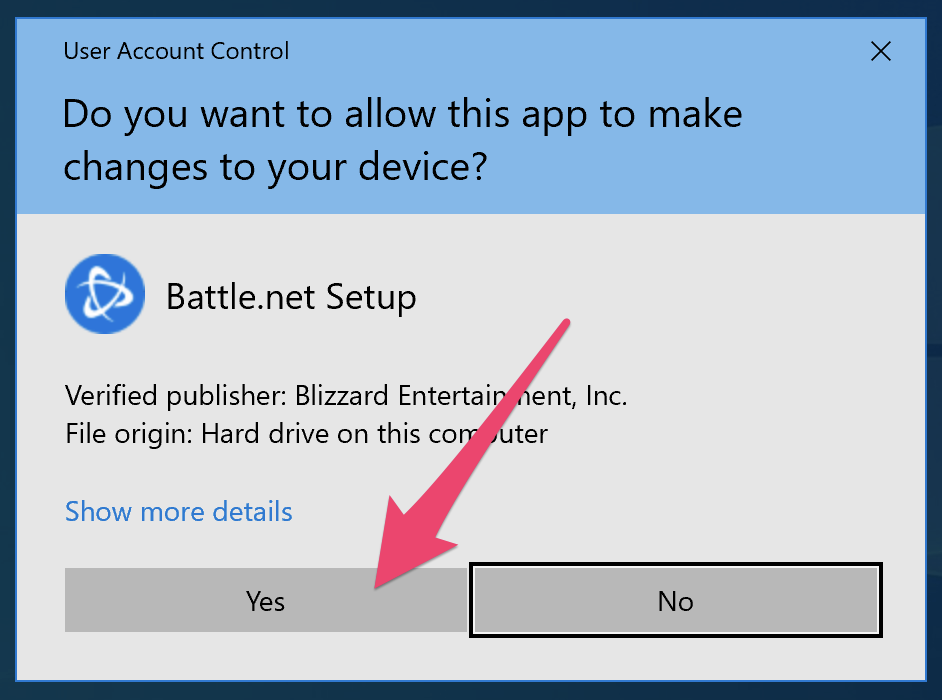
4. If you receive a UAC prompt, please click the "Yes" button to proceed.

5. Next, click the blue "Change" link, browsing to your games drive.

6. If you are following recommendations, browse to the "G:\" drive. Additionally, you may need to pre-create the directory structure to install the Battle.net Launcher to, meaning create the folder "Launchers" within the "G:\" drive if it does not exist, and also create the folder "Battle.net" inside of the "Launchers" folder. Click the "Select Folder" button to proceed.

7. It is recommended to de-select the "Launch Battle.net when you start your computer" checkbox in most cases. Click the "Continue" button to proceed.

8. Wait while the installation of the Battle.net Desktop App completes.

9. Enter your Battle.net email address and password into the Battle.net Desktop App login box, making sure to uncheck "Keep me logged in". Click the "Log In" button to proceed.

10. Once logged in, you may be prompted to locate your Battle.net games library - if you have not pre-installed any games you may exit this dialog with the "Close" button. Otherwise, click the "Locate" button and browse to the path (Likely G:\Games\Battle.net\) of your Battle.net Games Library.

11. Open the Battle.net Menu.

12. Click the "Settings" menu item.

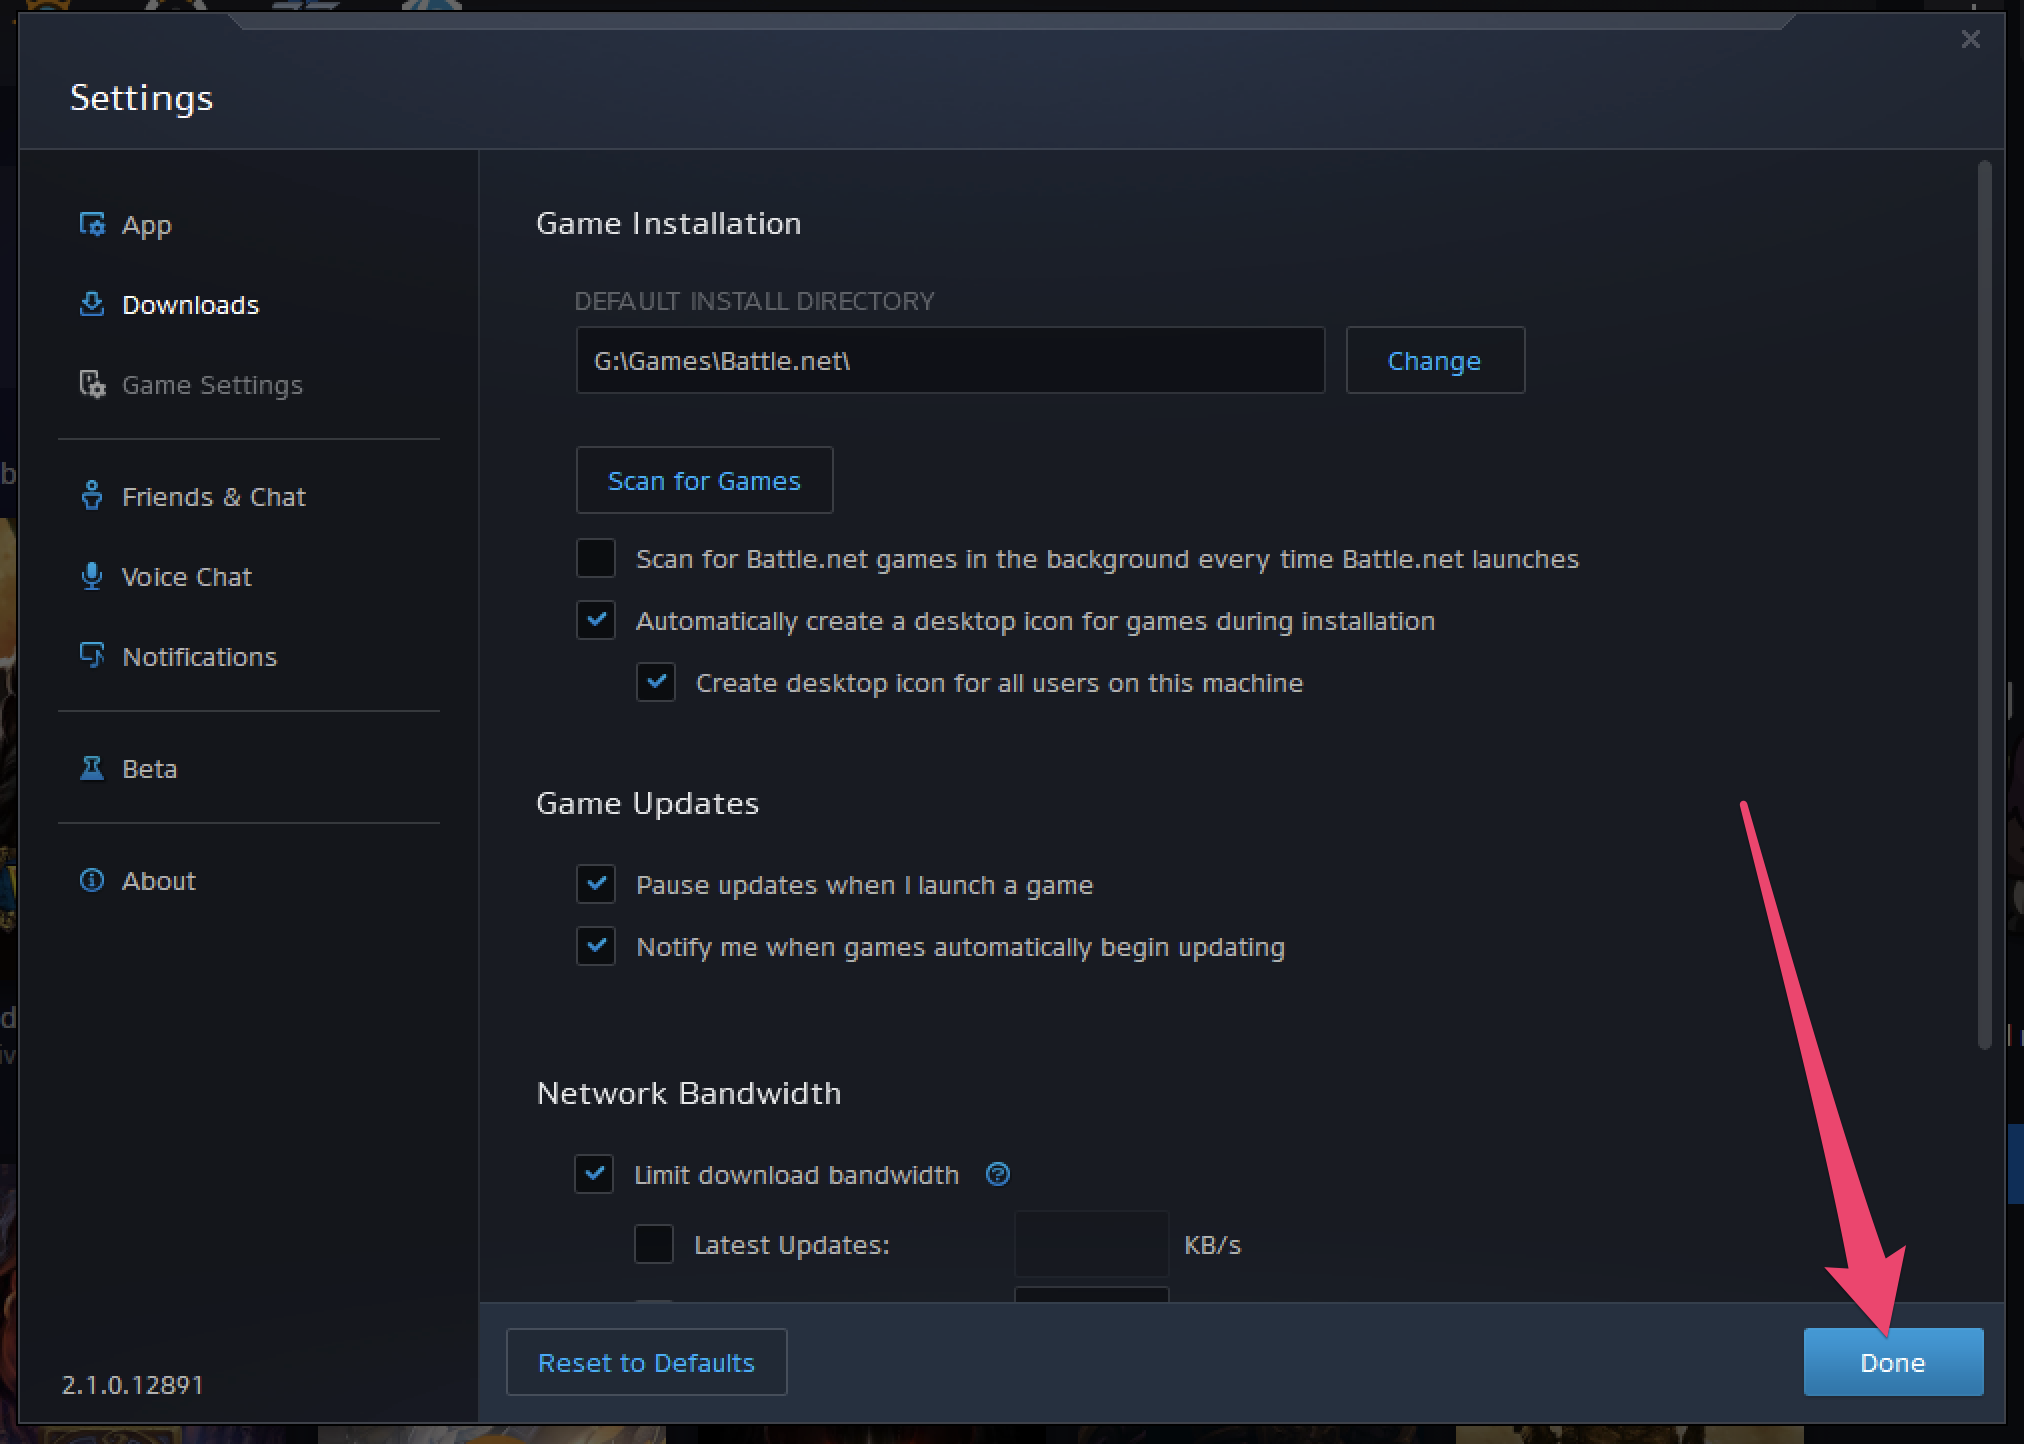
13. Click the "Downloads" tab.

14. Click the "Change" button.
15. If you are following recommendations, browse to the "G:\" drive. Additionally, you may need to pre-create the directory structure to install the Battle.net Games Library to, meaning create the folder "Games" within the "G:\" drive if it does not exist, and also create the folder "Battle.net" inside of the "Games" folder. Click the "Select Folder" button to proceed.
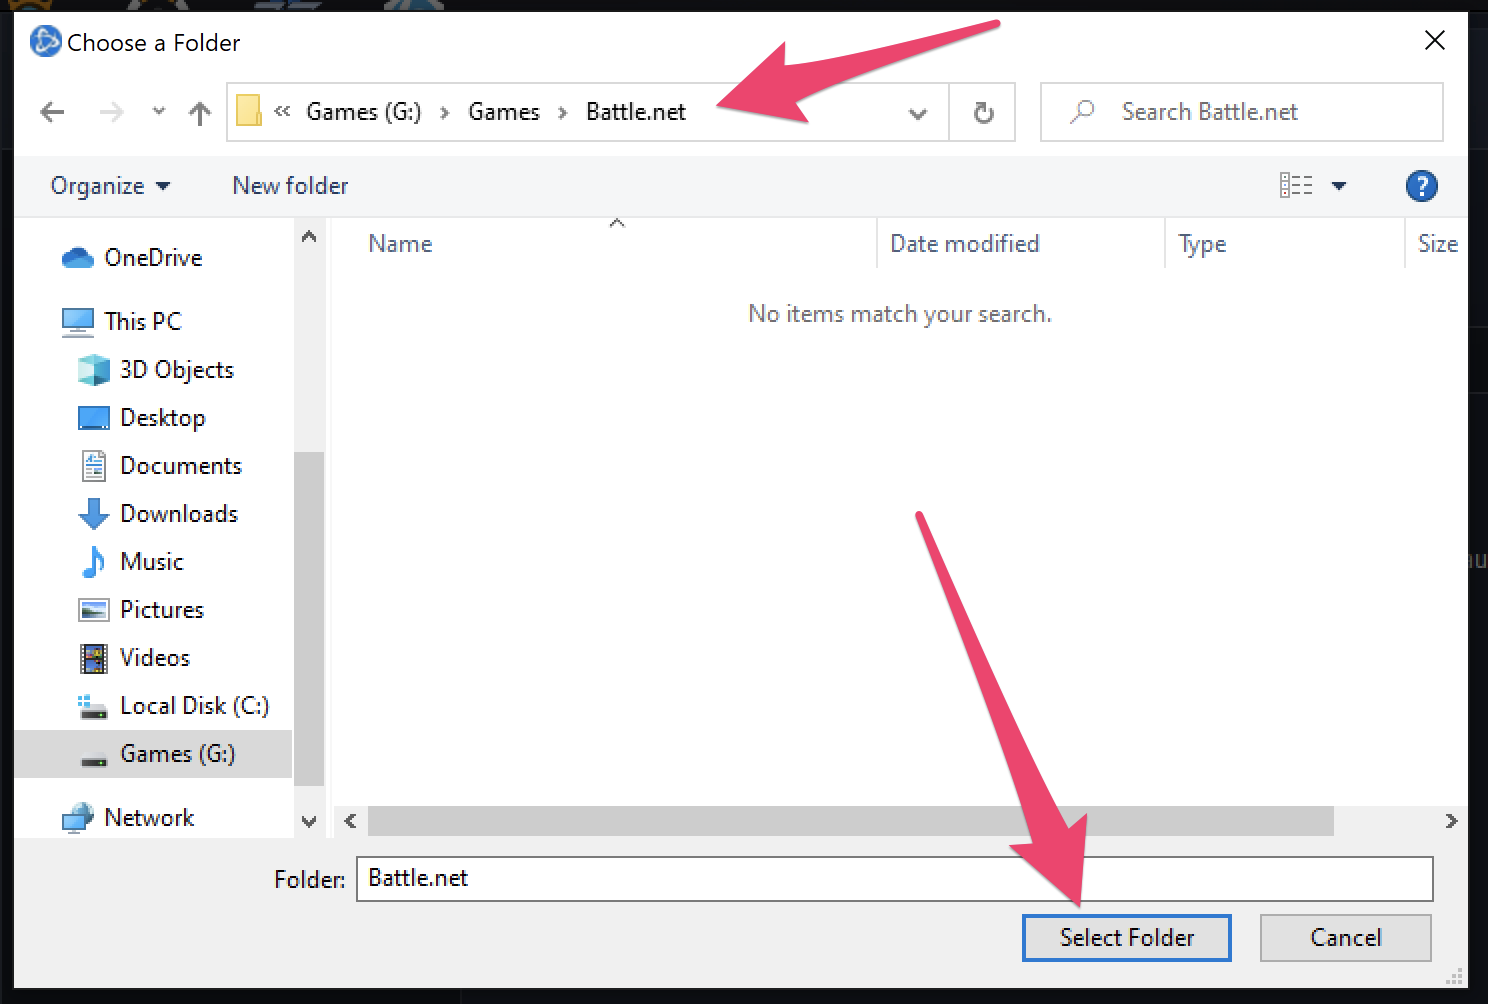
16. Click the "Done" button to commit your changes.
17. Congratulations! At this point the Battle.net Desktop App is now installed to your games drive (G:\Launchers\Battle.net) and the Battle.net Default Install Directory is now configured (G:\Games\Battle.net).
Epic Games Launcher
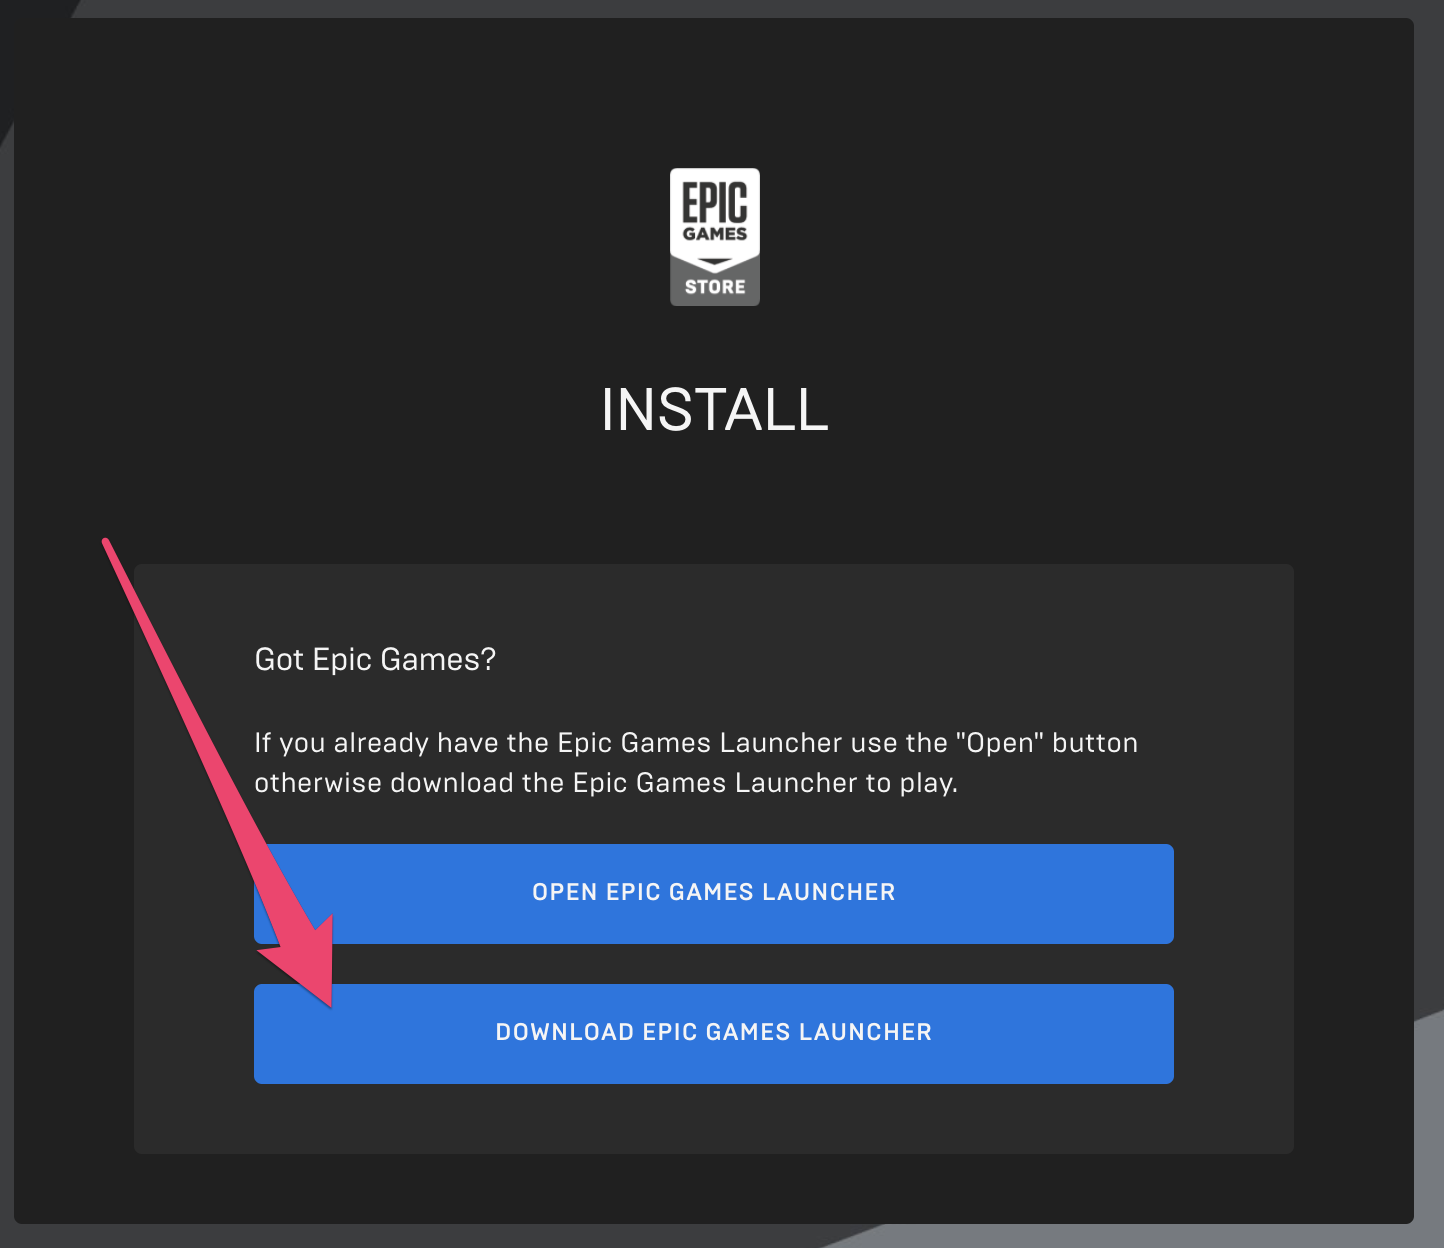
1. Visit the Epic Games Launcher Download Page to download the latest version of the Epic Games Launcher.
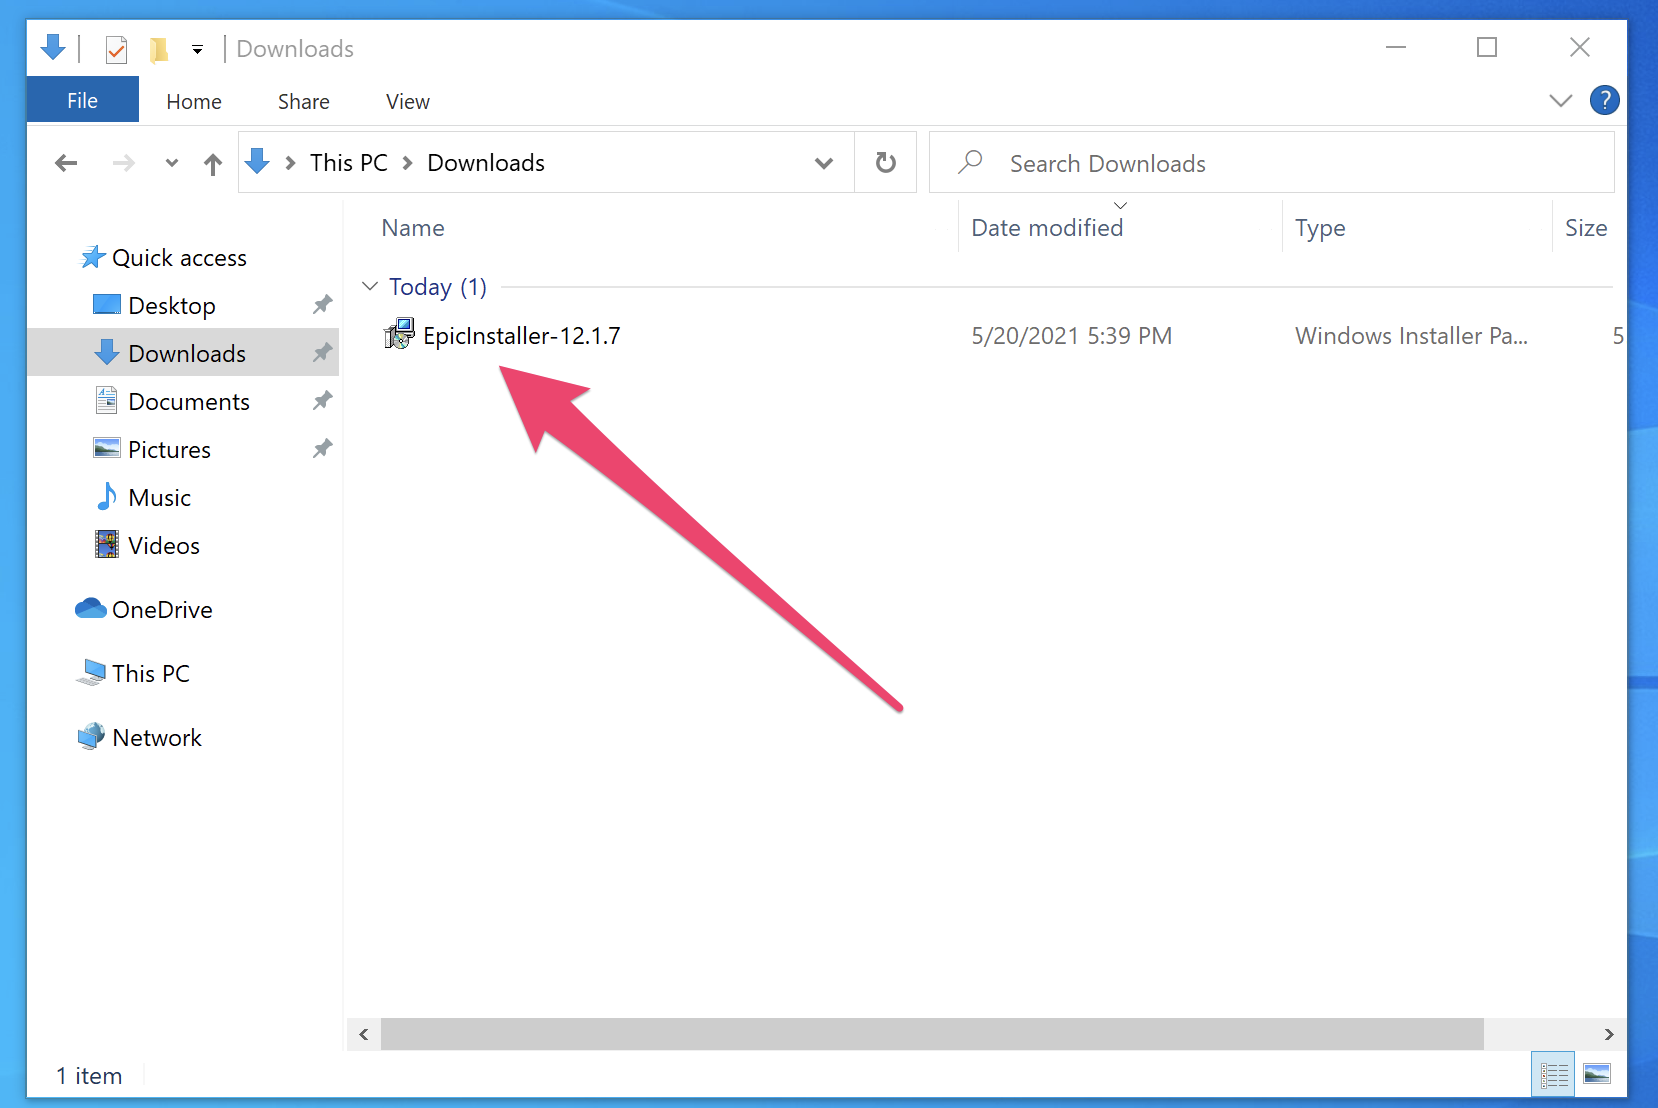
2. Locate and execute the downloaded file - by default this will be in your "Downloads" folder.
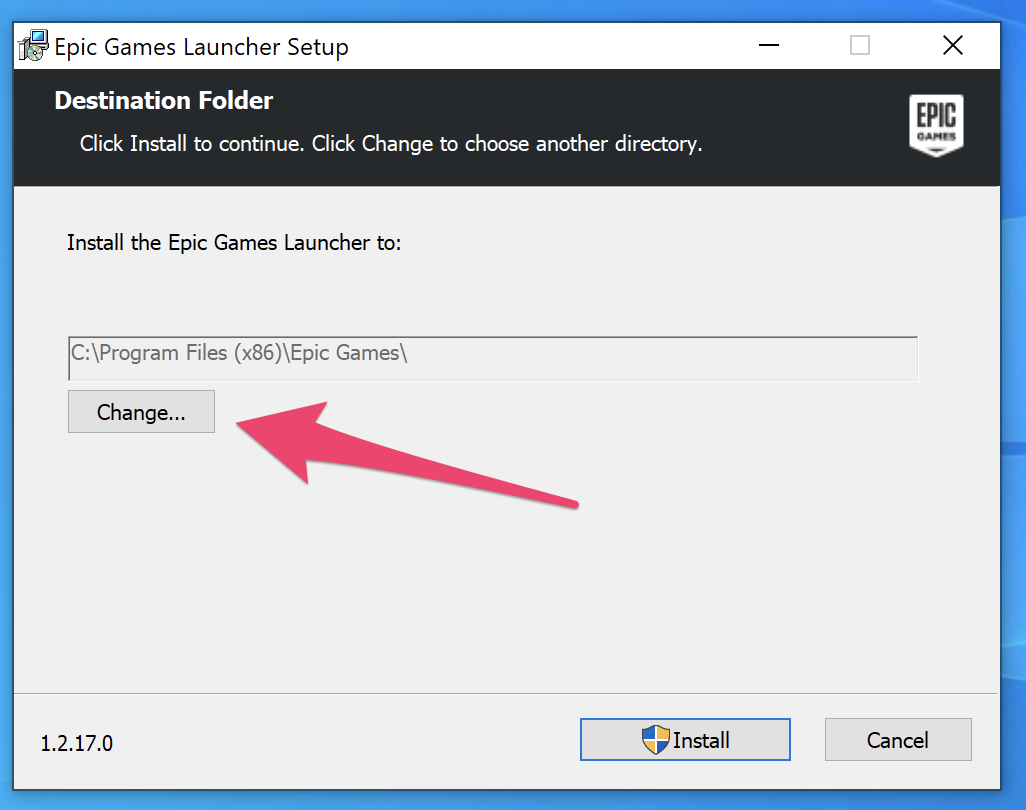
3. When the Epic Games Launcher Setup wizard appears, click the "Change" button to adjust the installation path of the Epic Games Launcher.
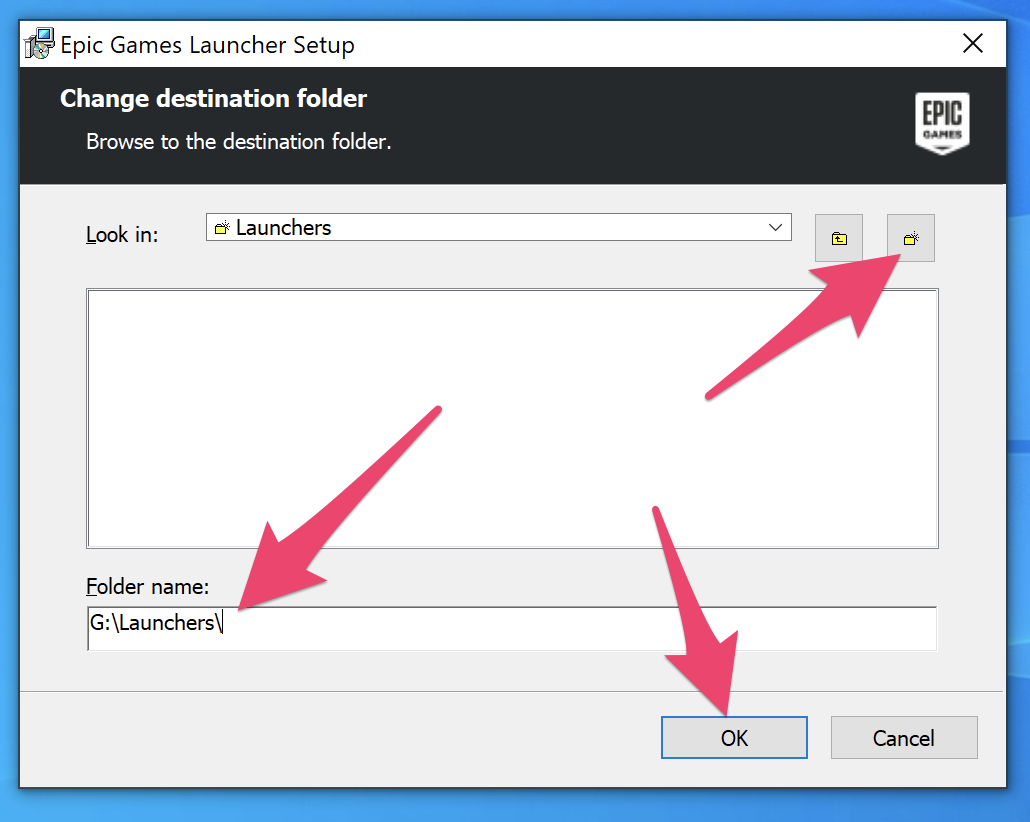
4. If you are following recommendations, browse to the "G:\" drive. Additionally, you may need to pre-create the directory structure to install the Epic Games Launcher to using the "New Folder" button - create the folder "Launchers" within the "G:\" drive if it does not exist, then click the "OK" button to proceed.
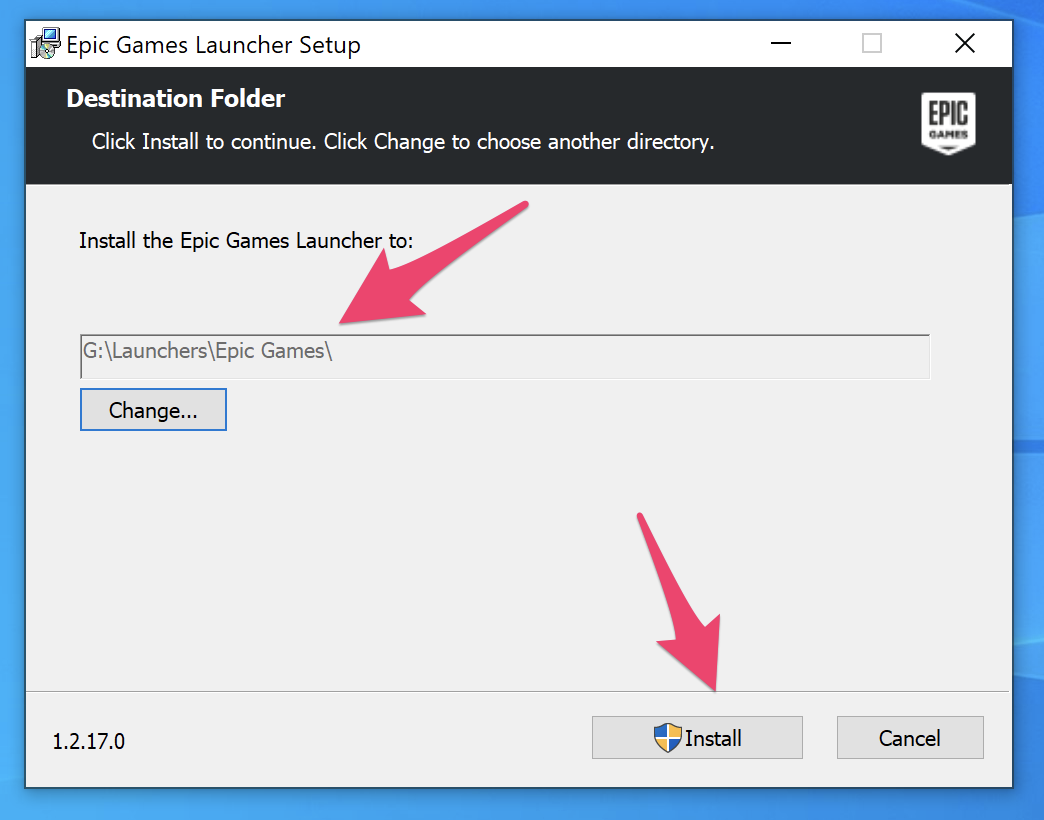
5. Confirm that the installation path for the Epic Games Launcher is "G:\Launchers\Epic Games\", then click the "Install" button to proceed.
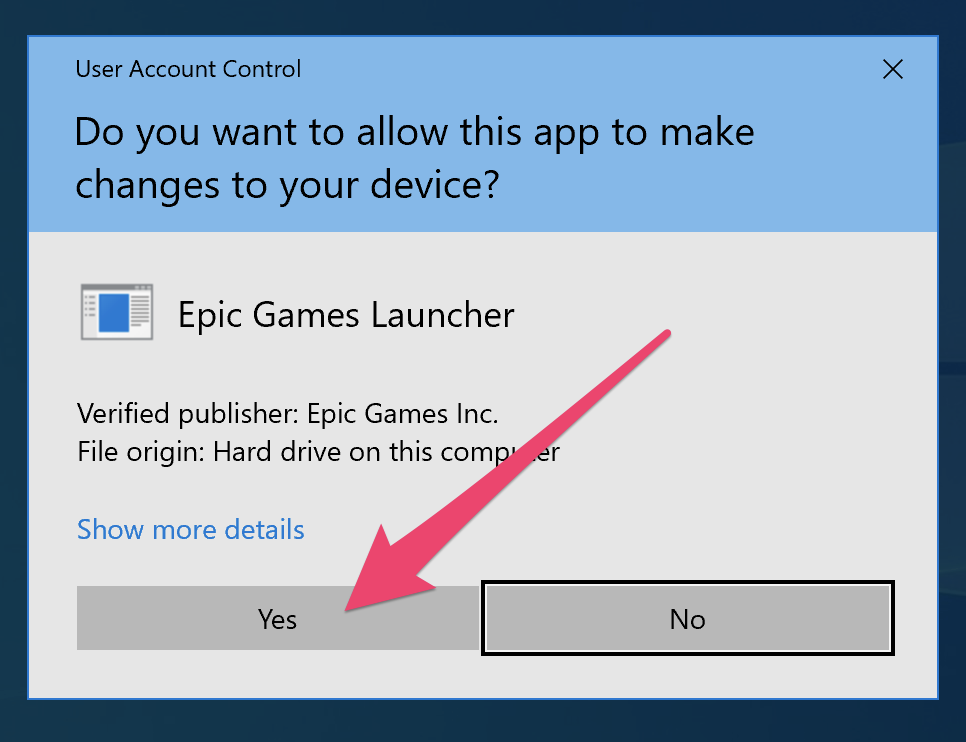
6. If you receive a UAC prompt, please click the "Yes" button to proceed.
7. Wait while the installation of the Epic Games Launcher completes.

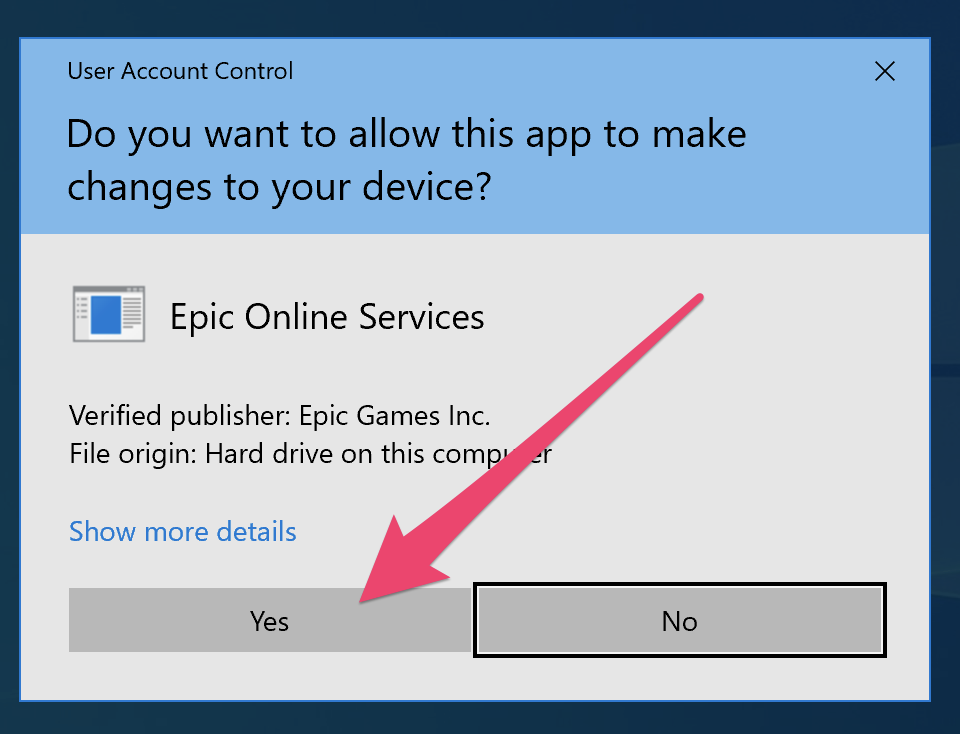
8. If you receive a secondary UAC prompt for Epic Online Services, please click the "Yes" button to proceed. You may need to activate the window in the Windows taskbar if there is a flashing orange icon present.
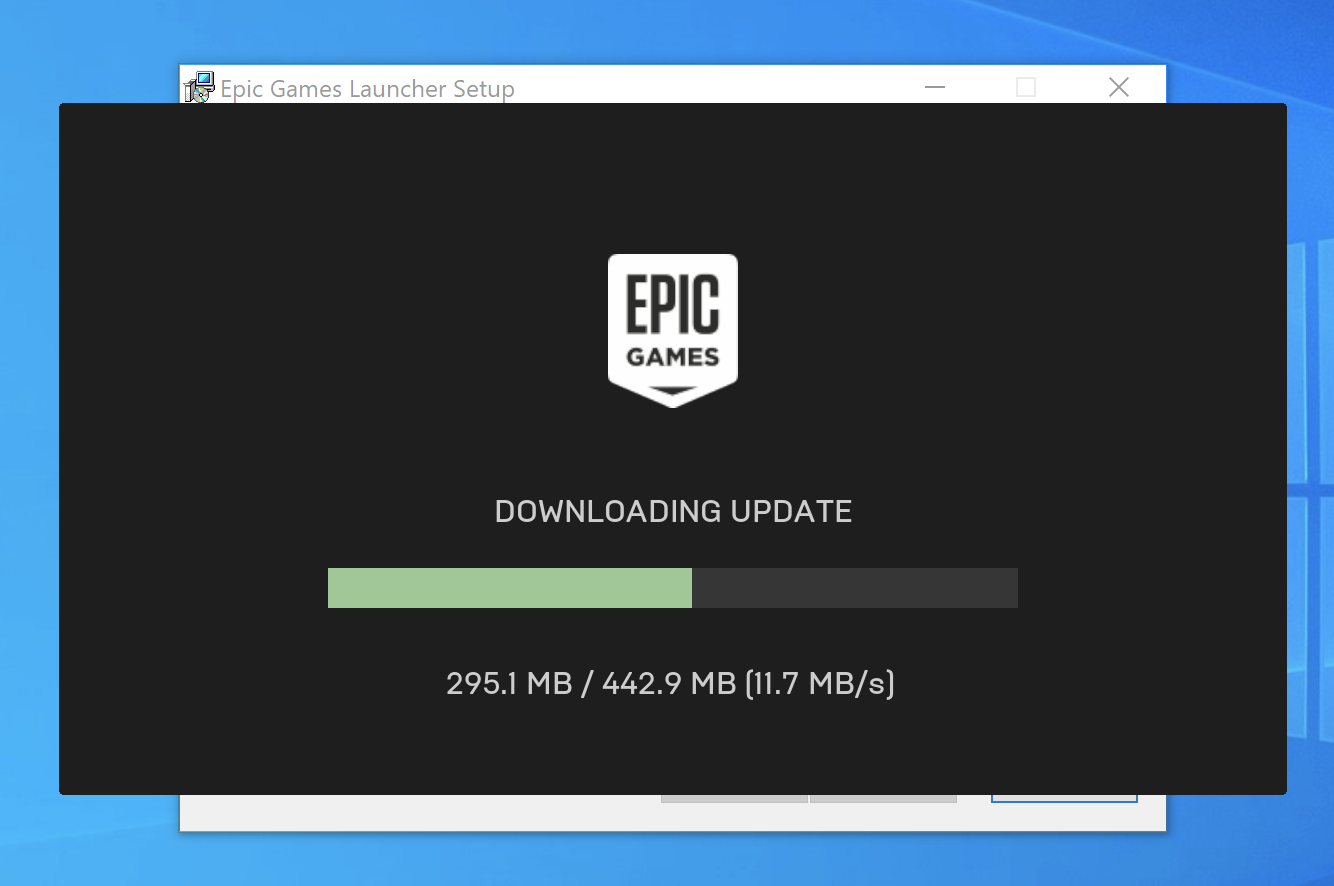
9. Wait while Epic Online Services and updates are installed.
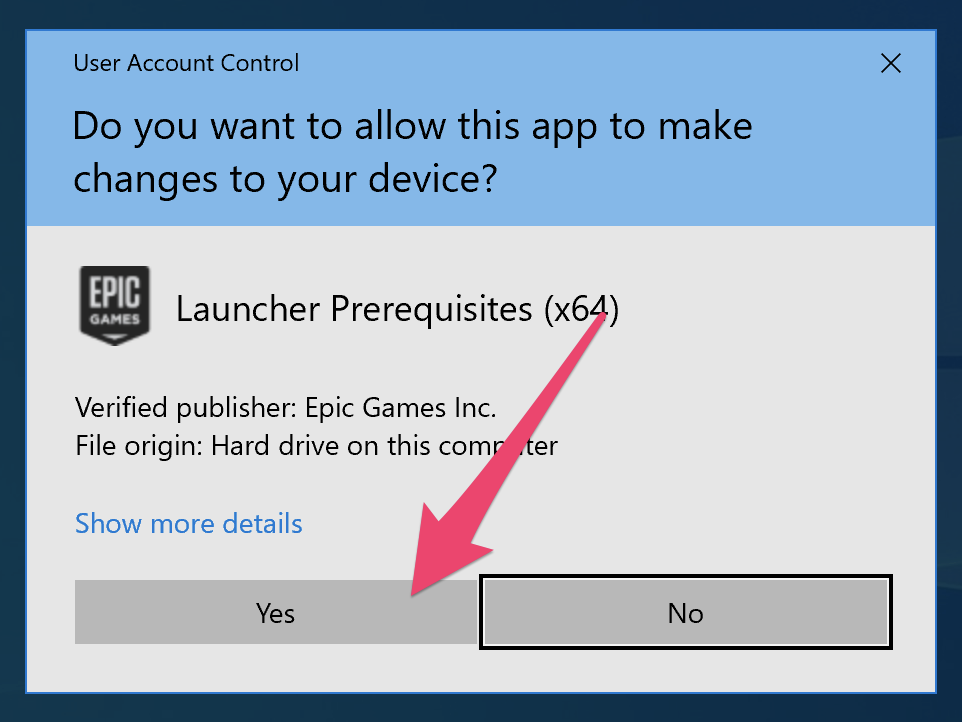
10. If you receive yet another UAC prompt for Launcher Prerequisites, click the "Yes" button to proceed.
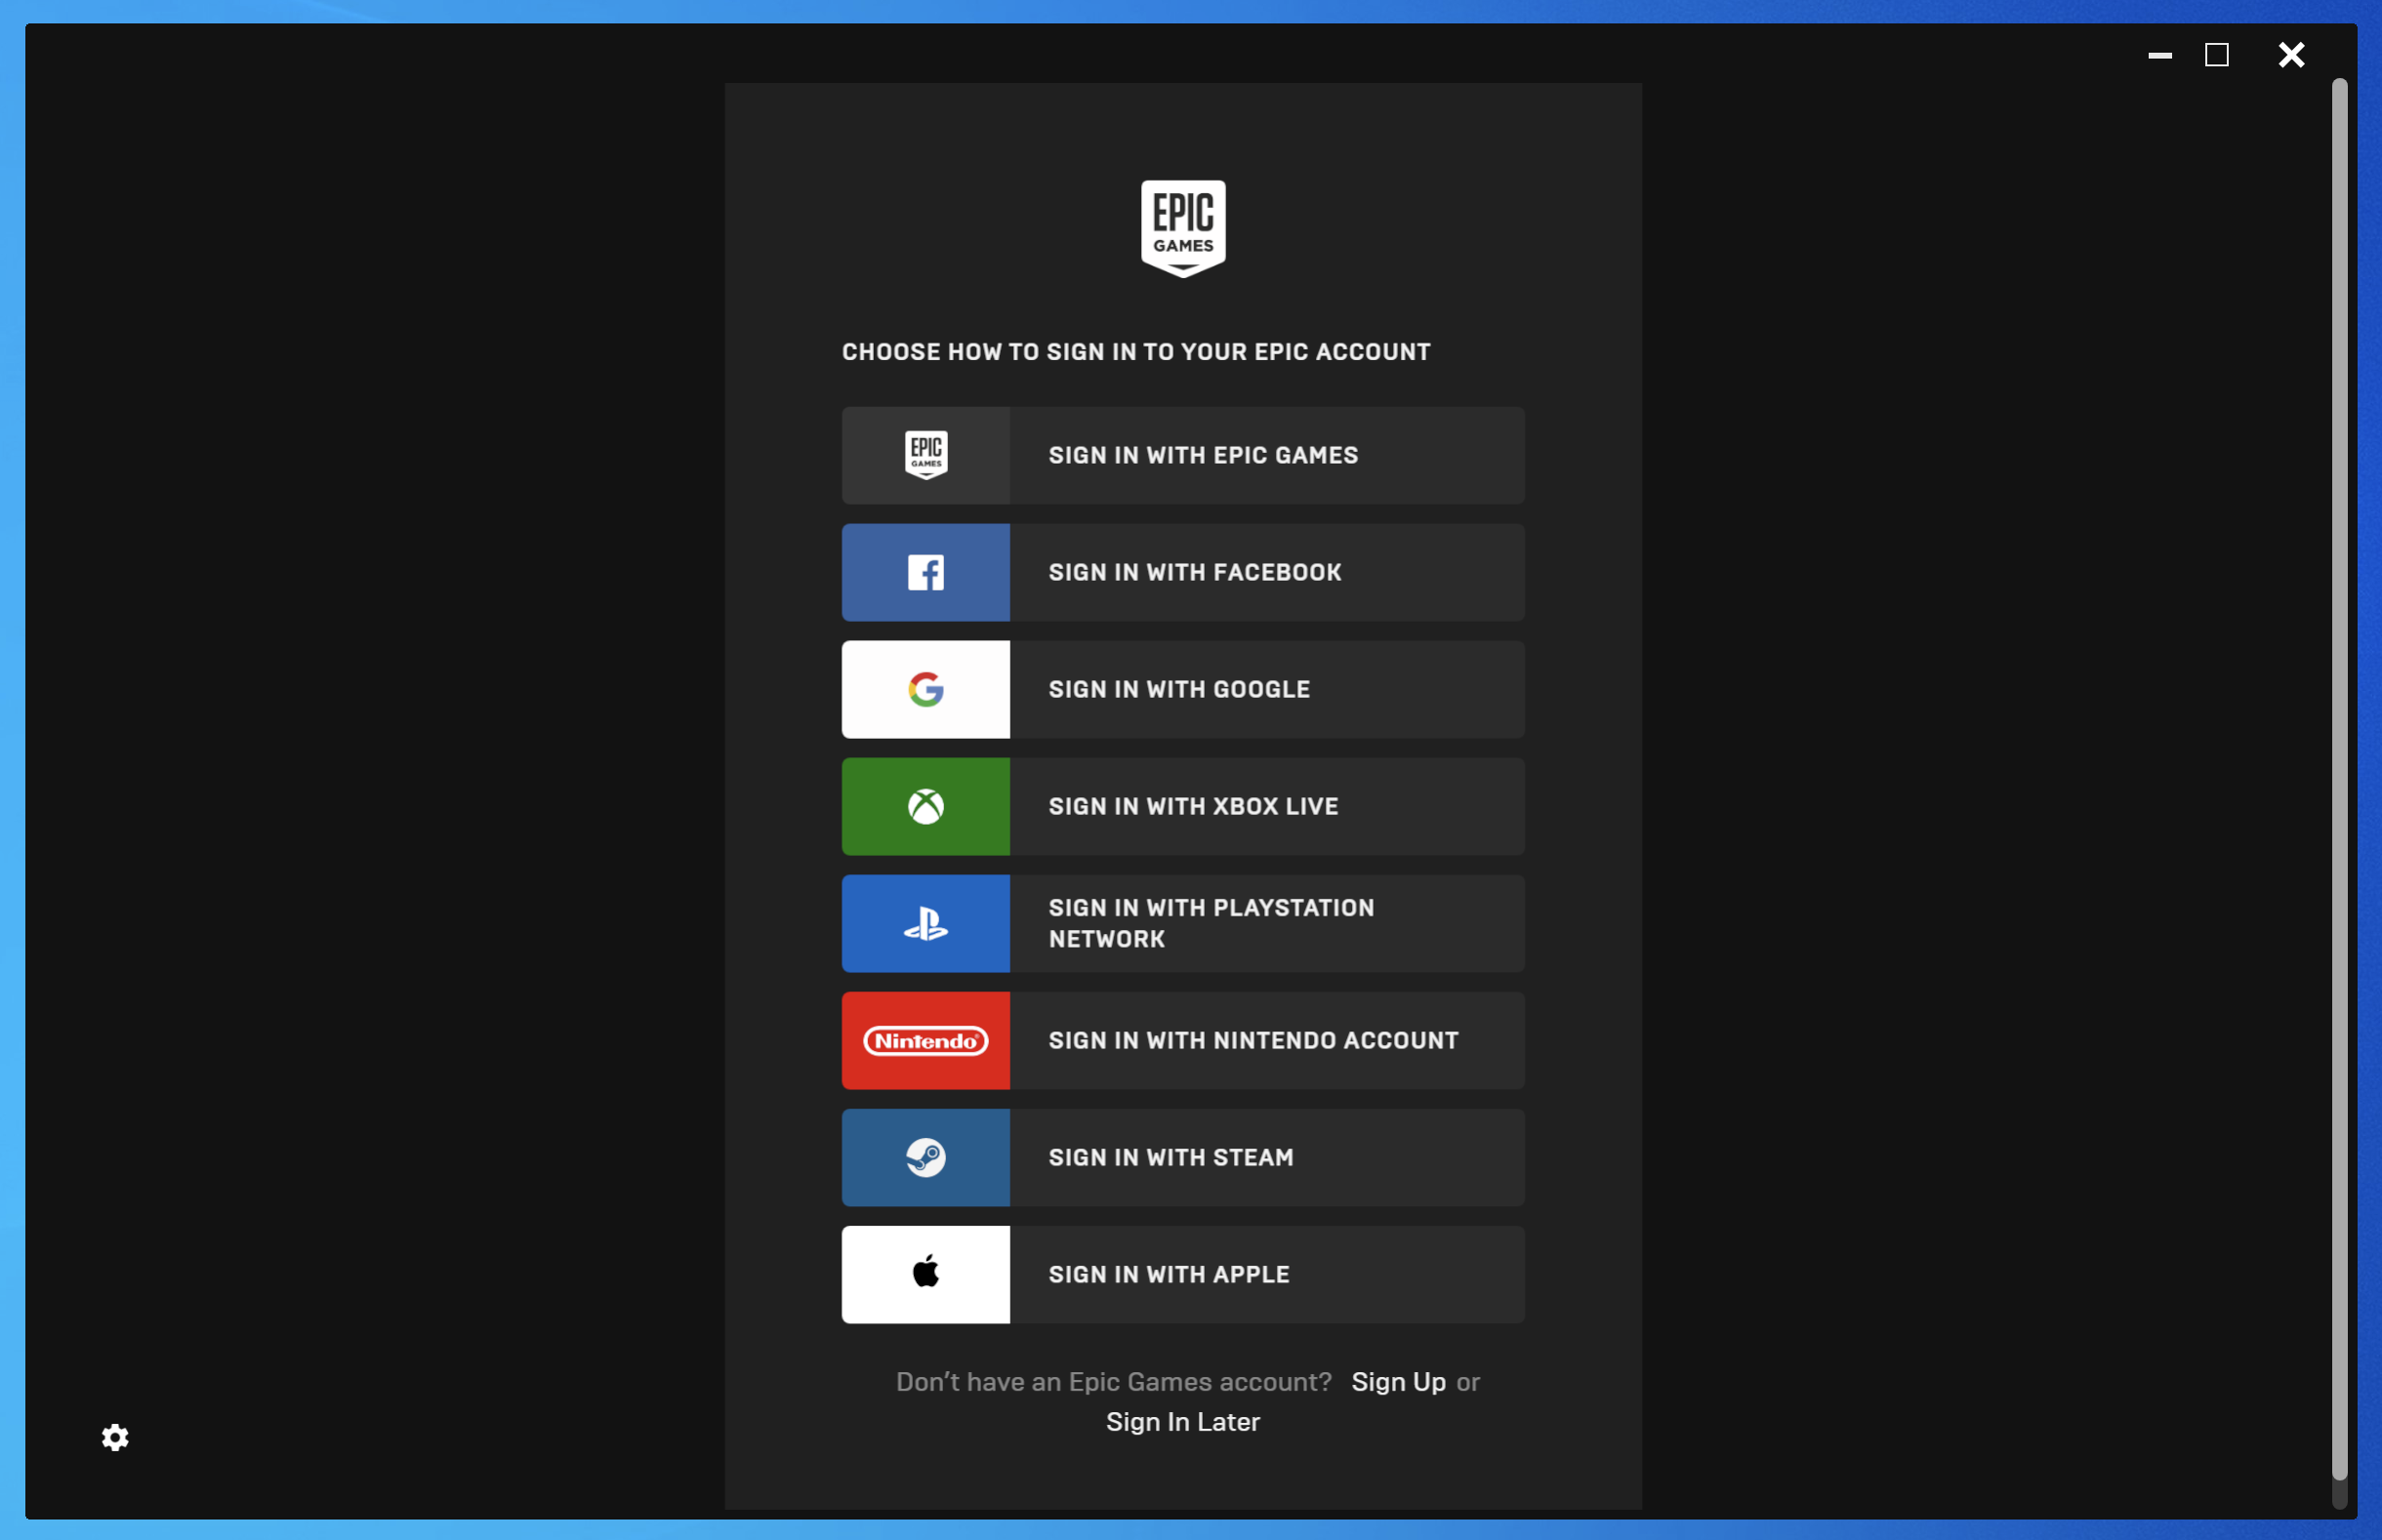
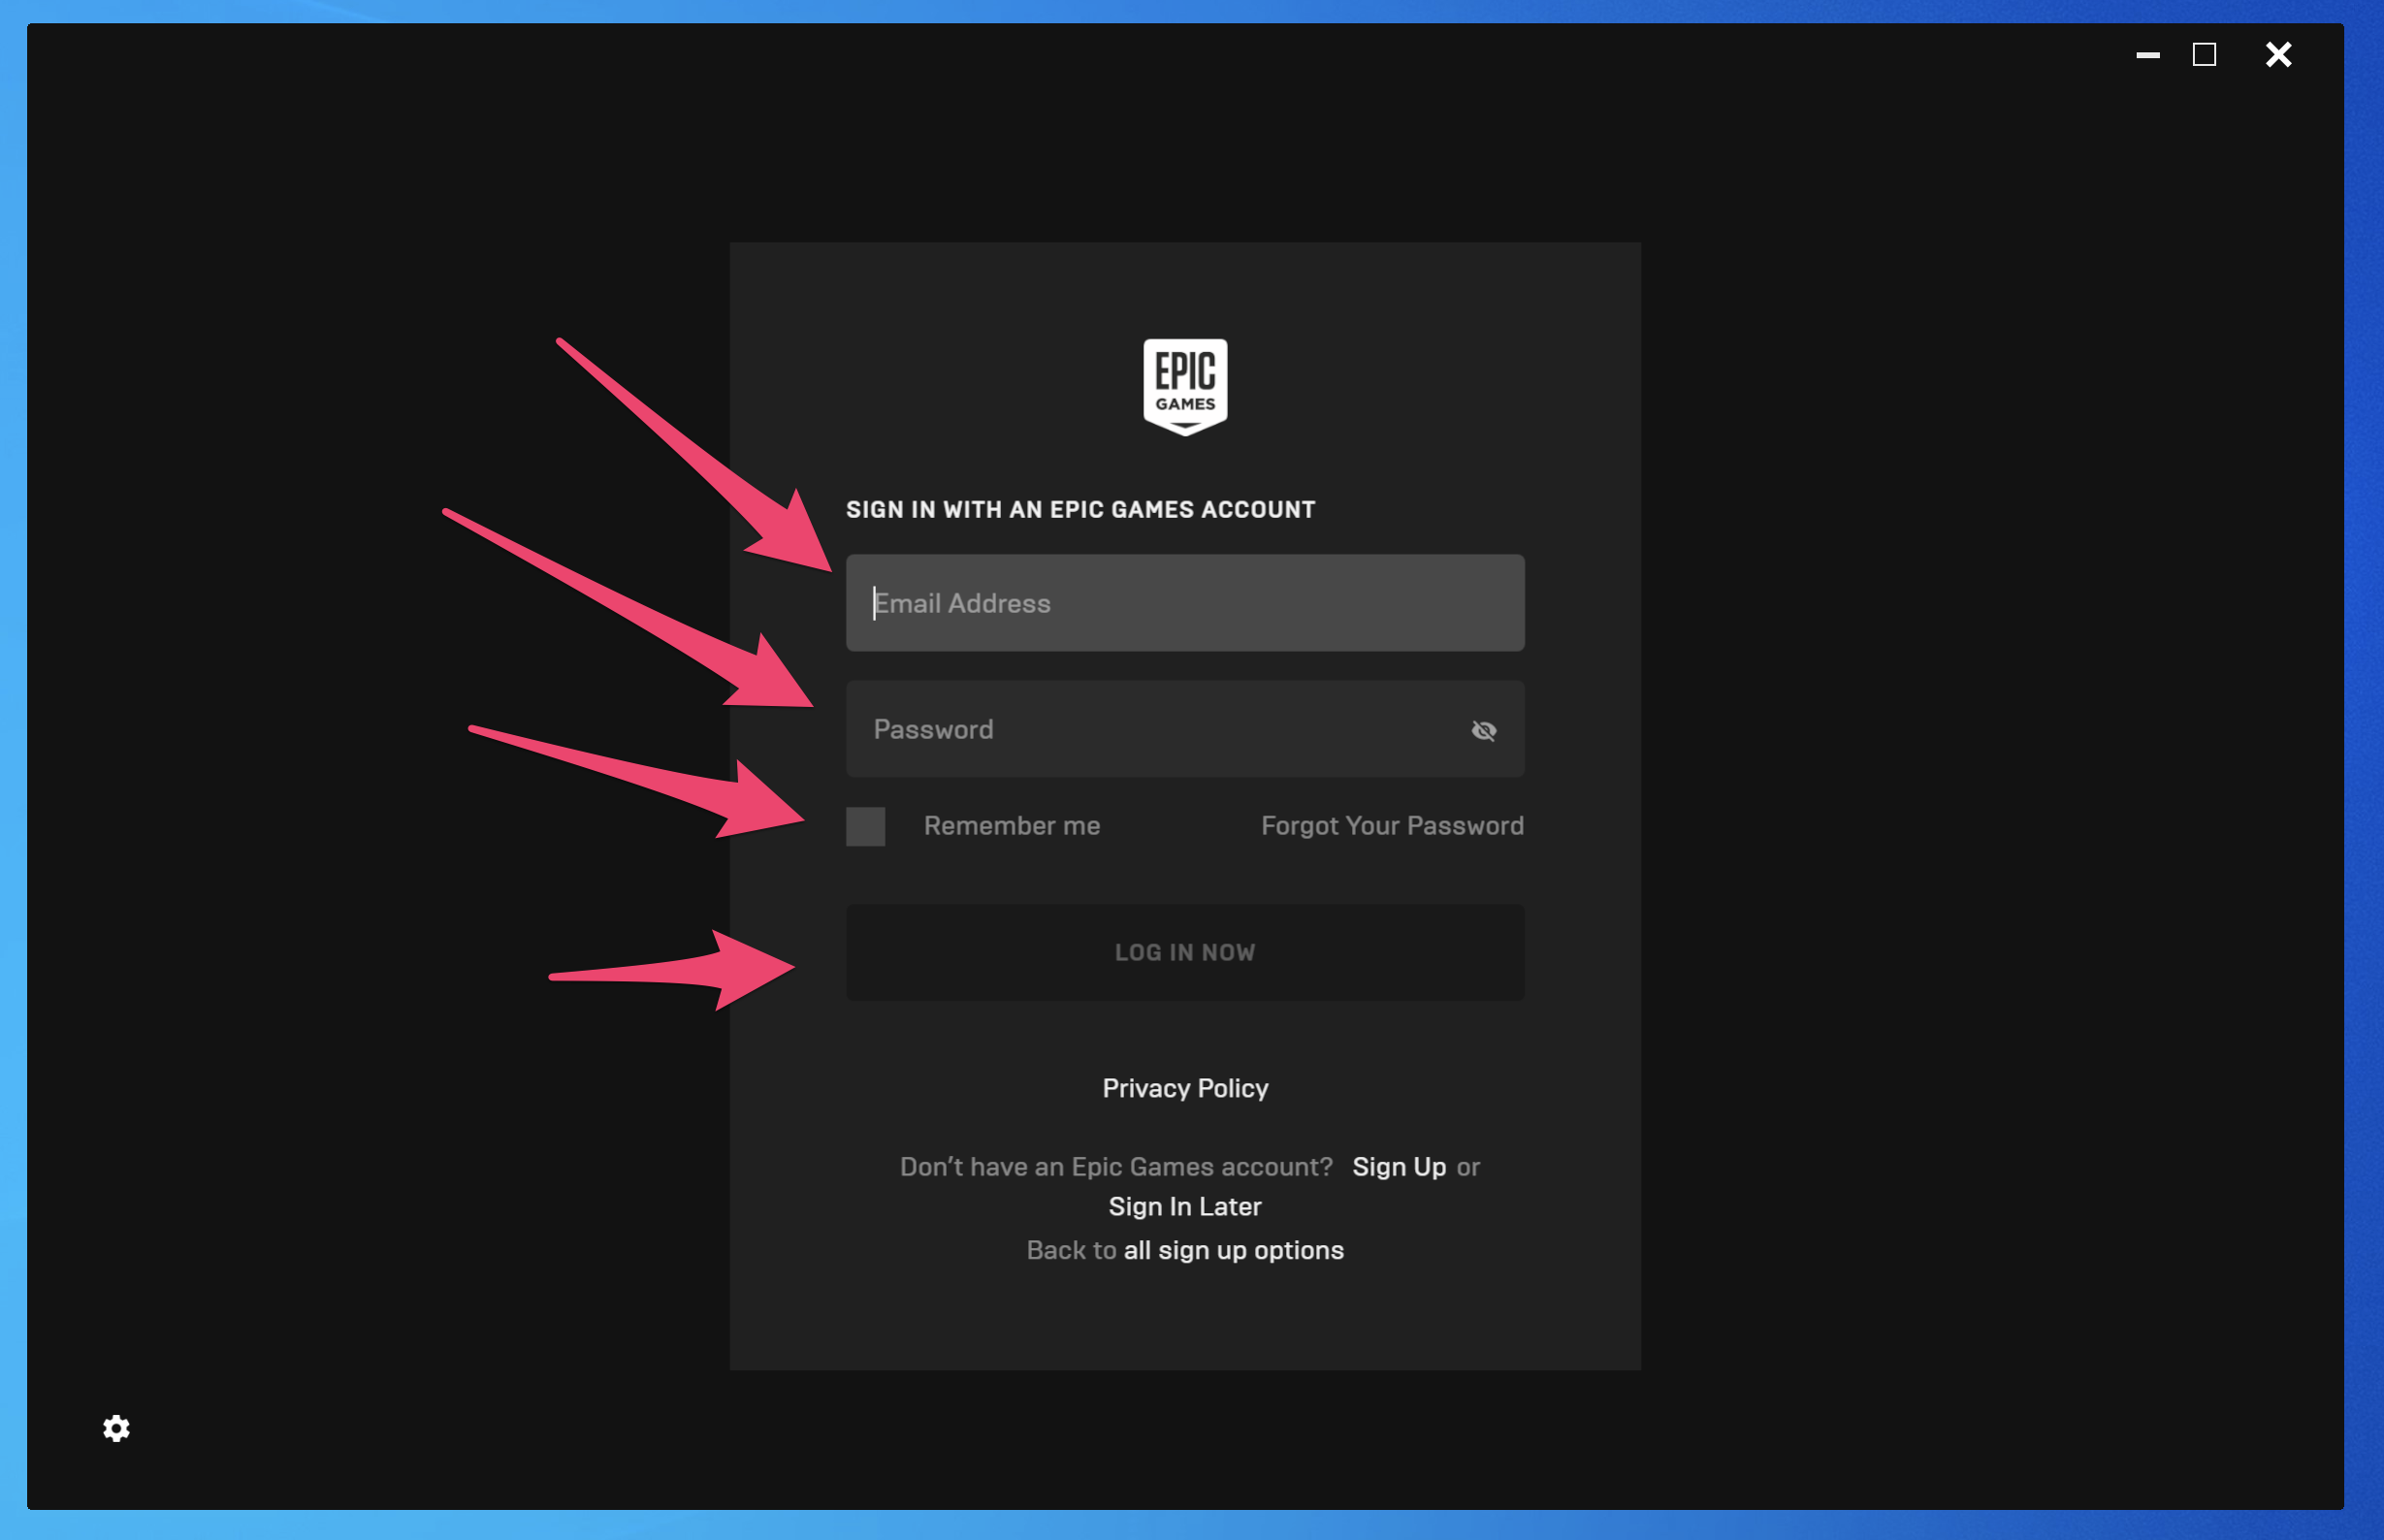
11. Choose a sign-in method, entering your Epic Games email address and password when prompted (in this example, "Sign In With Epic Games" was selected), making sure to uncheck "Remember Me". Click the "Log In Now" button to proceed.
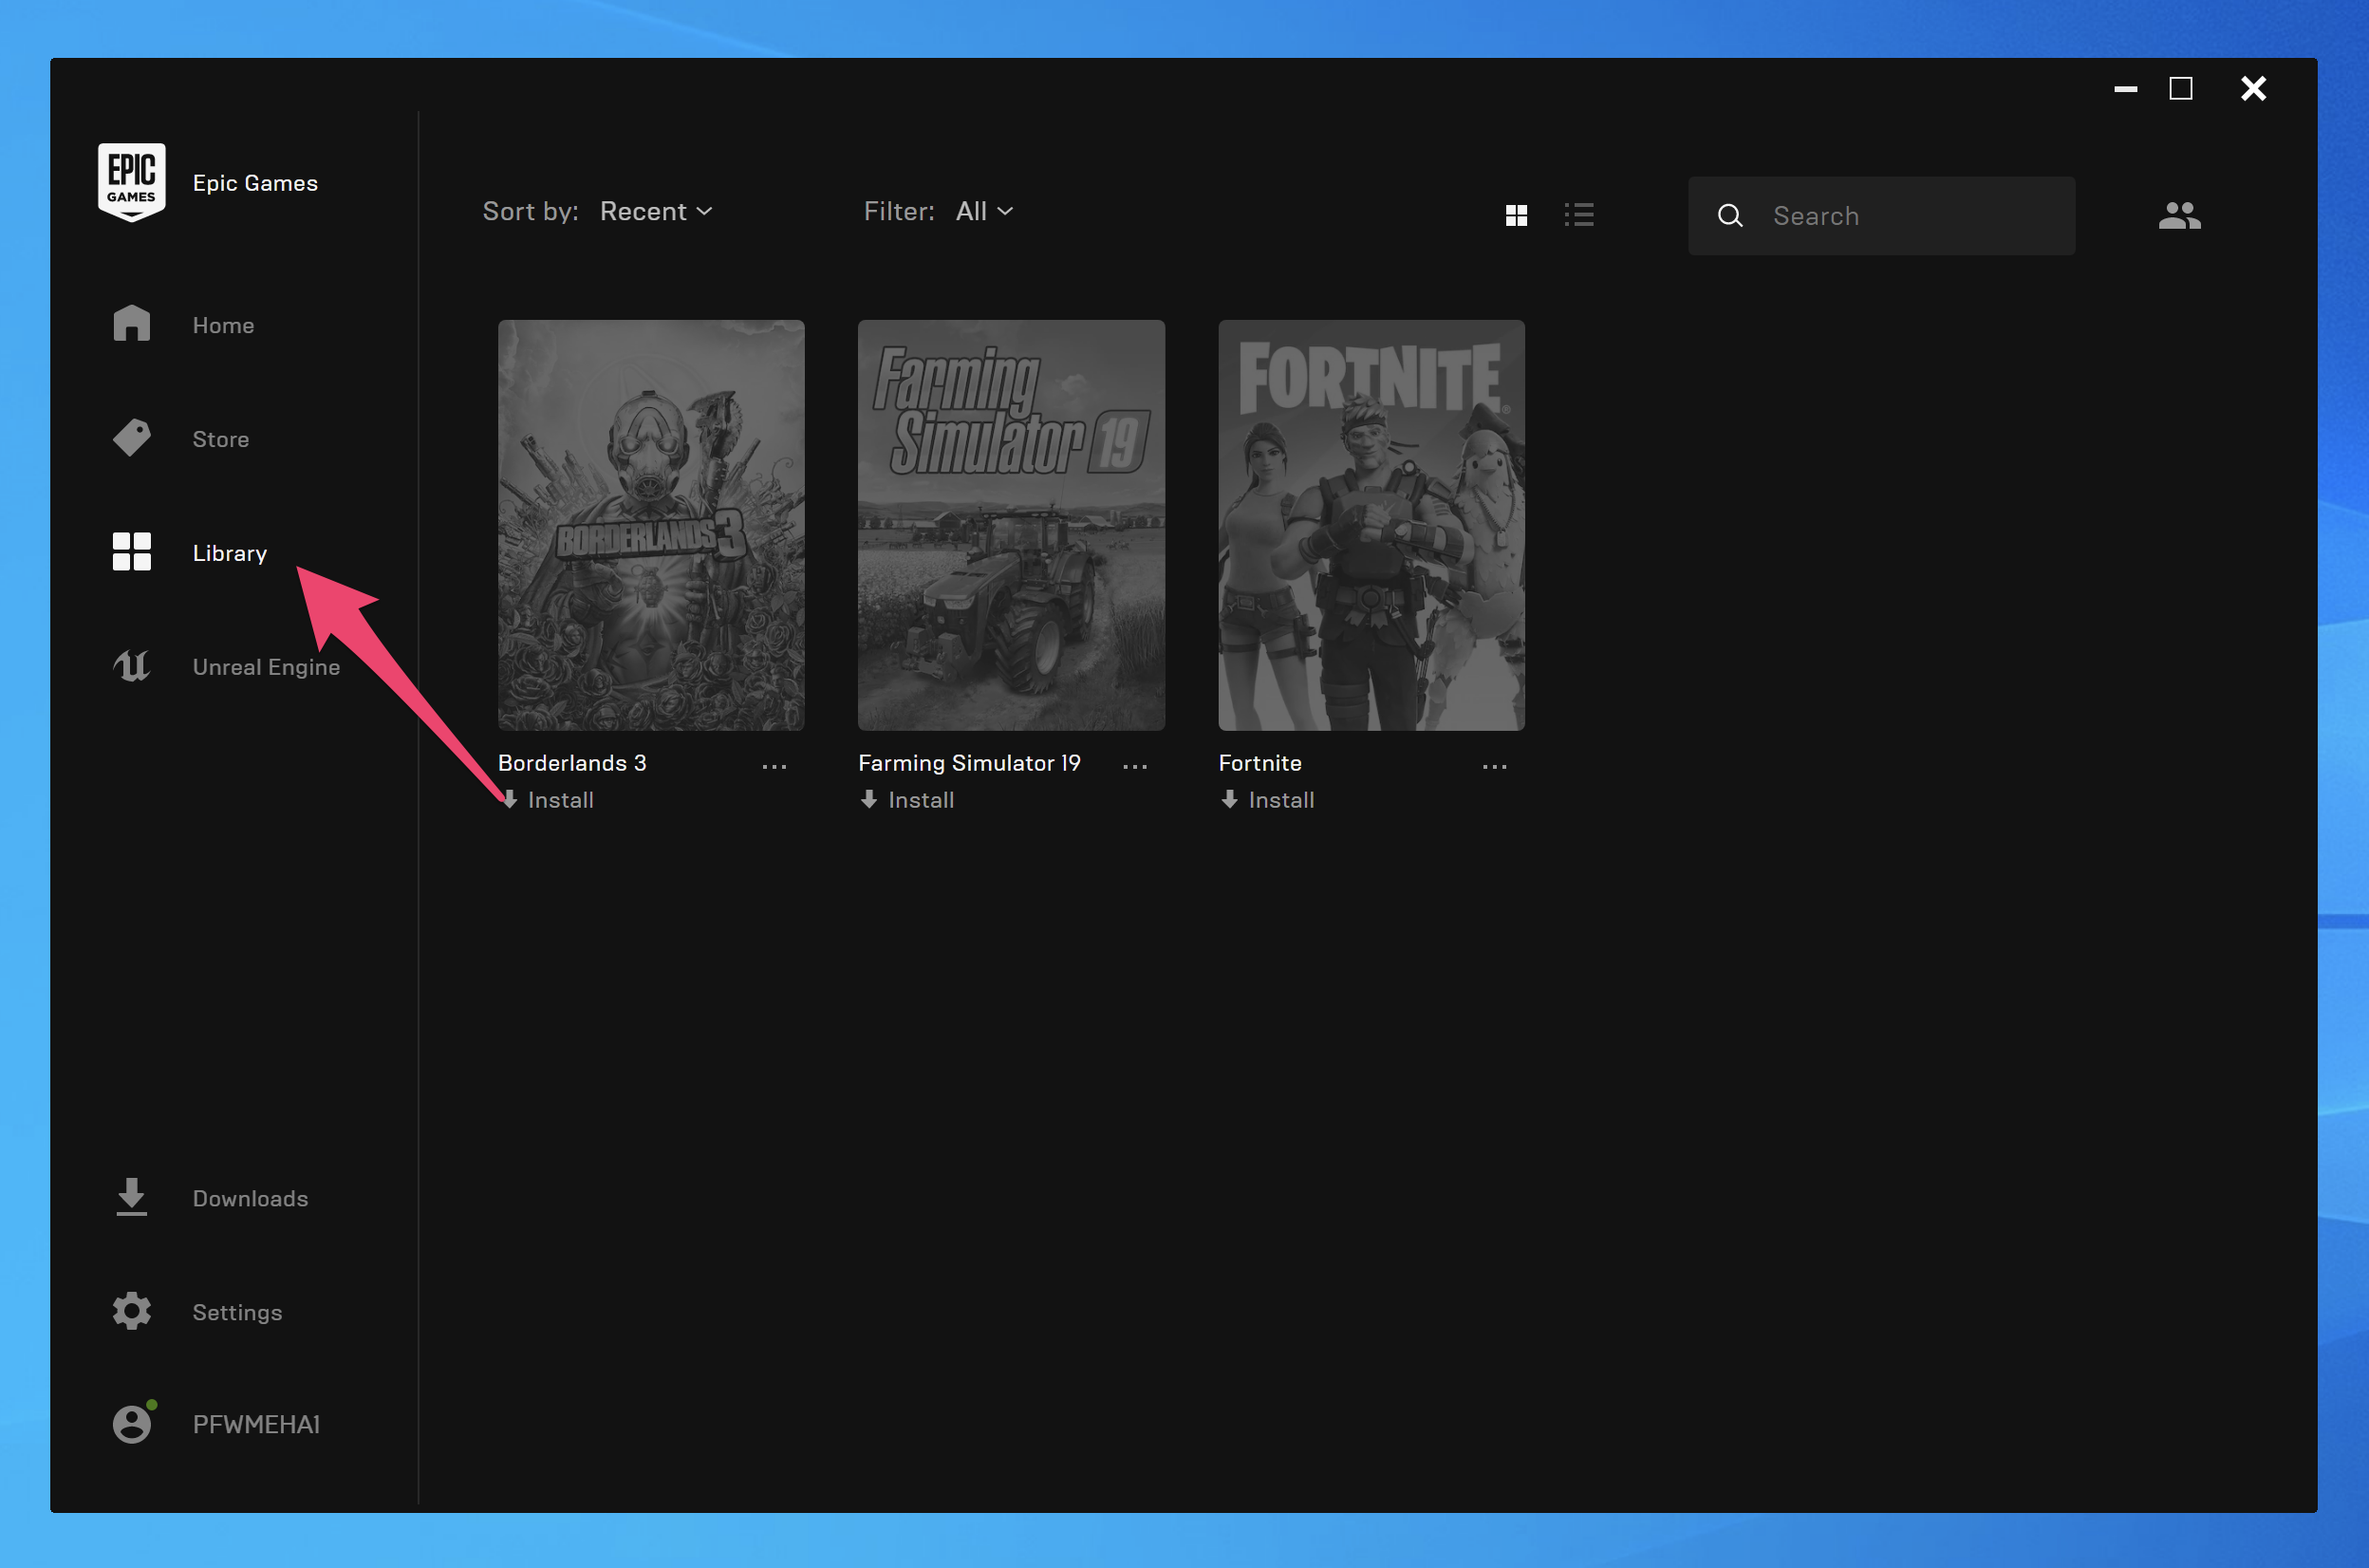
12. Once logged in, click the "Library" tab to the left of the Epic Games Launcher window.
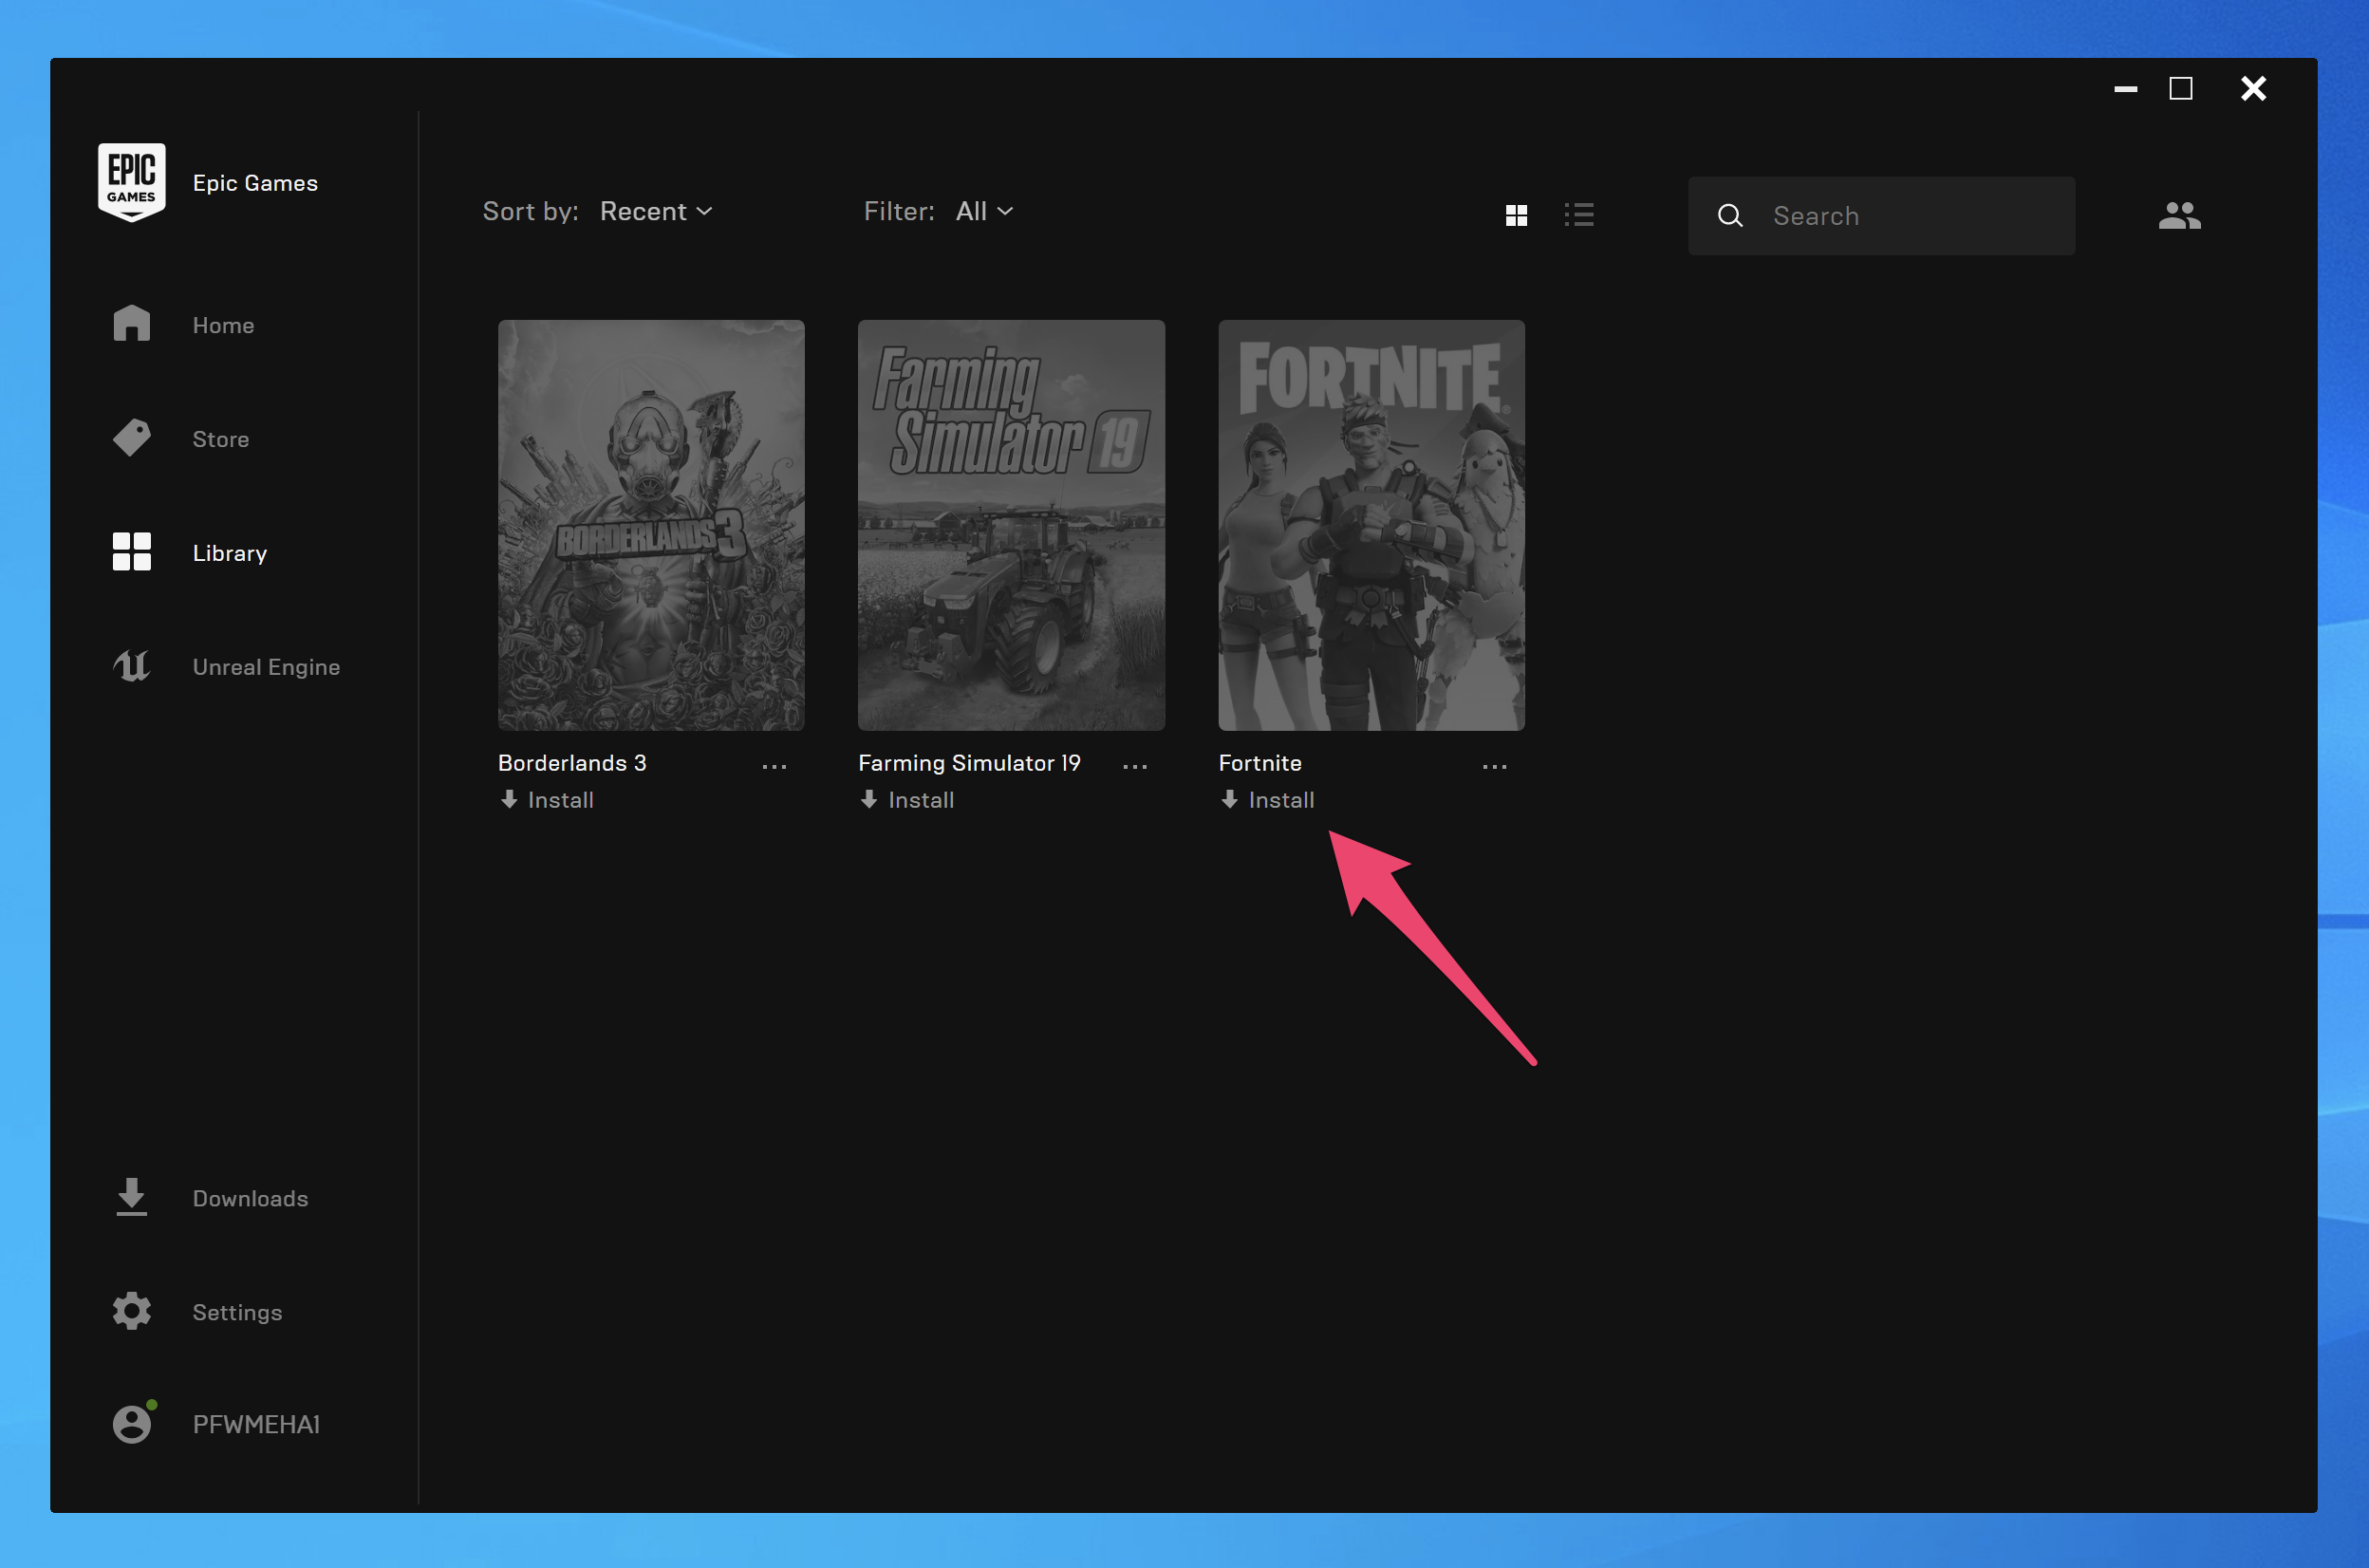
13. If the Epic Games account you signed in with already owns games, they will appear here. Otherwise, purchase a game from the Epic Games store. Click the "Install" link to the bottom-right of any game in the Library (or if purchasing a new game this step may launch automatically.
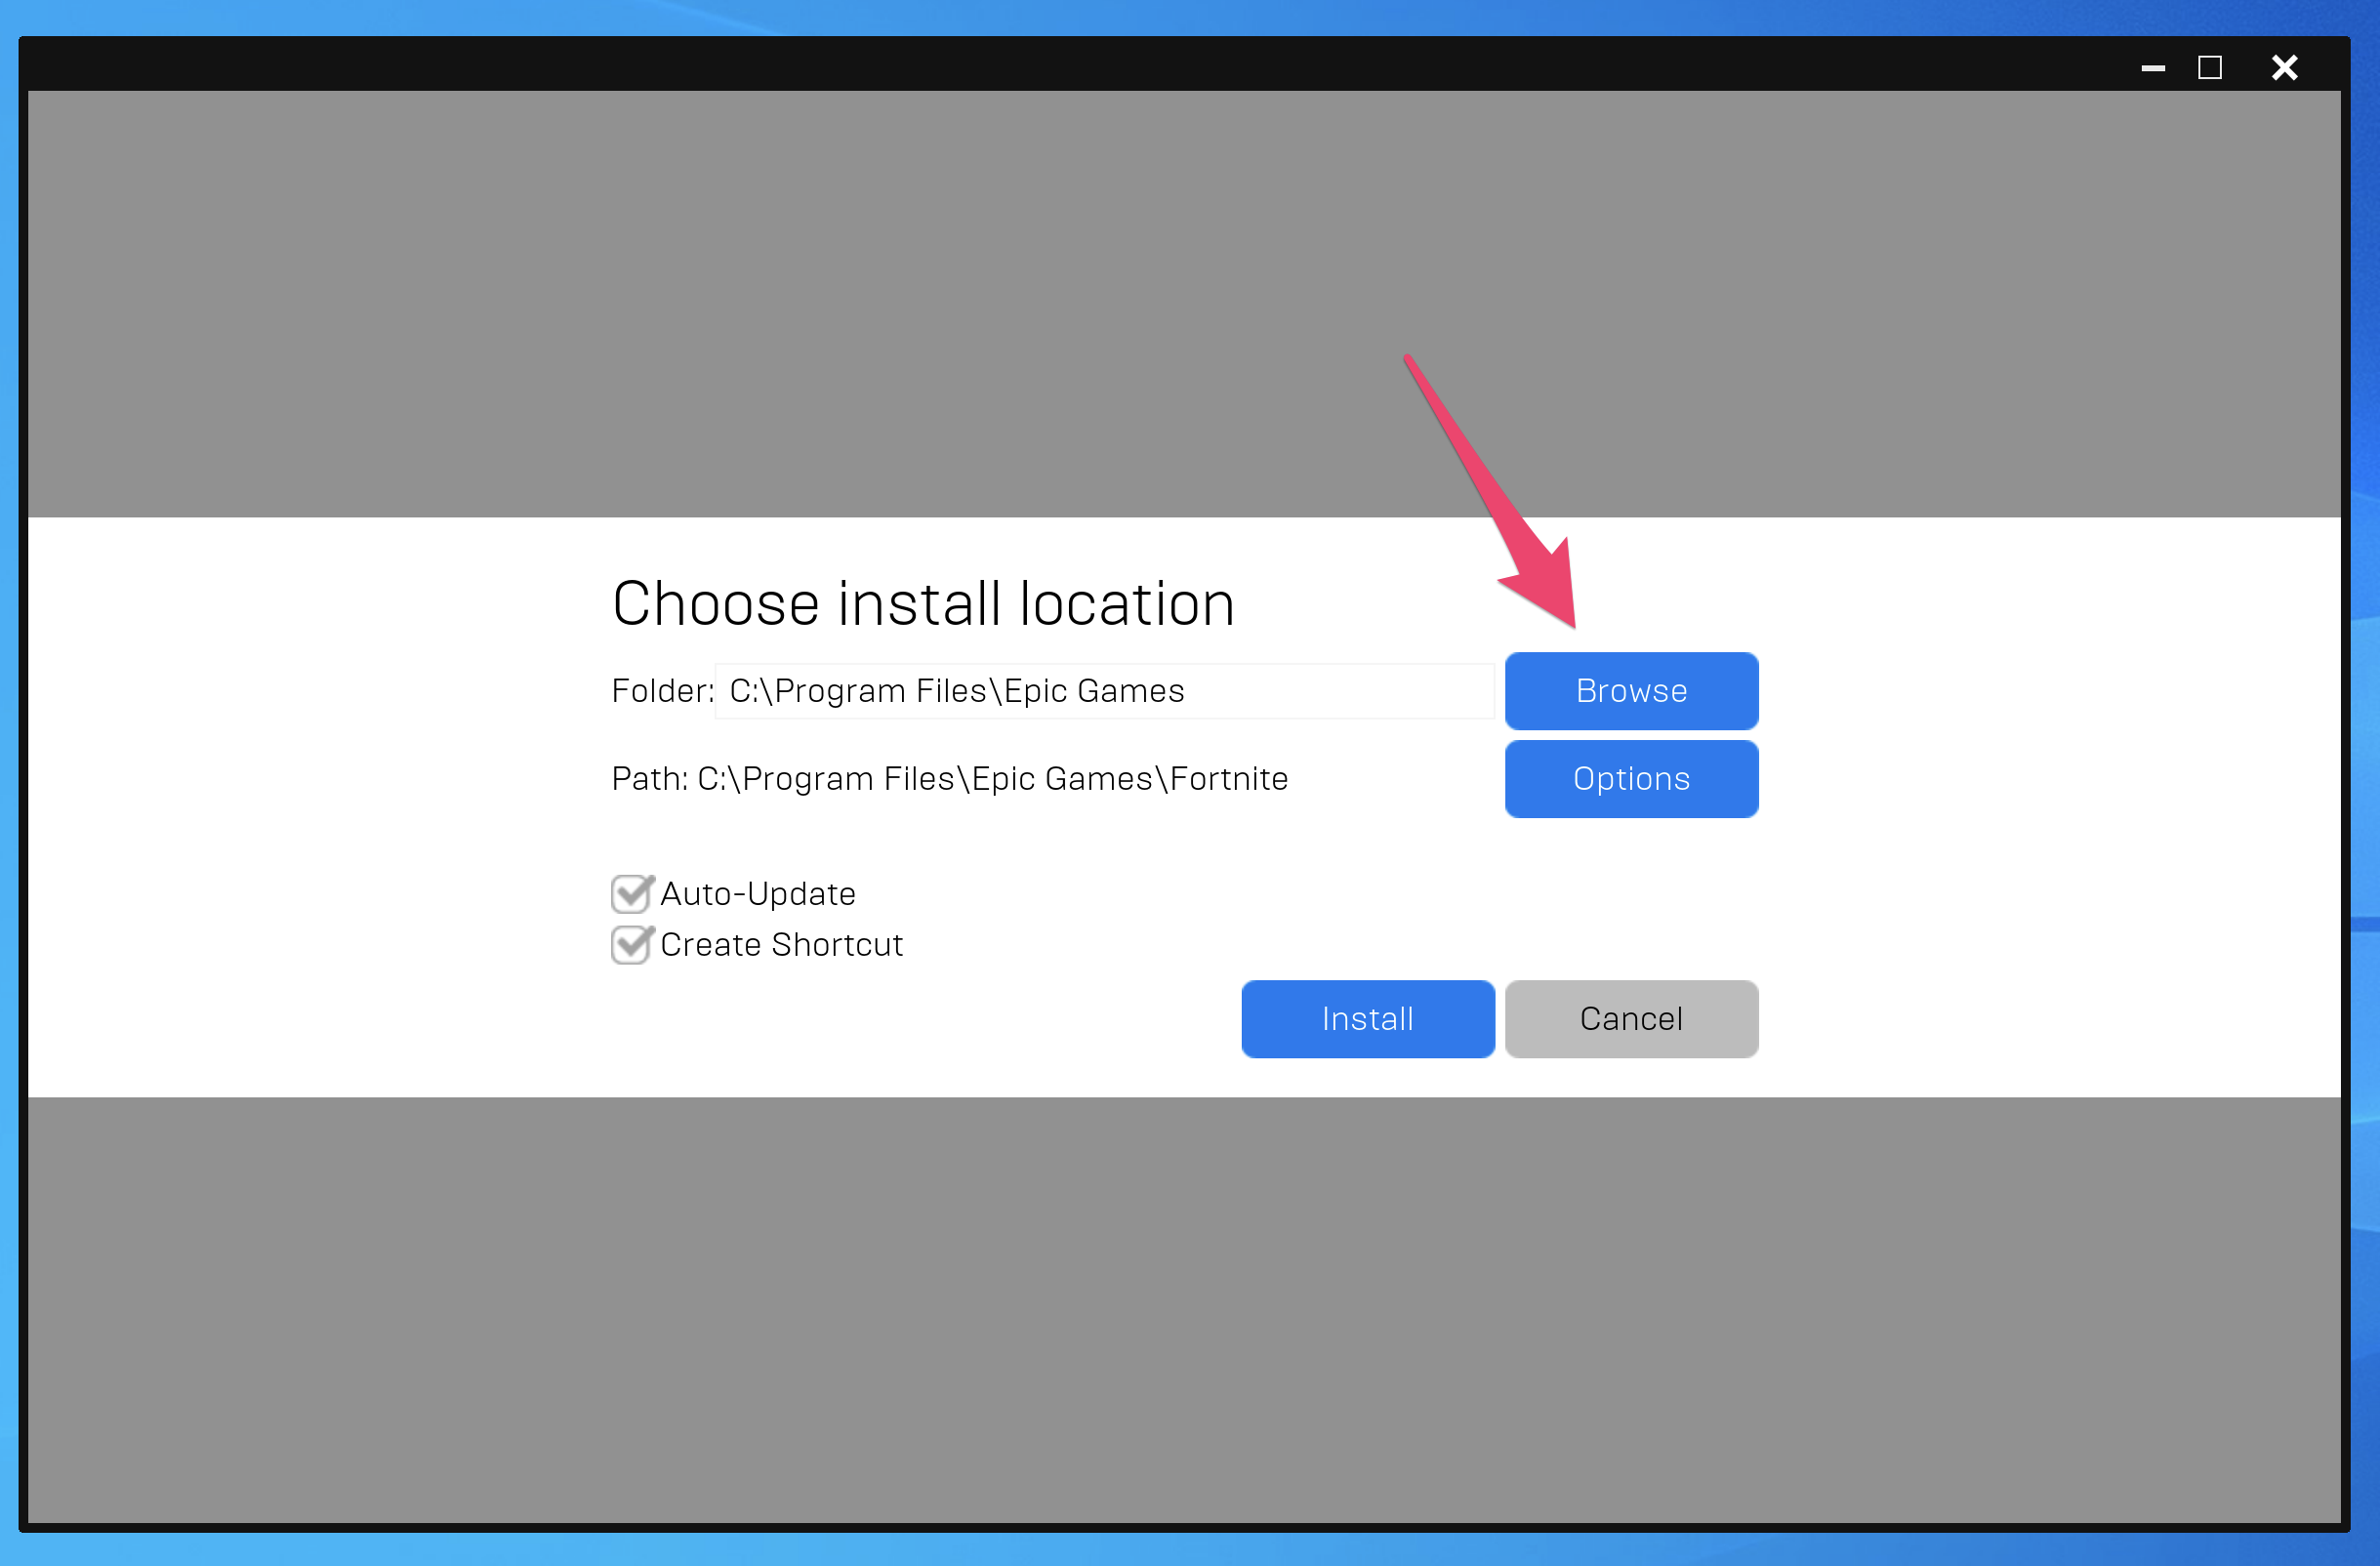
14. Click the "Browse" button to select the appropriate path for the Epic Games Library.
15. If you are following recommendations, browse to the "G:\" drive. Additionally, you may need to pre-create the directory structure to install the game to using the "New Folder" button - create the folder "Games" within the "G:\" drive if it does not exist, then click the "Select Folder" button to proceed.
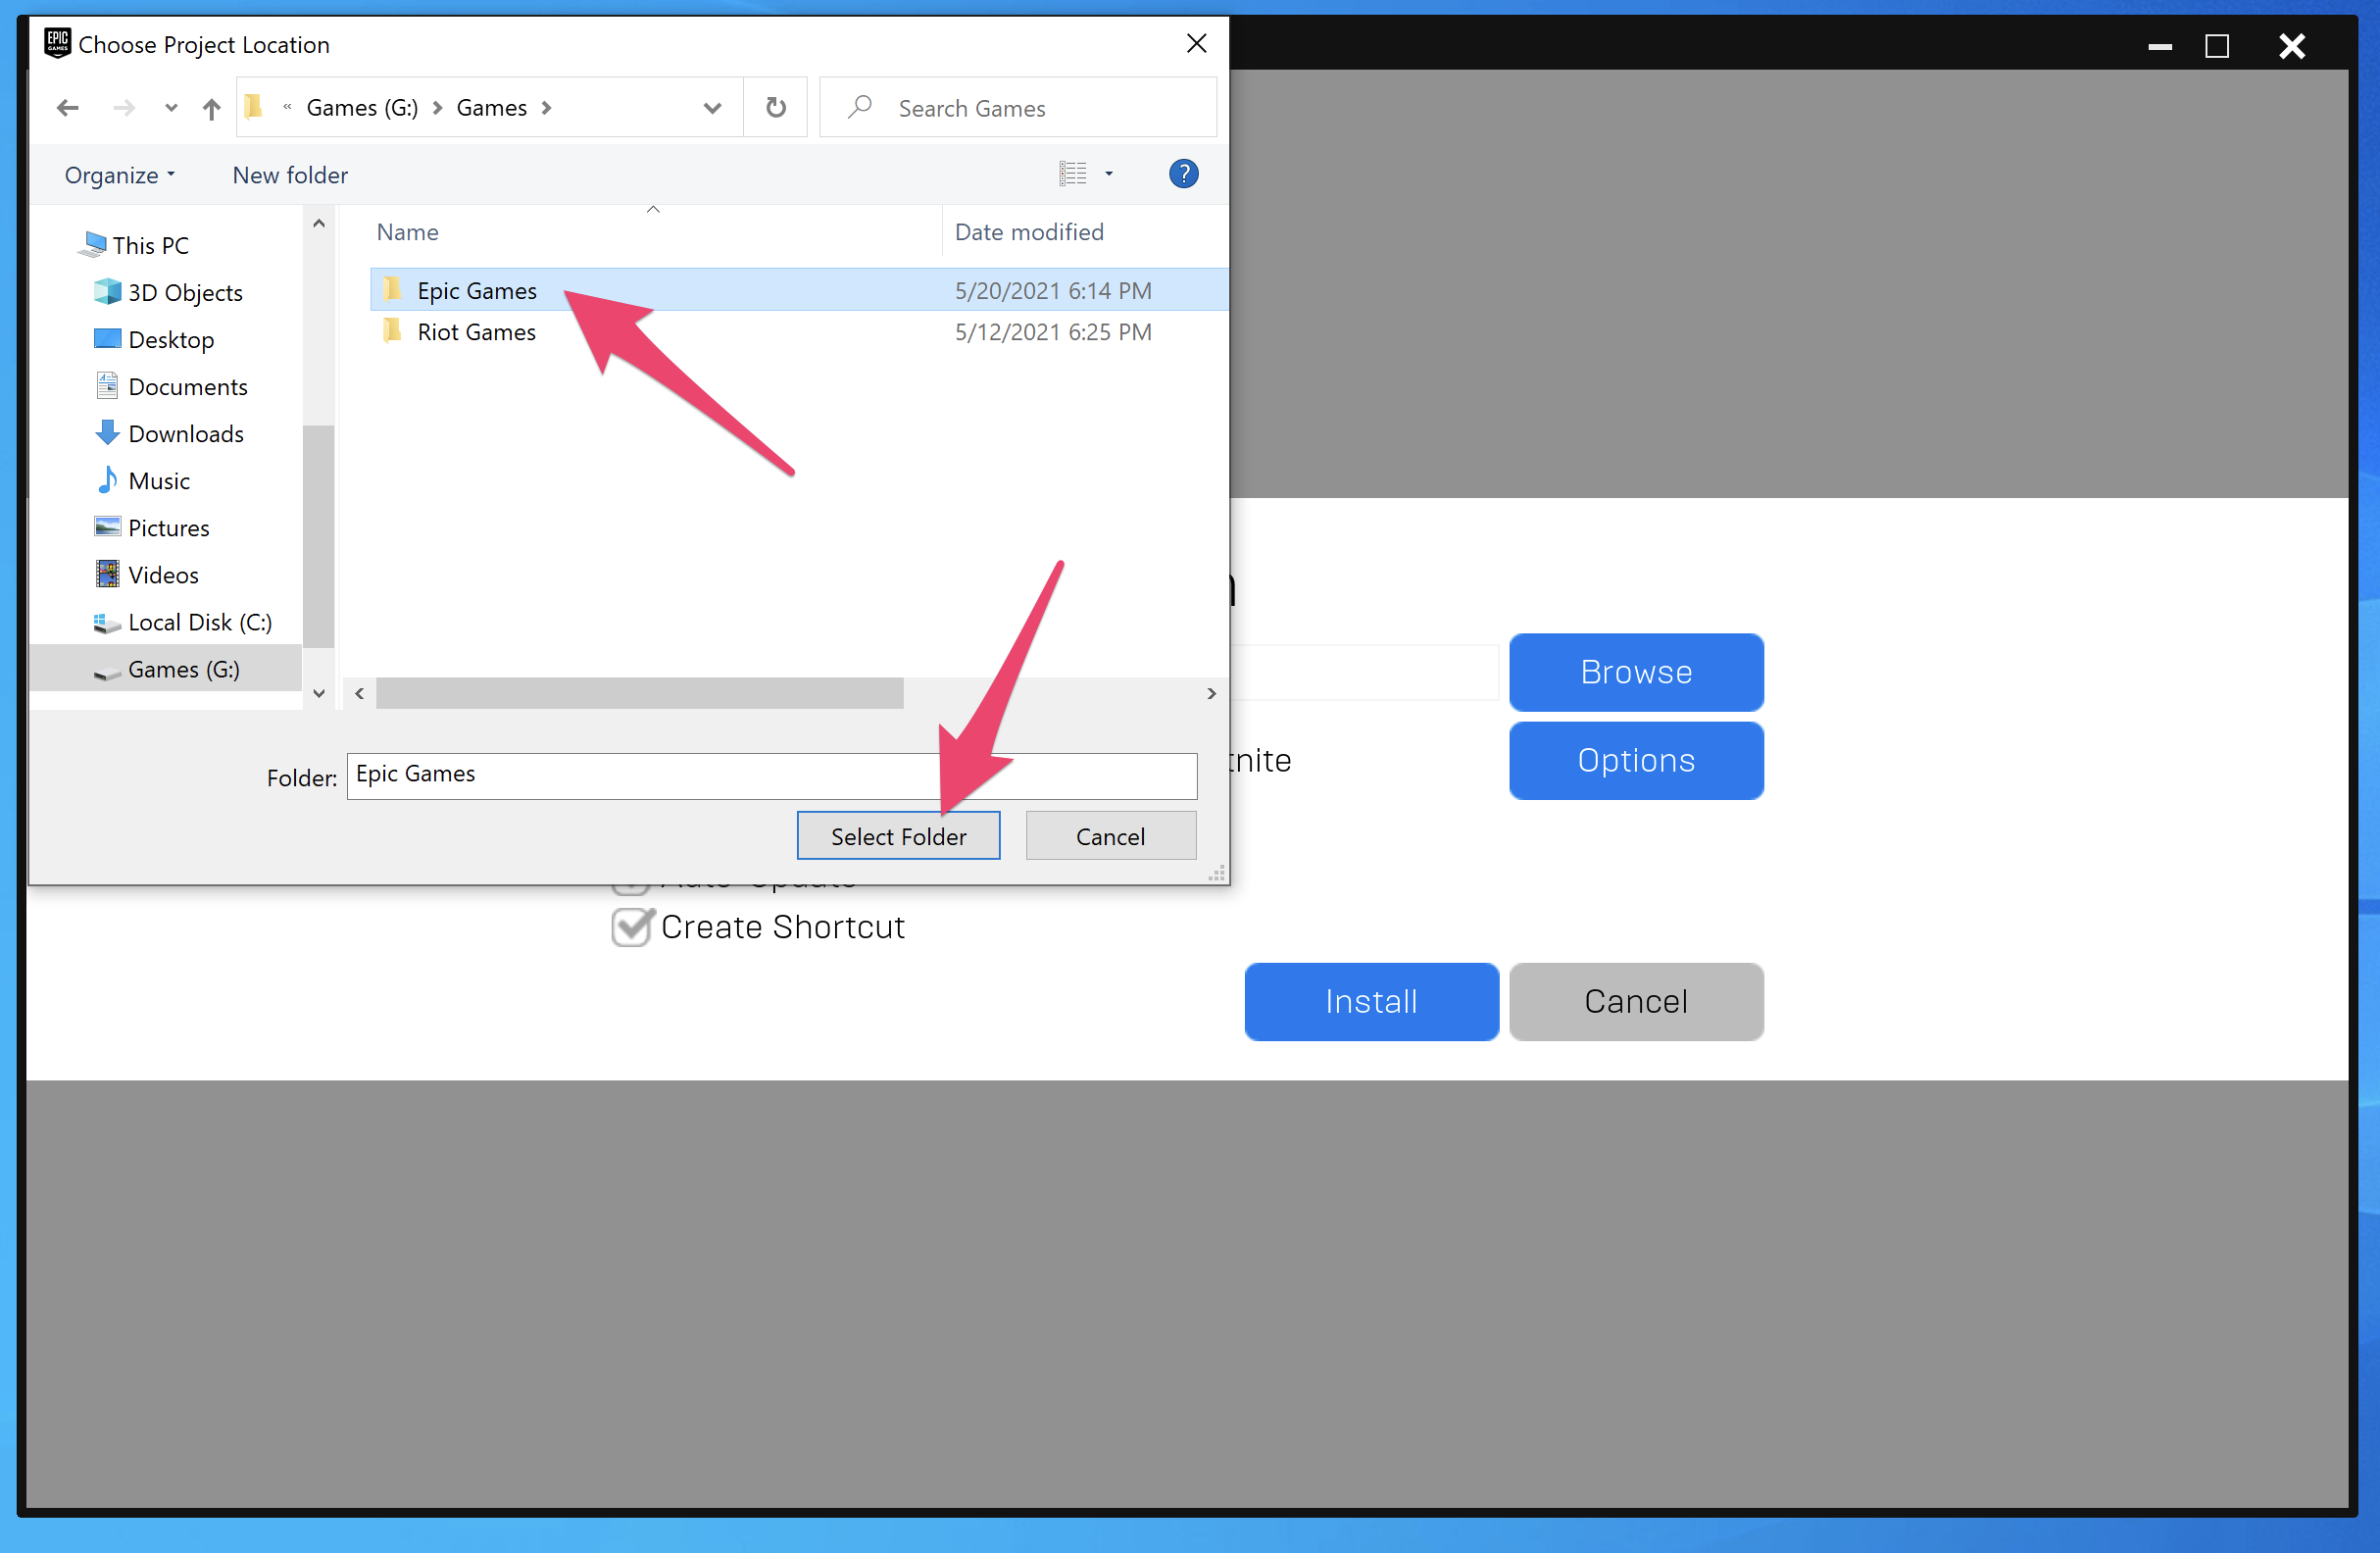
16. Confirm the installation folder and path are correct (G:\Games\Epic Games, and G:\Games\Epic Games\<Your Game Name Here, respectively), configure any desired additional options, then click the "Install" button to proceed.
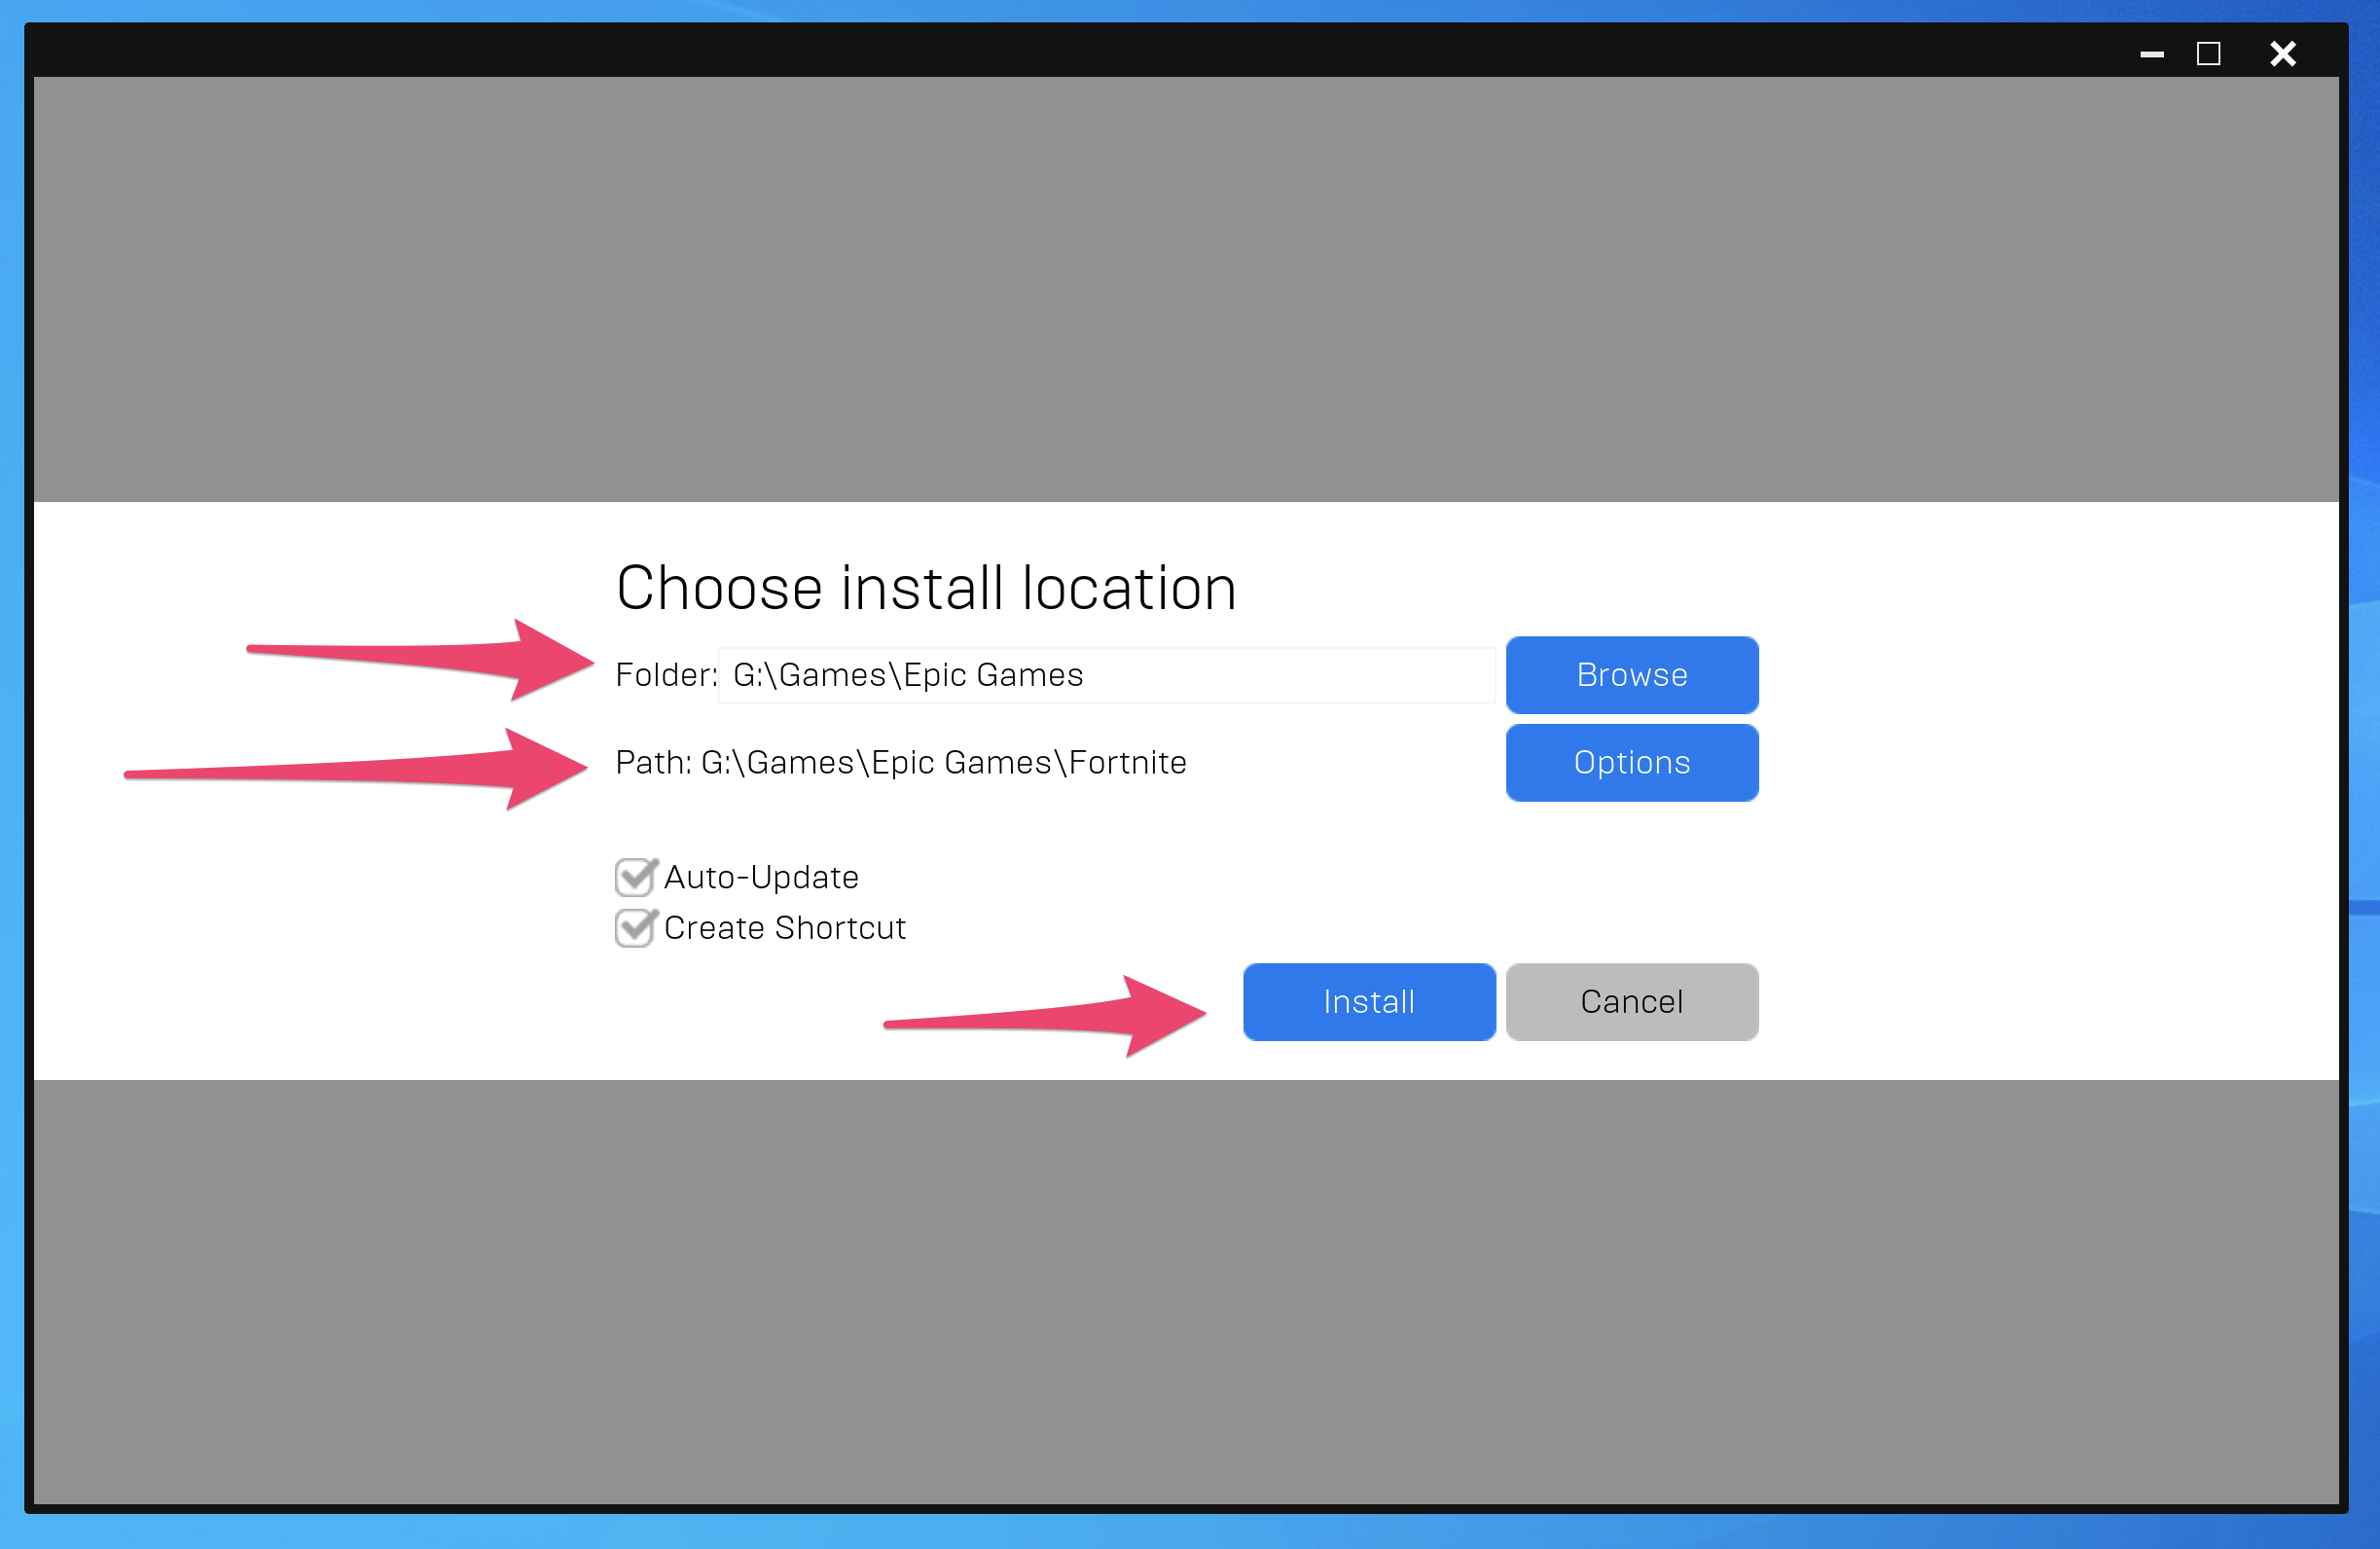
17. Congratulations! At this point the Epic Games Launcher is now installed to your games drive (G:\Launchers\Epic Games) and the Epic Games Default Install Directory is now configured (G:\Games\Epic Games).
Origin Launcher
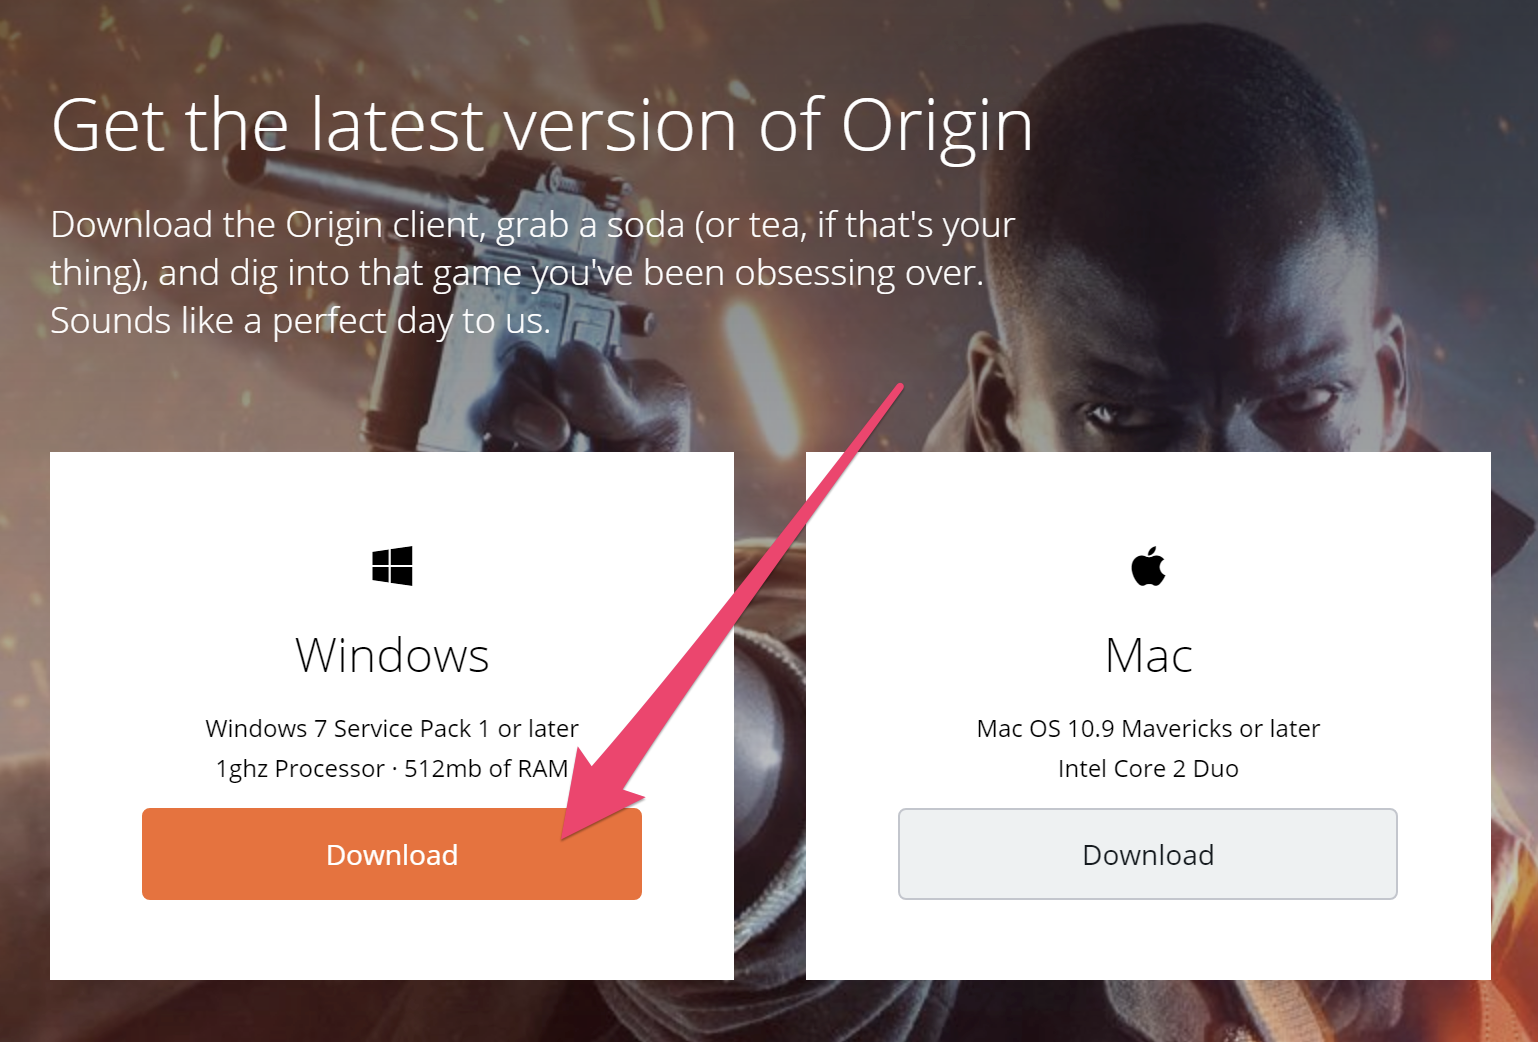
1. Visit the Electronic Arts Origin Client Download Page to download the latest version of the Origin Launcher.
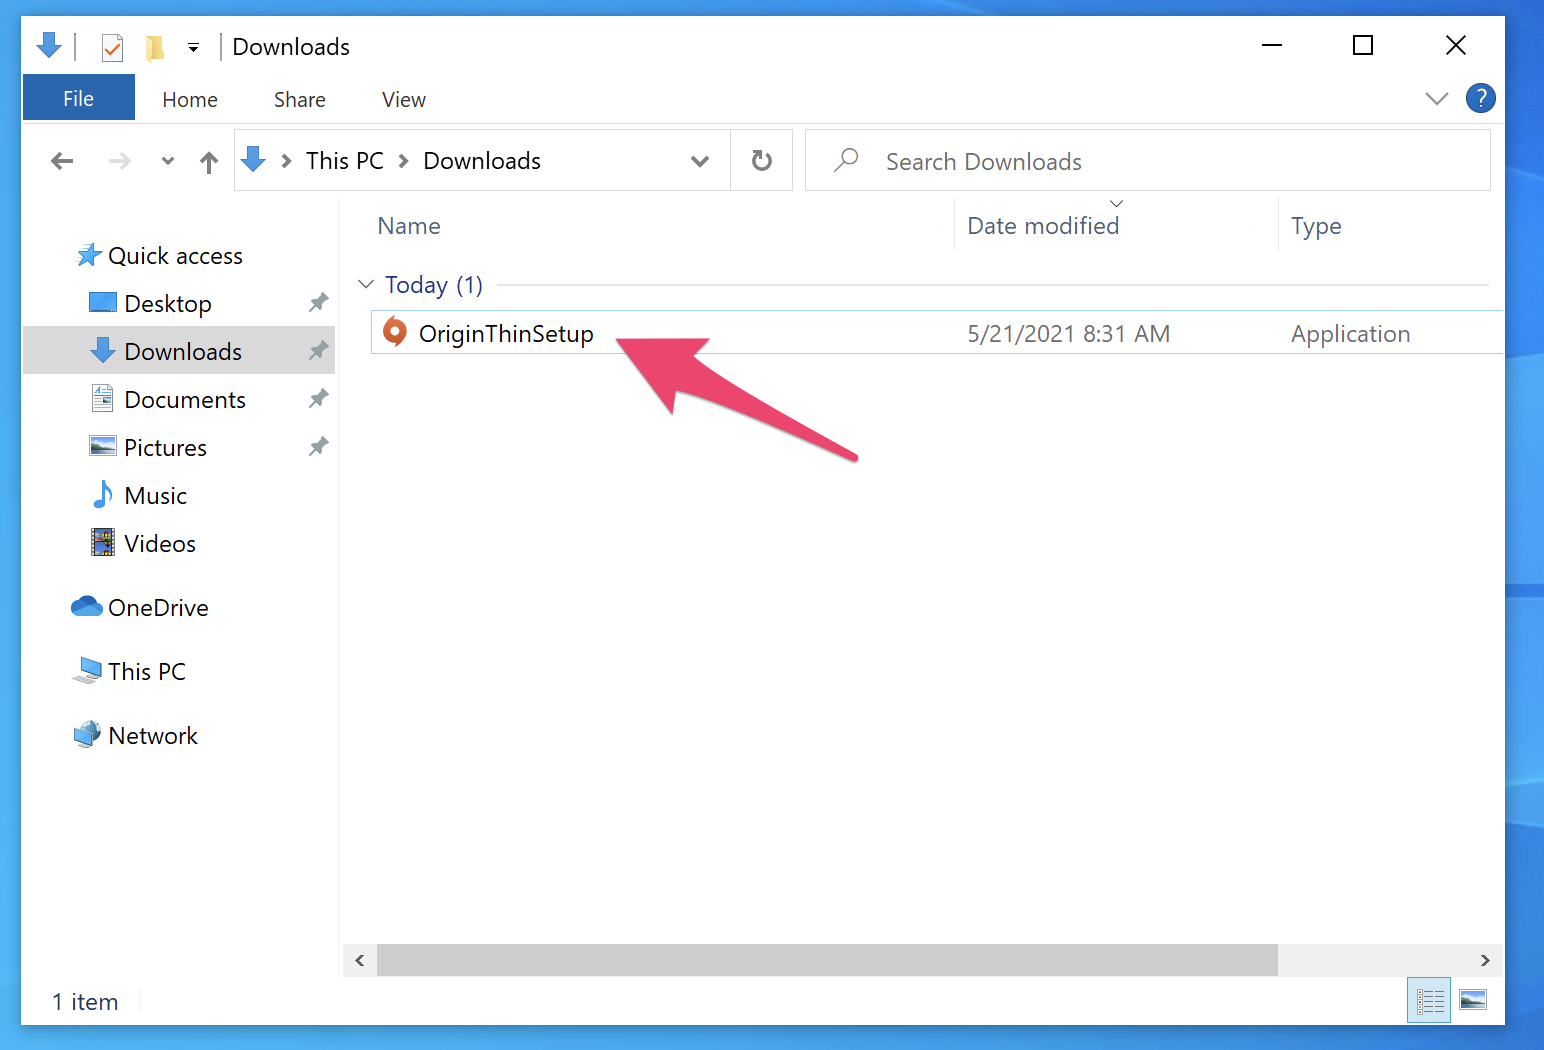
2. Locate and execute the downloaded file - by default this will be in your "Downloads" folder.
3. When the Origin Launcher Install Wizard launches, click the "Install Origin" button to proceed.

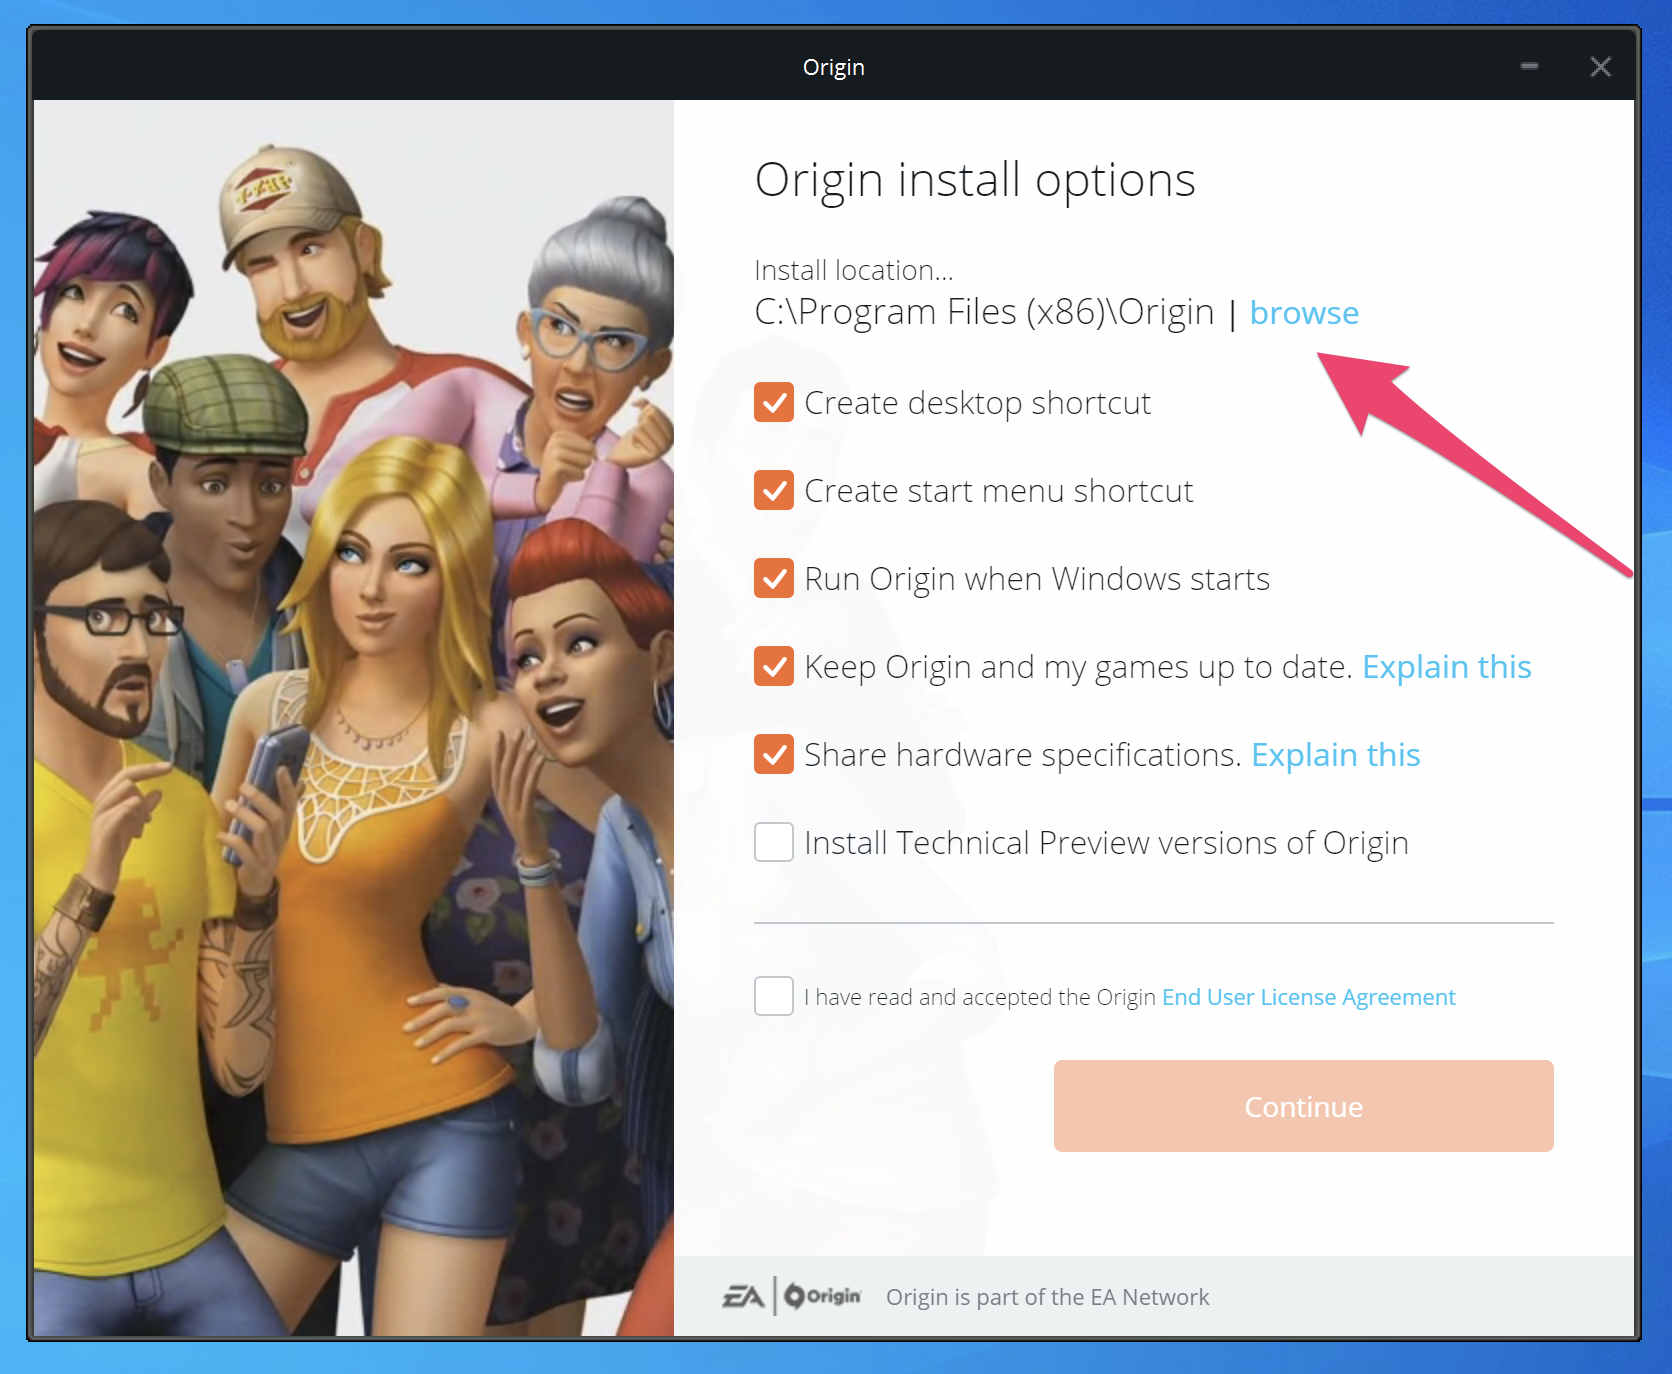
4. In the "Origin install options" page, click the "browse" link to adjust the Install location of the Origin Launcher.
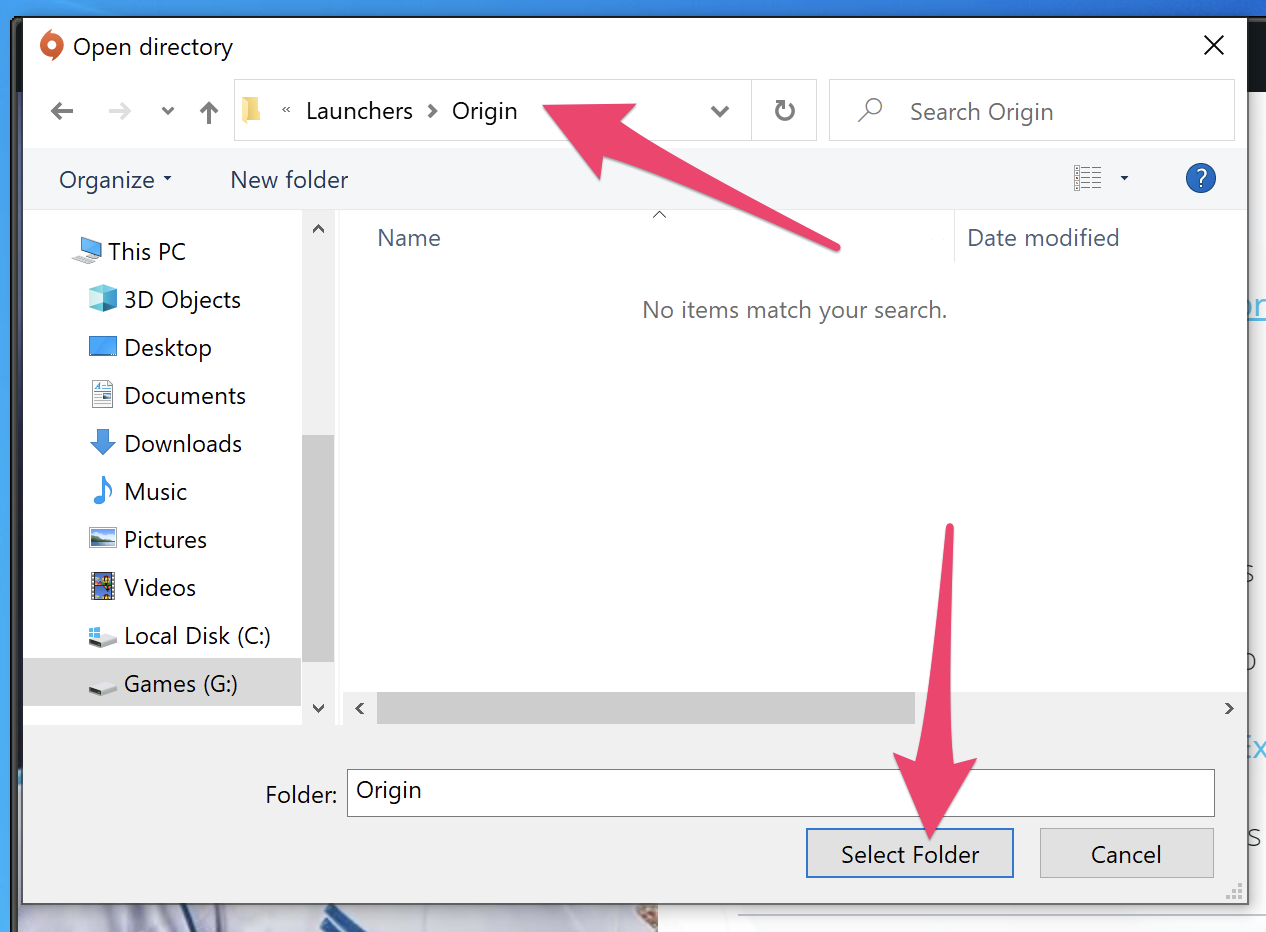
5. If you are following recommendations, browse to the "G:\" drive. Additionally, you may need to pre-create the directory structure to install the Origin Launcher to, meaning create the folder "Launchers" within the "G:\" drive if it does not exist, and also create the folder "Origin" inside of the "Launchers" folder. Click the "Select Folder" button to proceed.
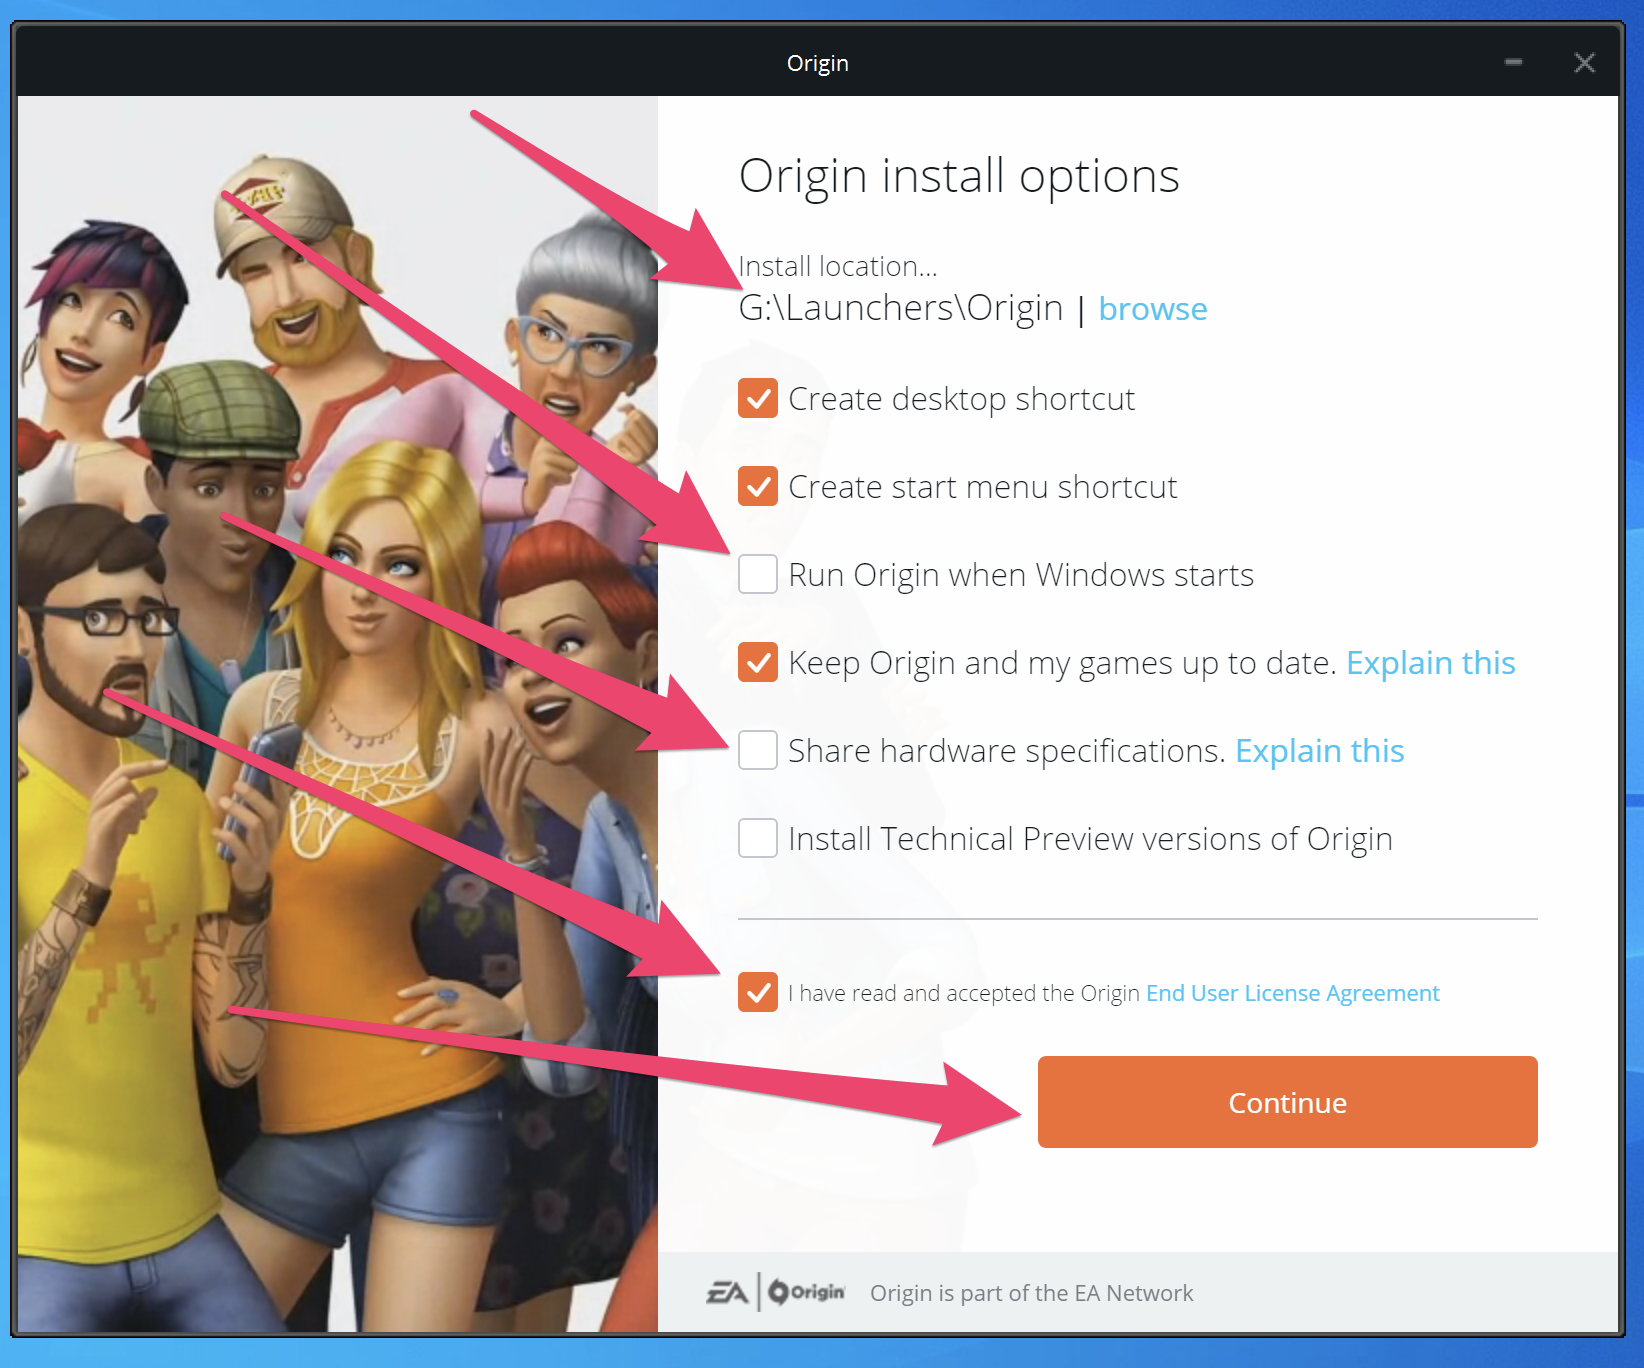
6. Confirm the install location is "G:\Launchers\Origin". Additionally, it is recommended to NOT run launchers at Windows start, but rather allow them to run when a game from that launcher is needed. According to your preferences, choose whether to share hardware specifications. If you agree with the Origin End User License Agreement, check the box to agree and click the "Continue" button.
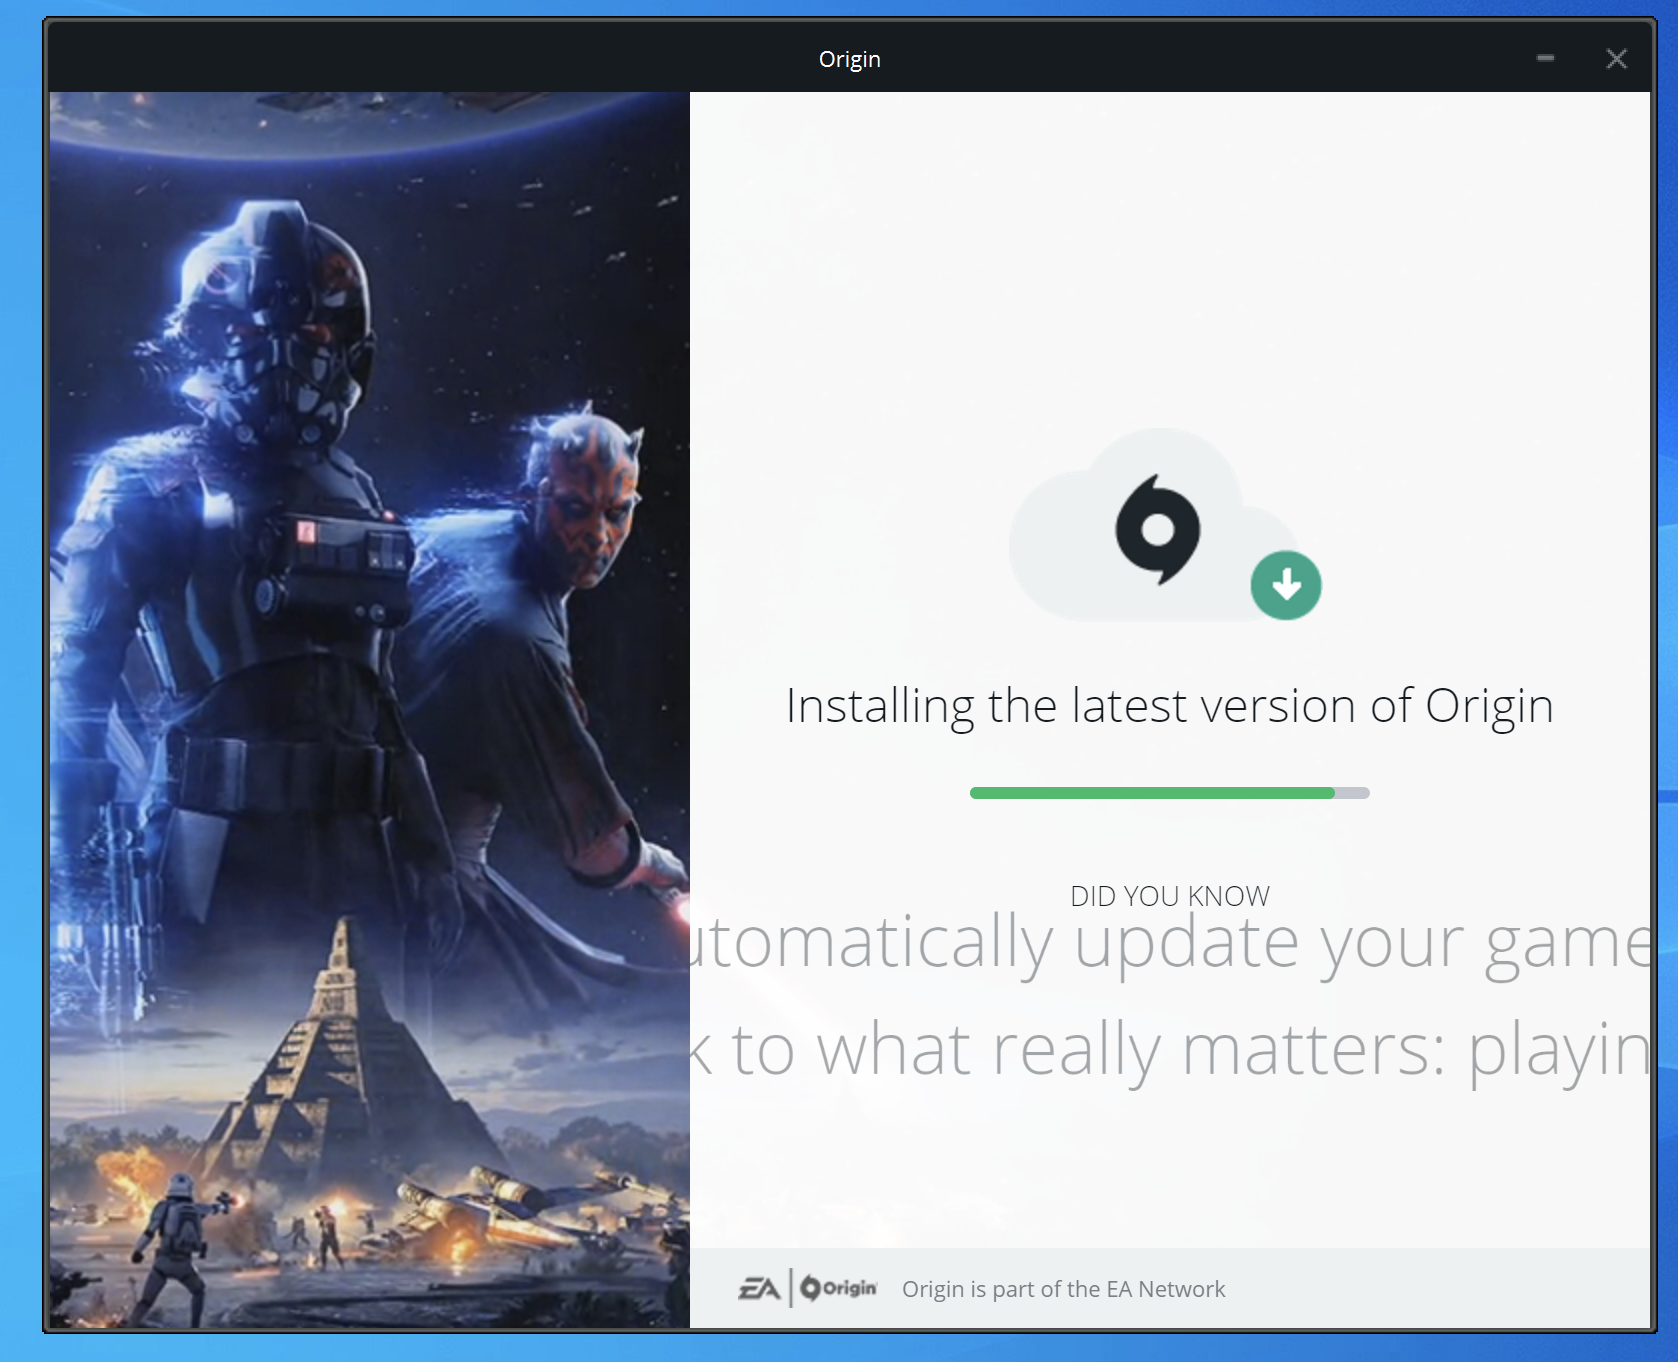
7. Wait while the Origin Launcher is installed.
8. If you receive a UAC prompt, please click the "Yes" button to proceed.
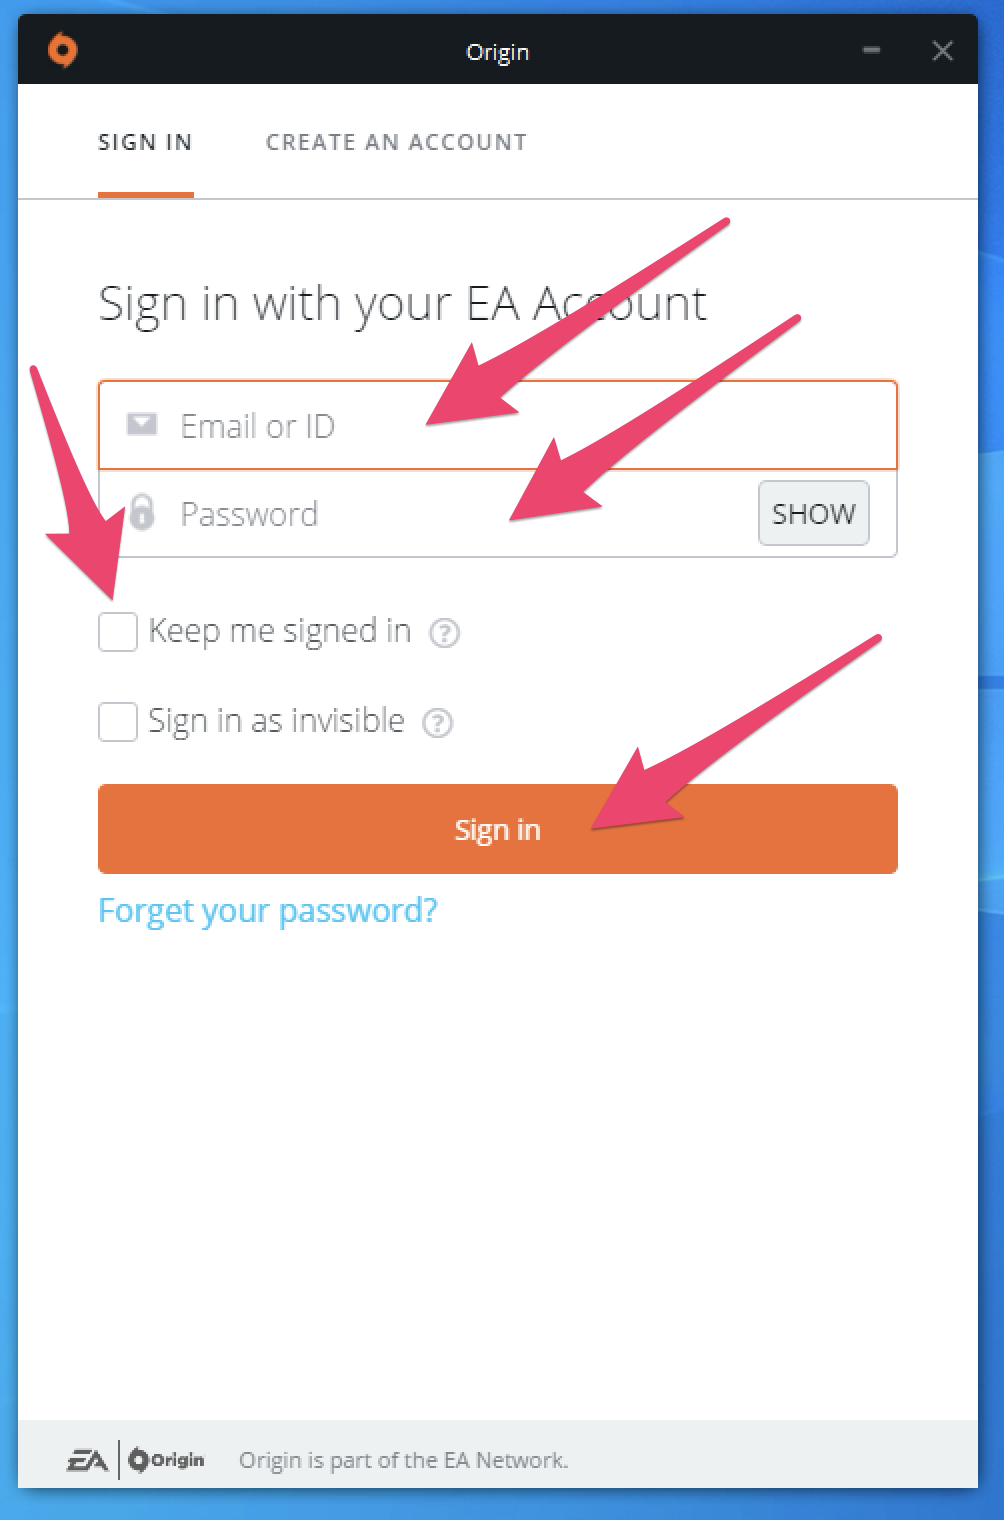
9. Once the Origin Launcher is installed, the "Sign in with your EA Account" screen will appear. Enter your Email or ID and password, making sure NOT to check the "Keep me signed in" box. Click the "Sign In" button to proceed.
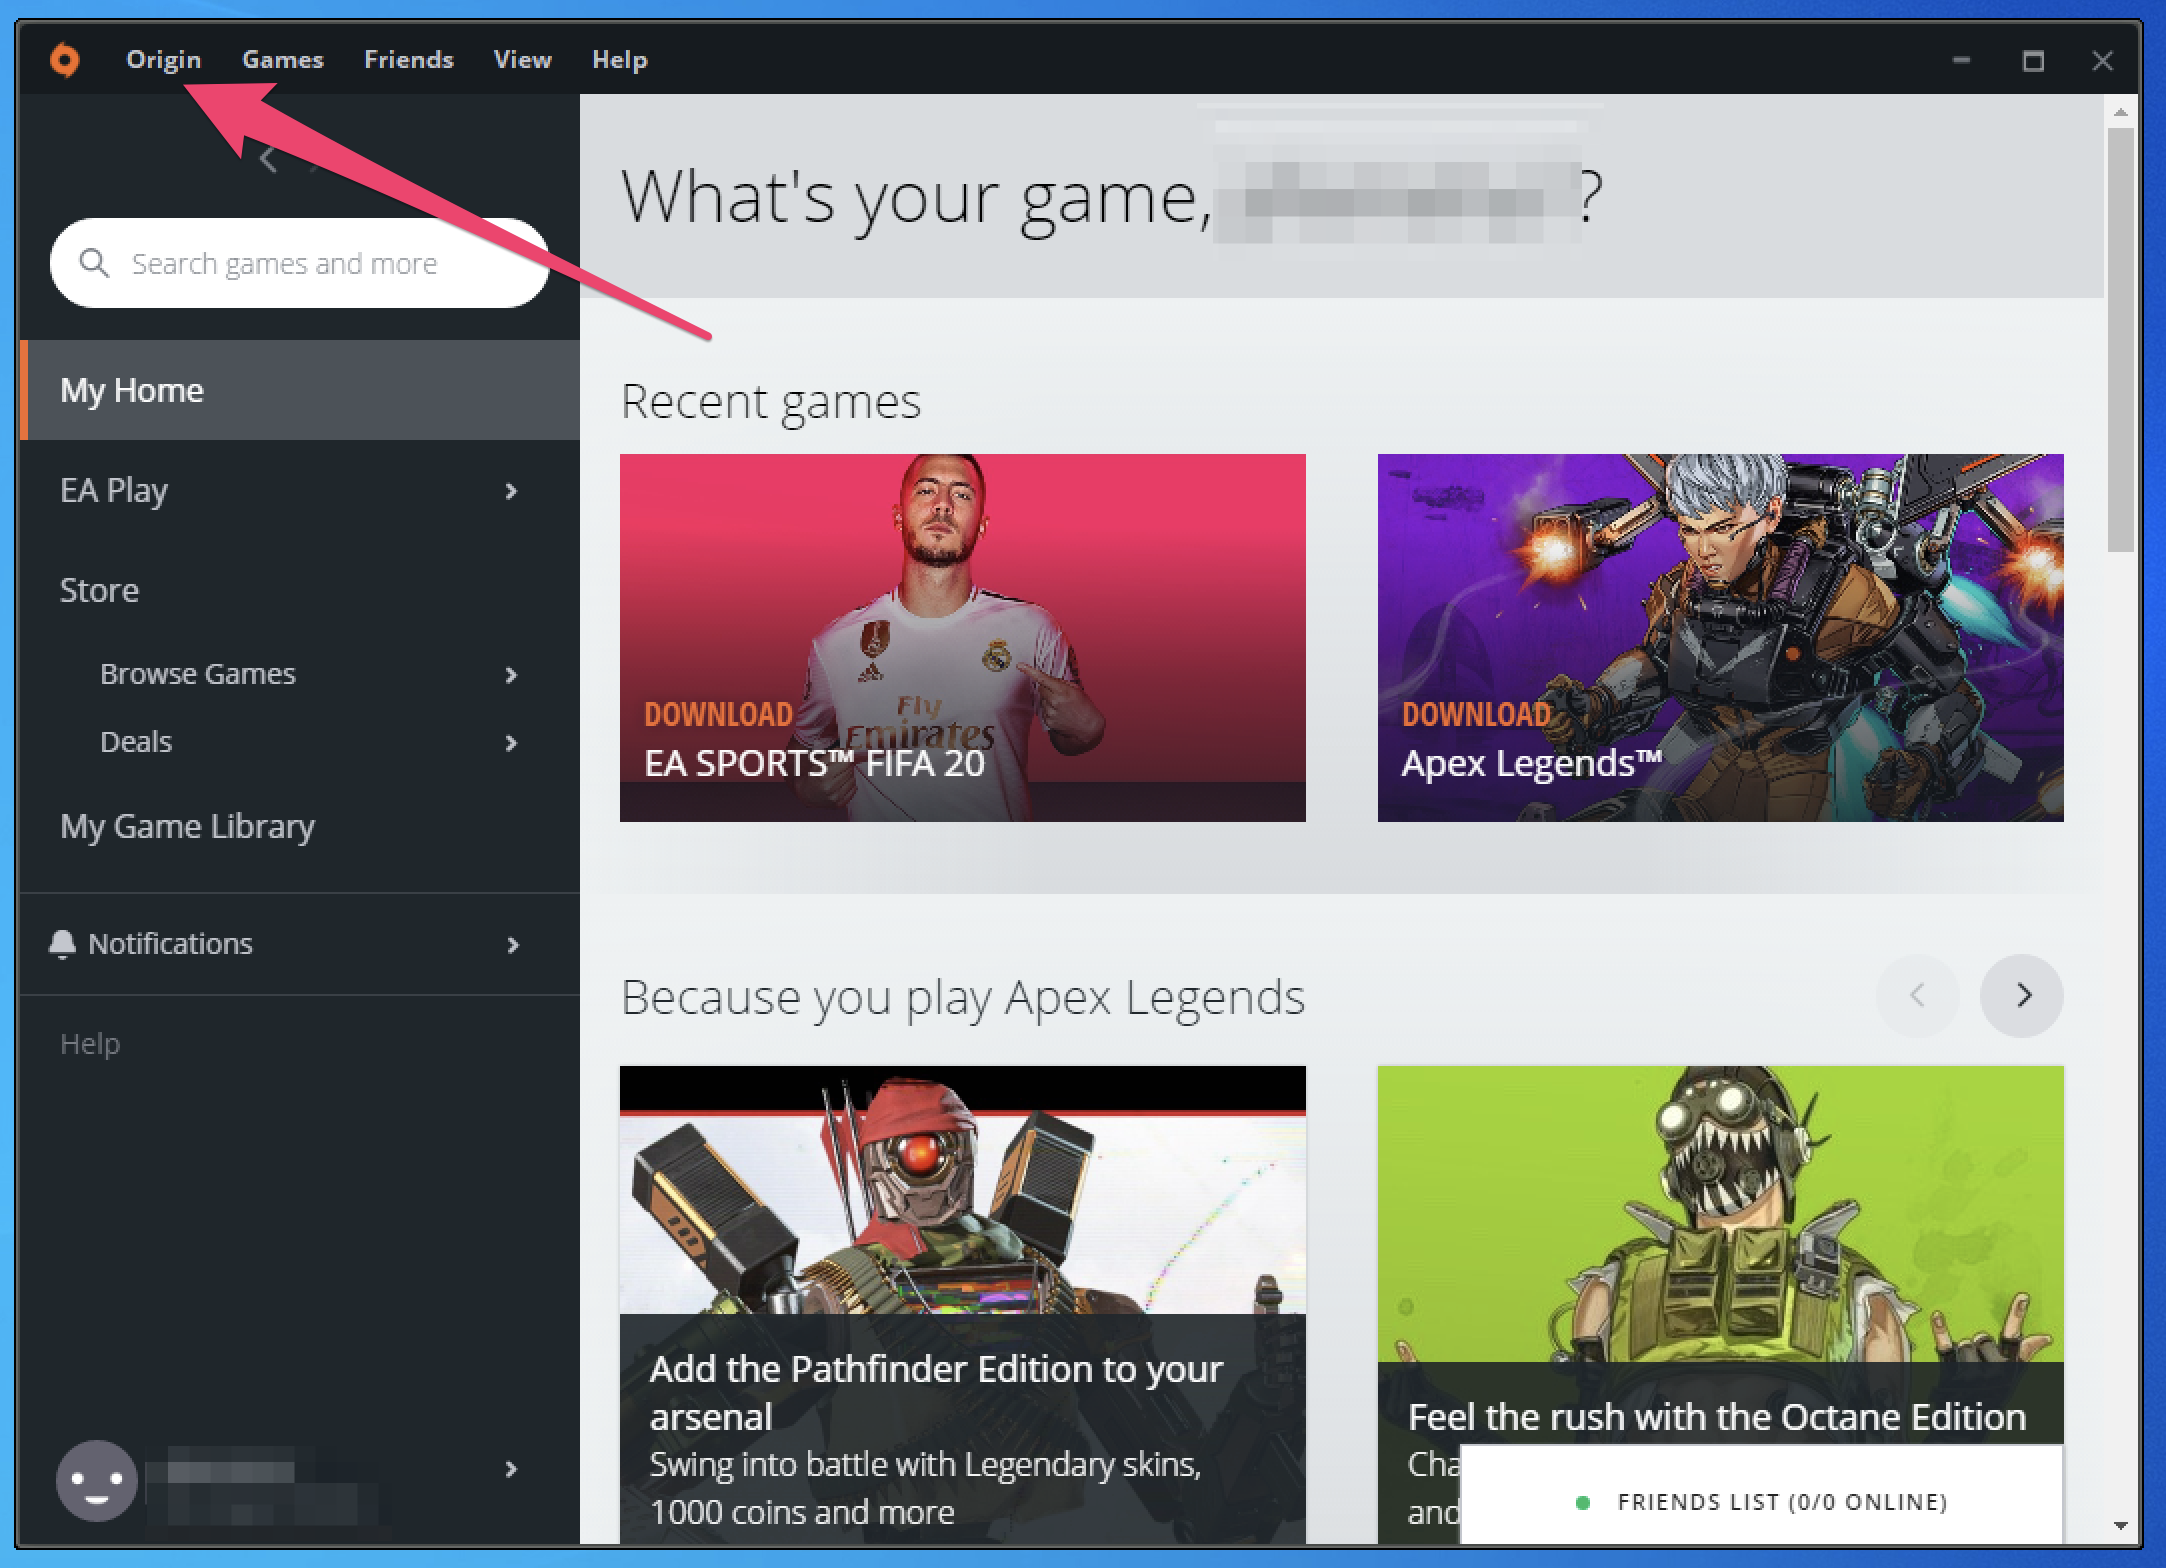
10. Once logged in, click the "Origin" menu at the top-left of the Origin Launcher window.
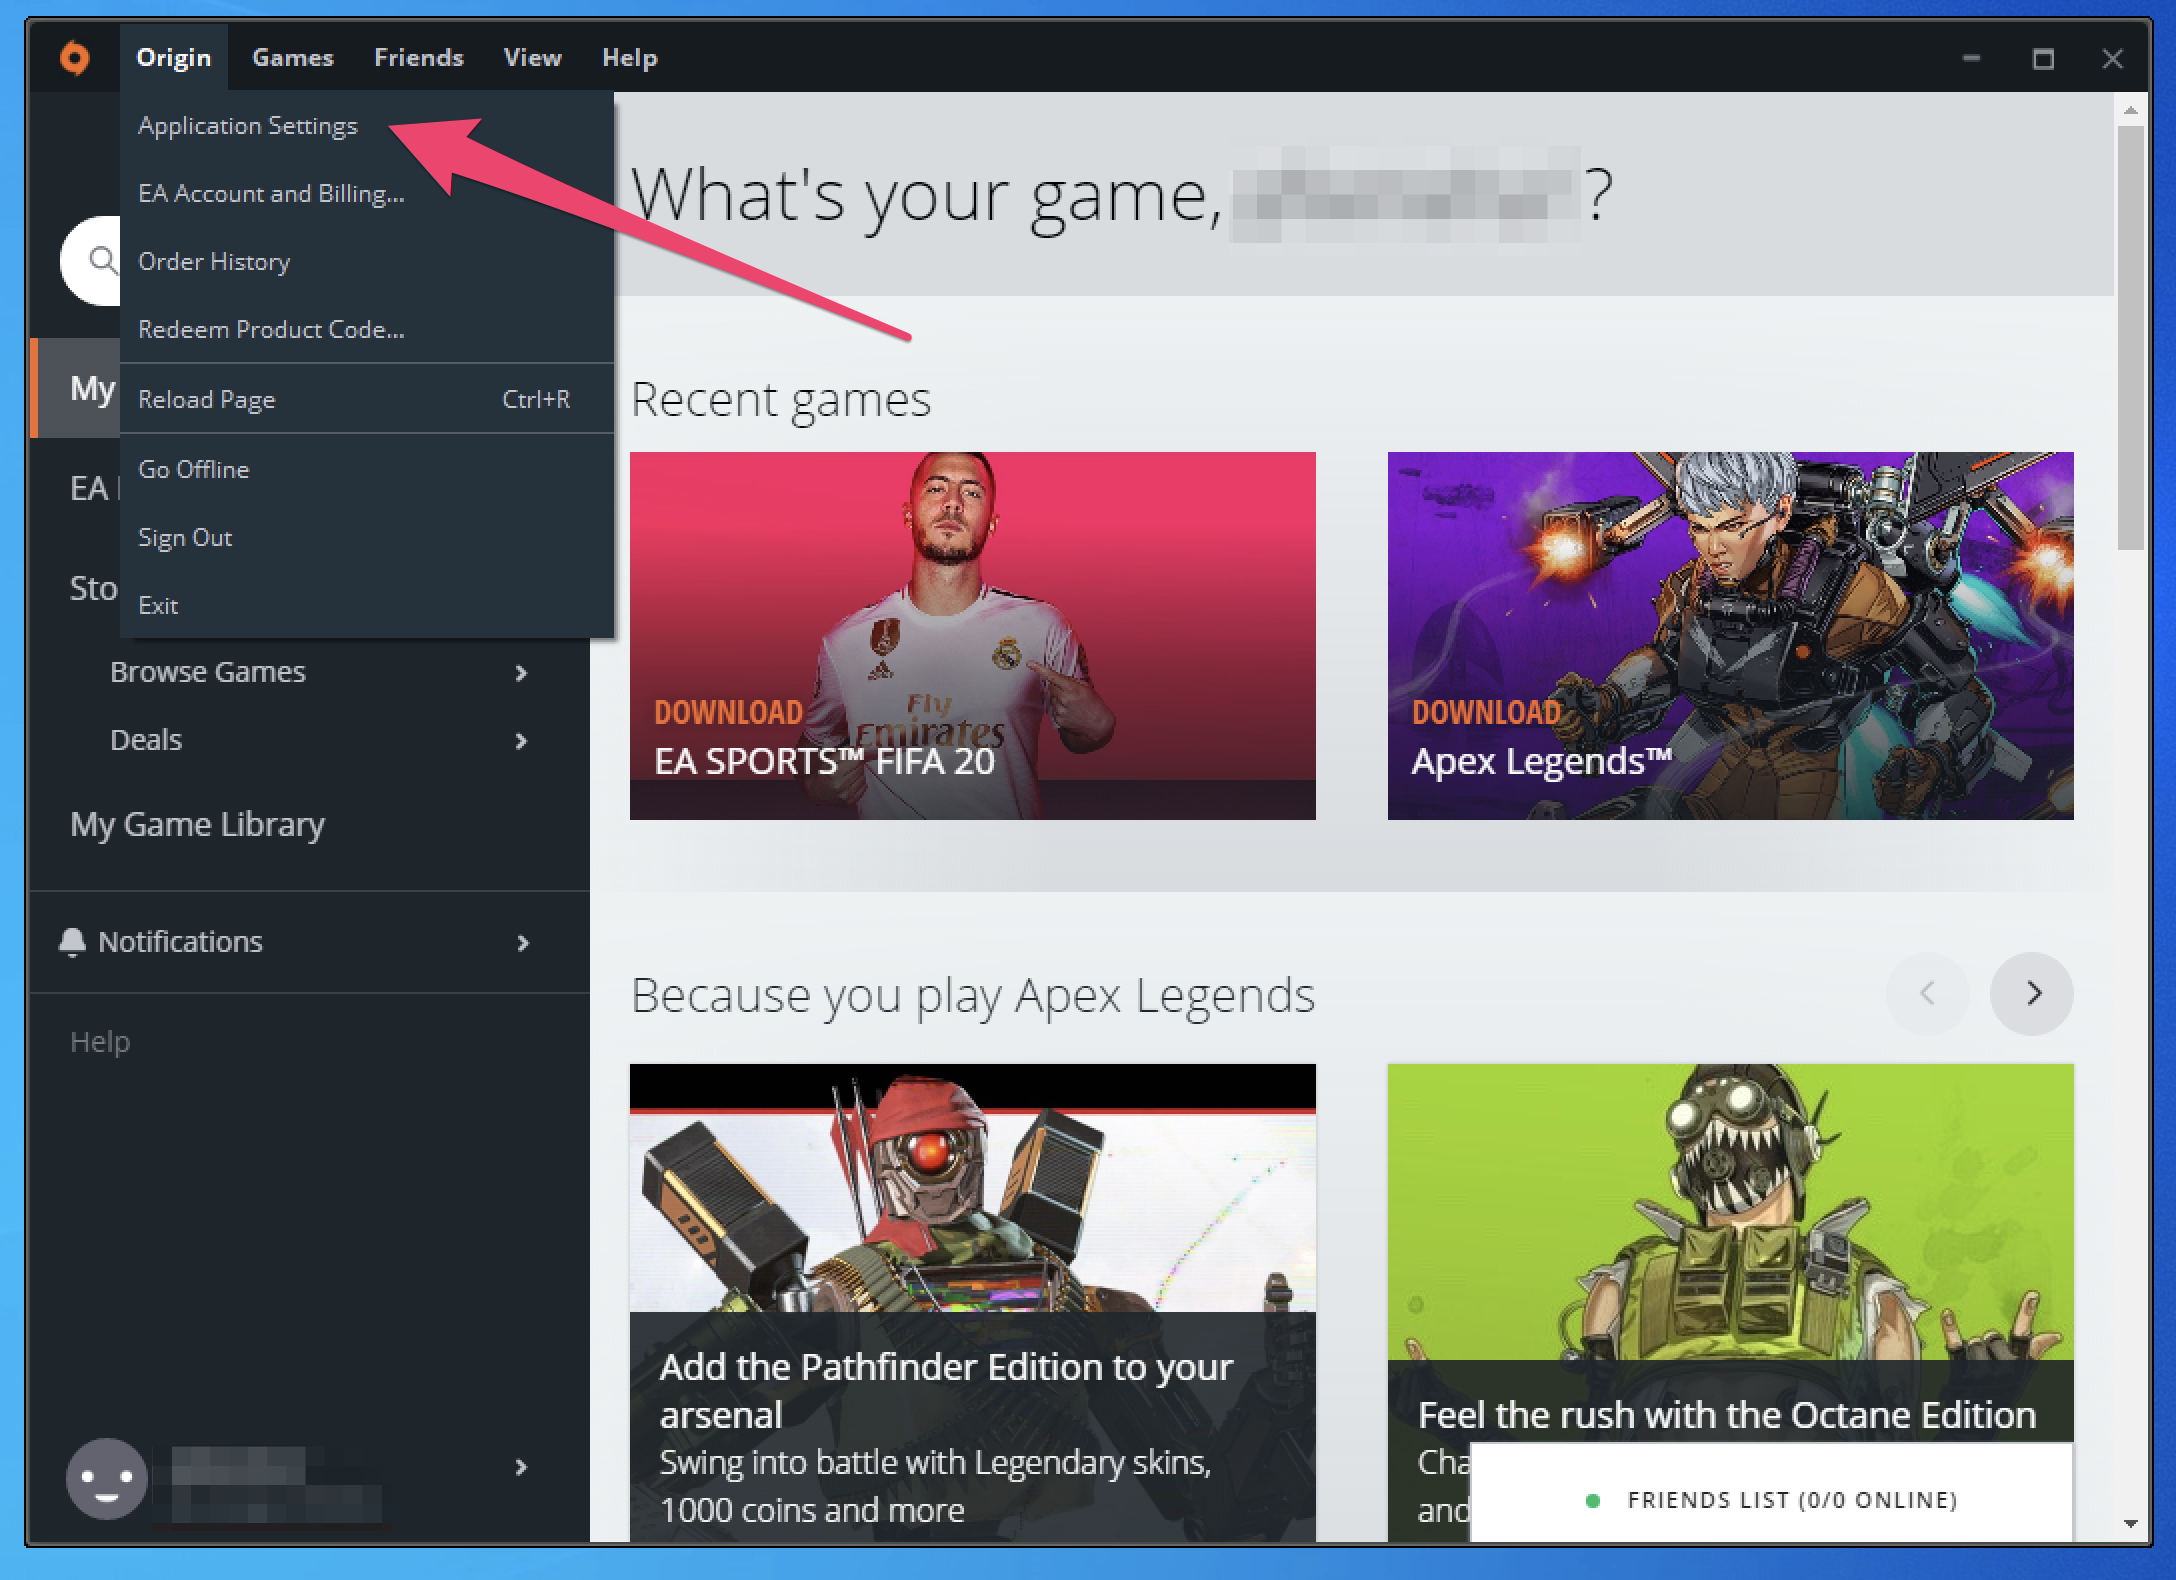
11. Click the "Application Settings" menu item at the top-left.
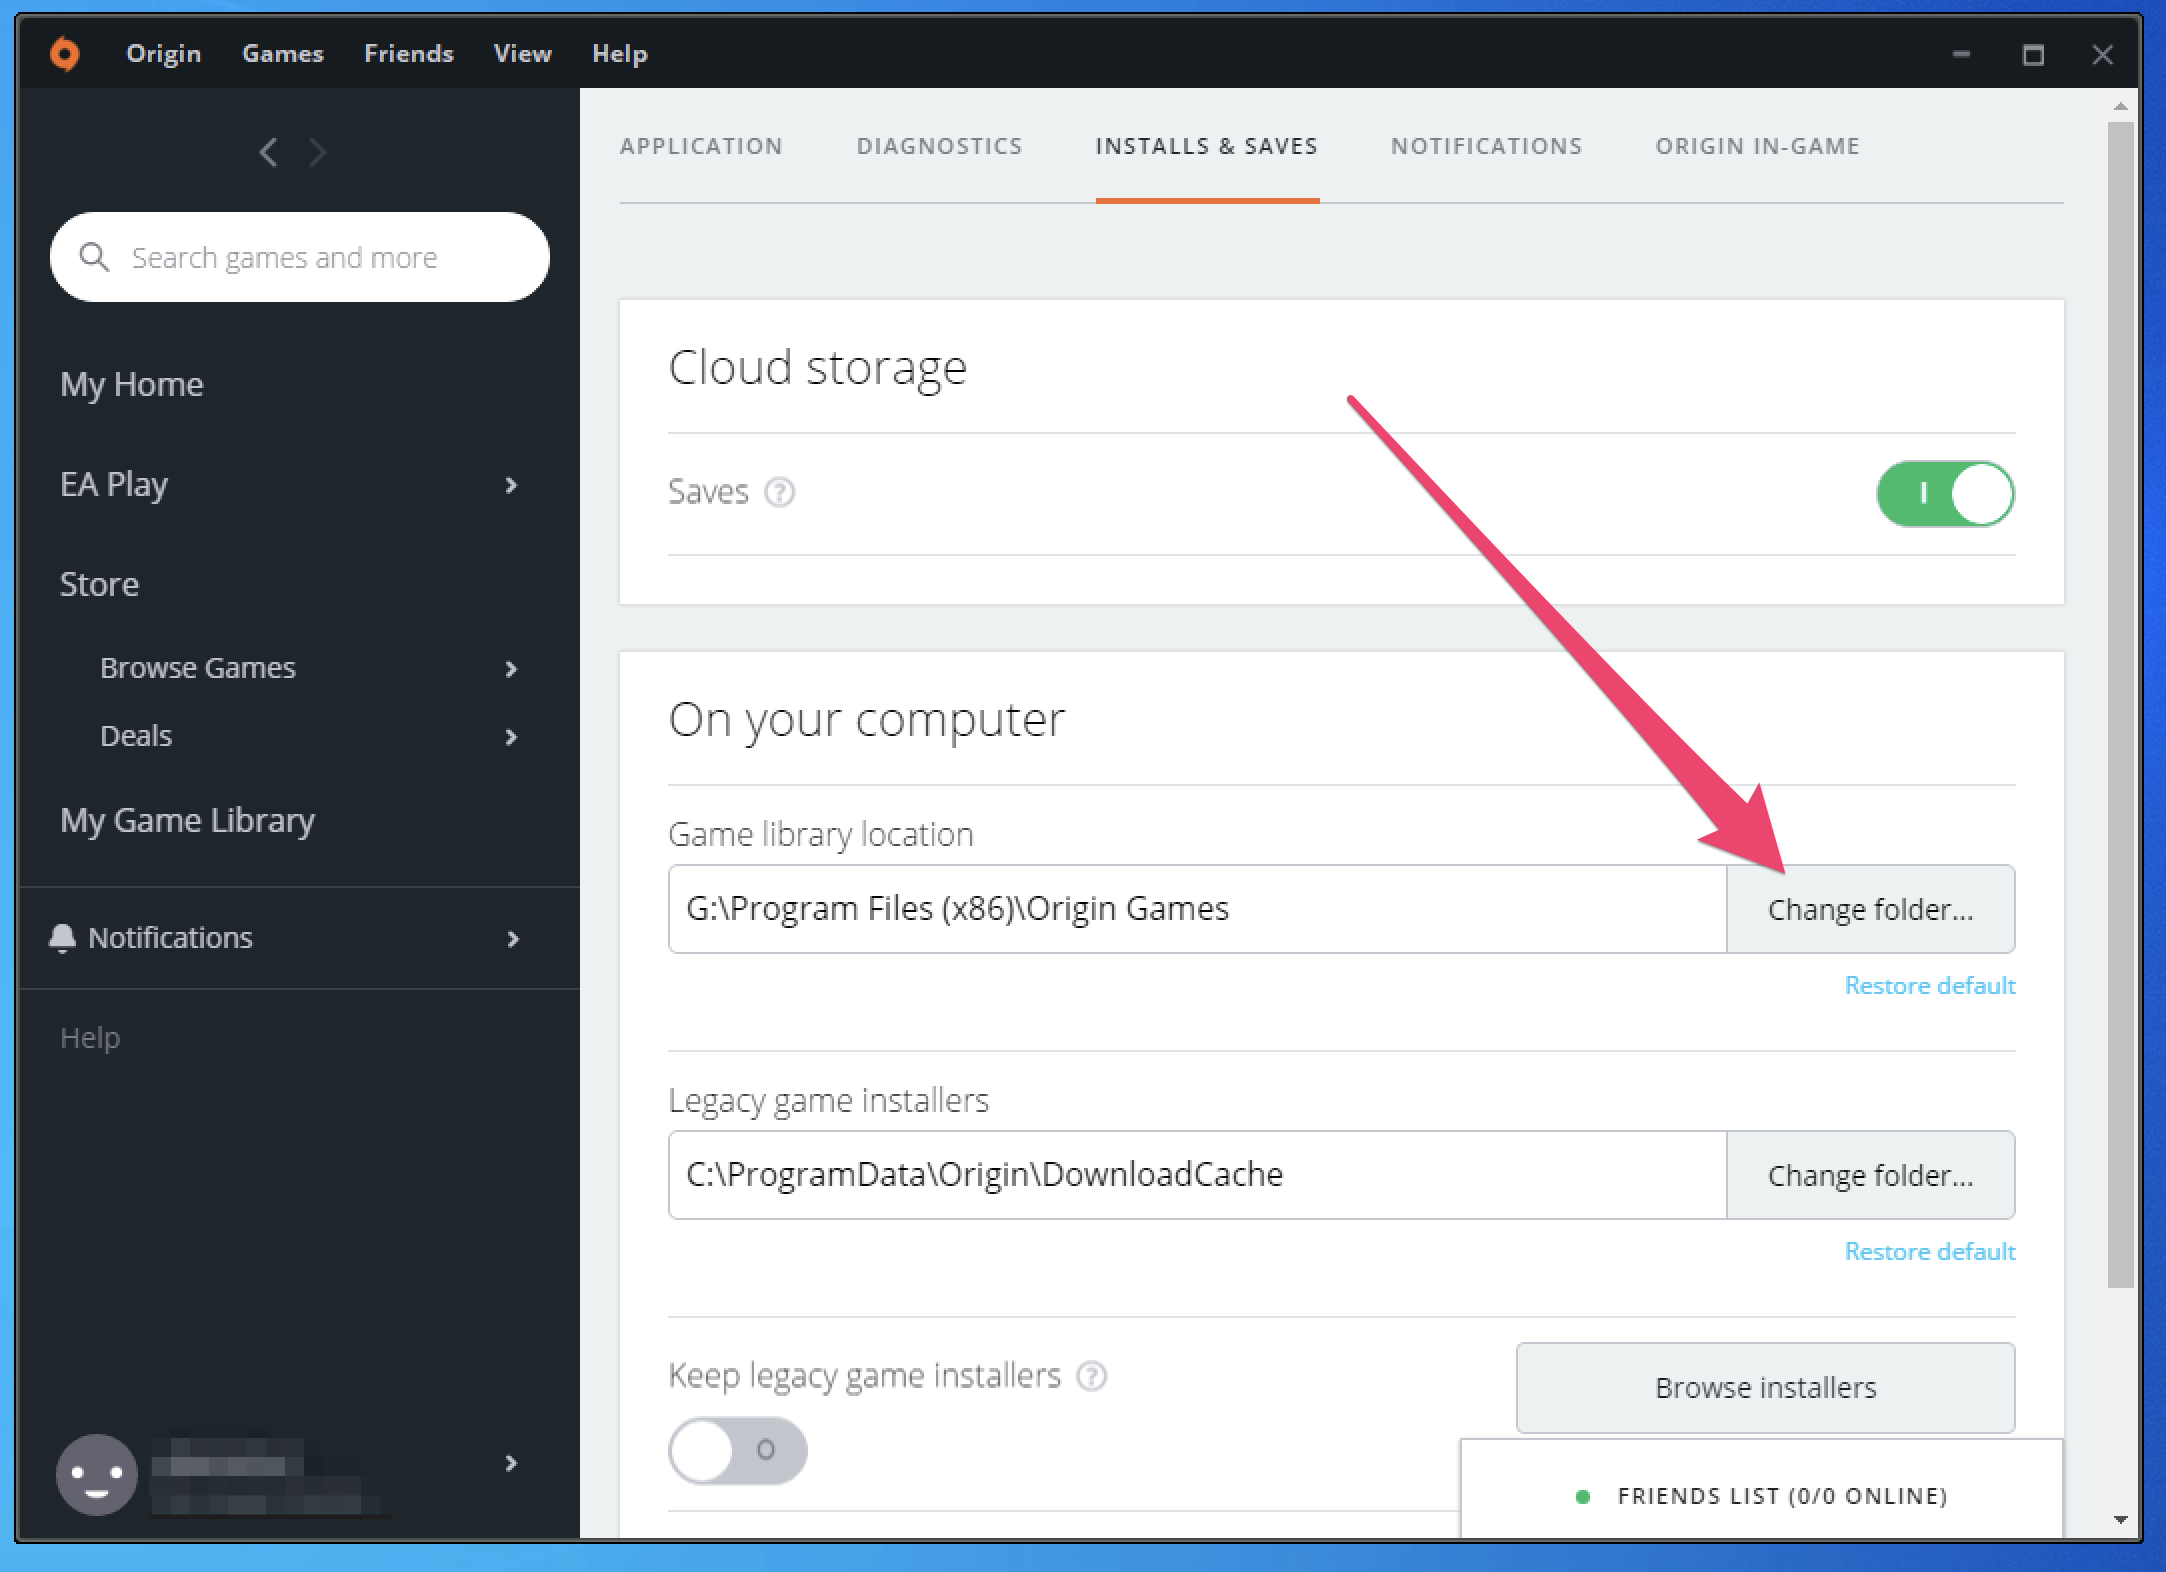
12. Click the "Installs & Saves" tab at the top-middle.

13. Click the "Change folder..." button next to "Game library location".
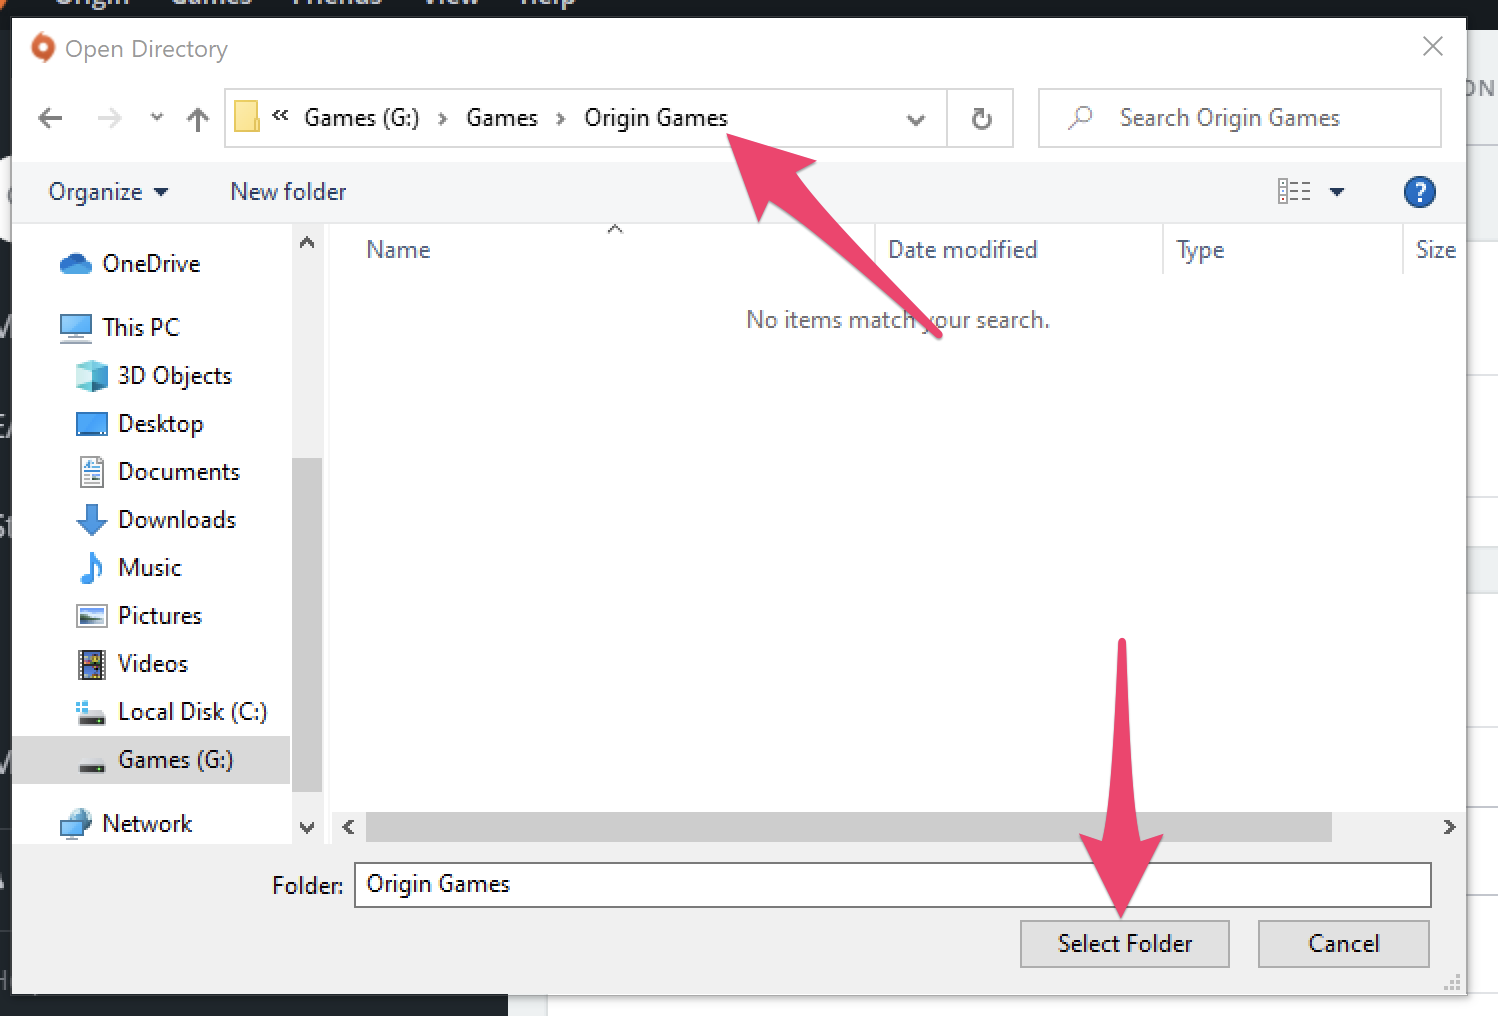
14. If you are following recommendations, browse to the "G:\" drive. Additionally, you may need to pre-create the directory structure to install the Origin Game Library to, meaning create the folder "Games" within the "G:\" drive if it does not exist, and also create the folder "Origin Games" inside of the "Games" folder. Click the "Select Folder" button to proceed.
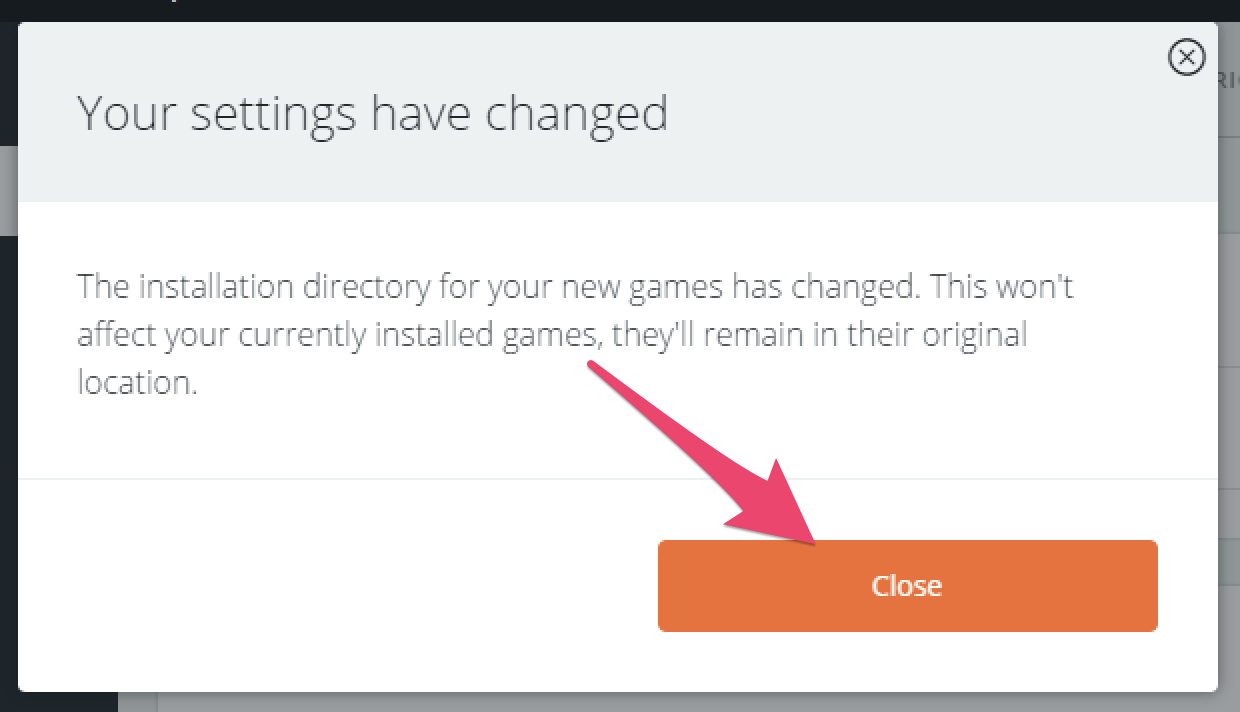
15. At the confirmation dialog, click the "Close" button.
16. Confirm the change to the Game Library location.
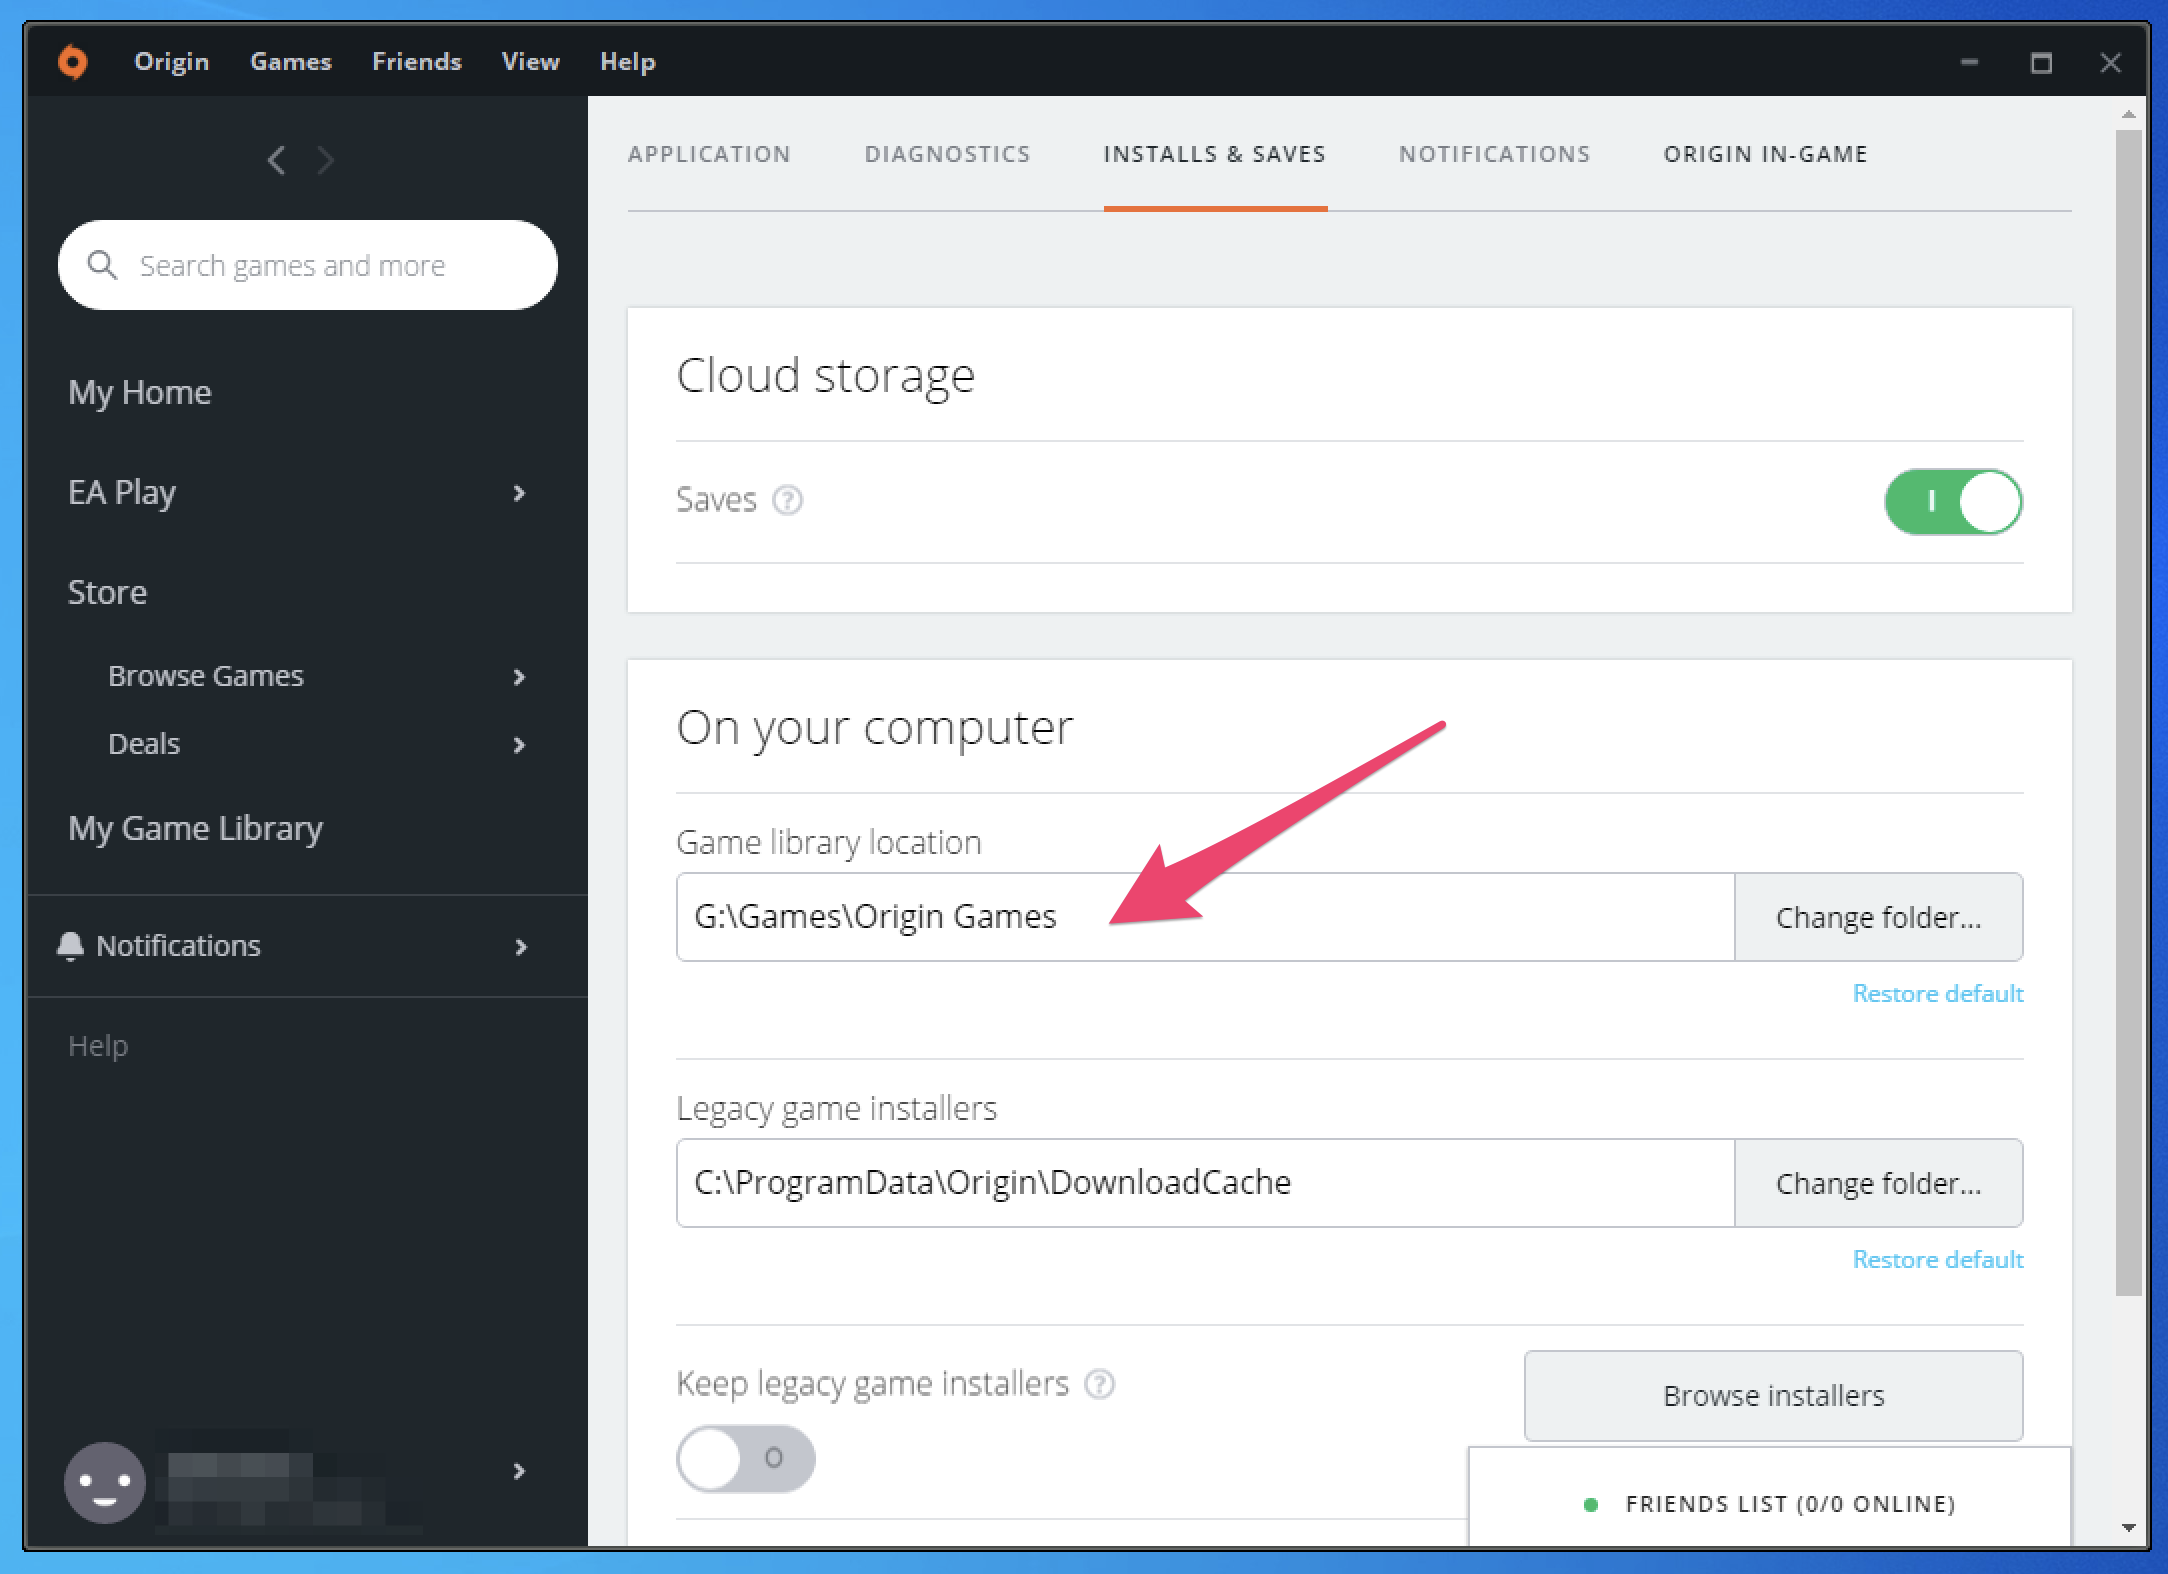
17. Congratulations! At this point the Origin Launcher is now installed to your games drive (G:\Launchers\Origin) and the Origin Default Install Directory is now configured (G:\Games\Origin Games).
Steam Launcher
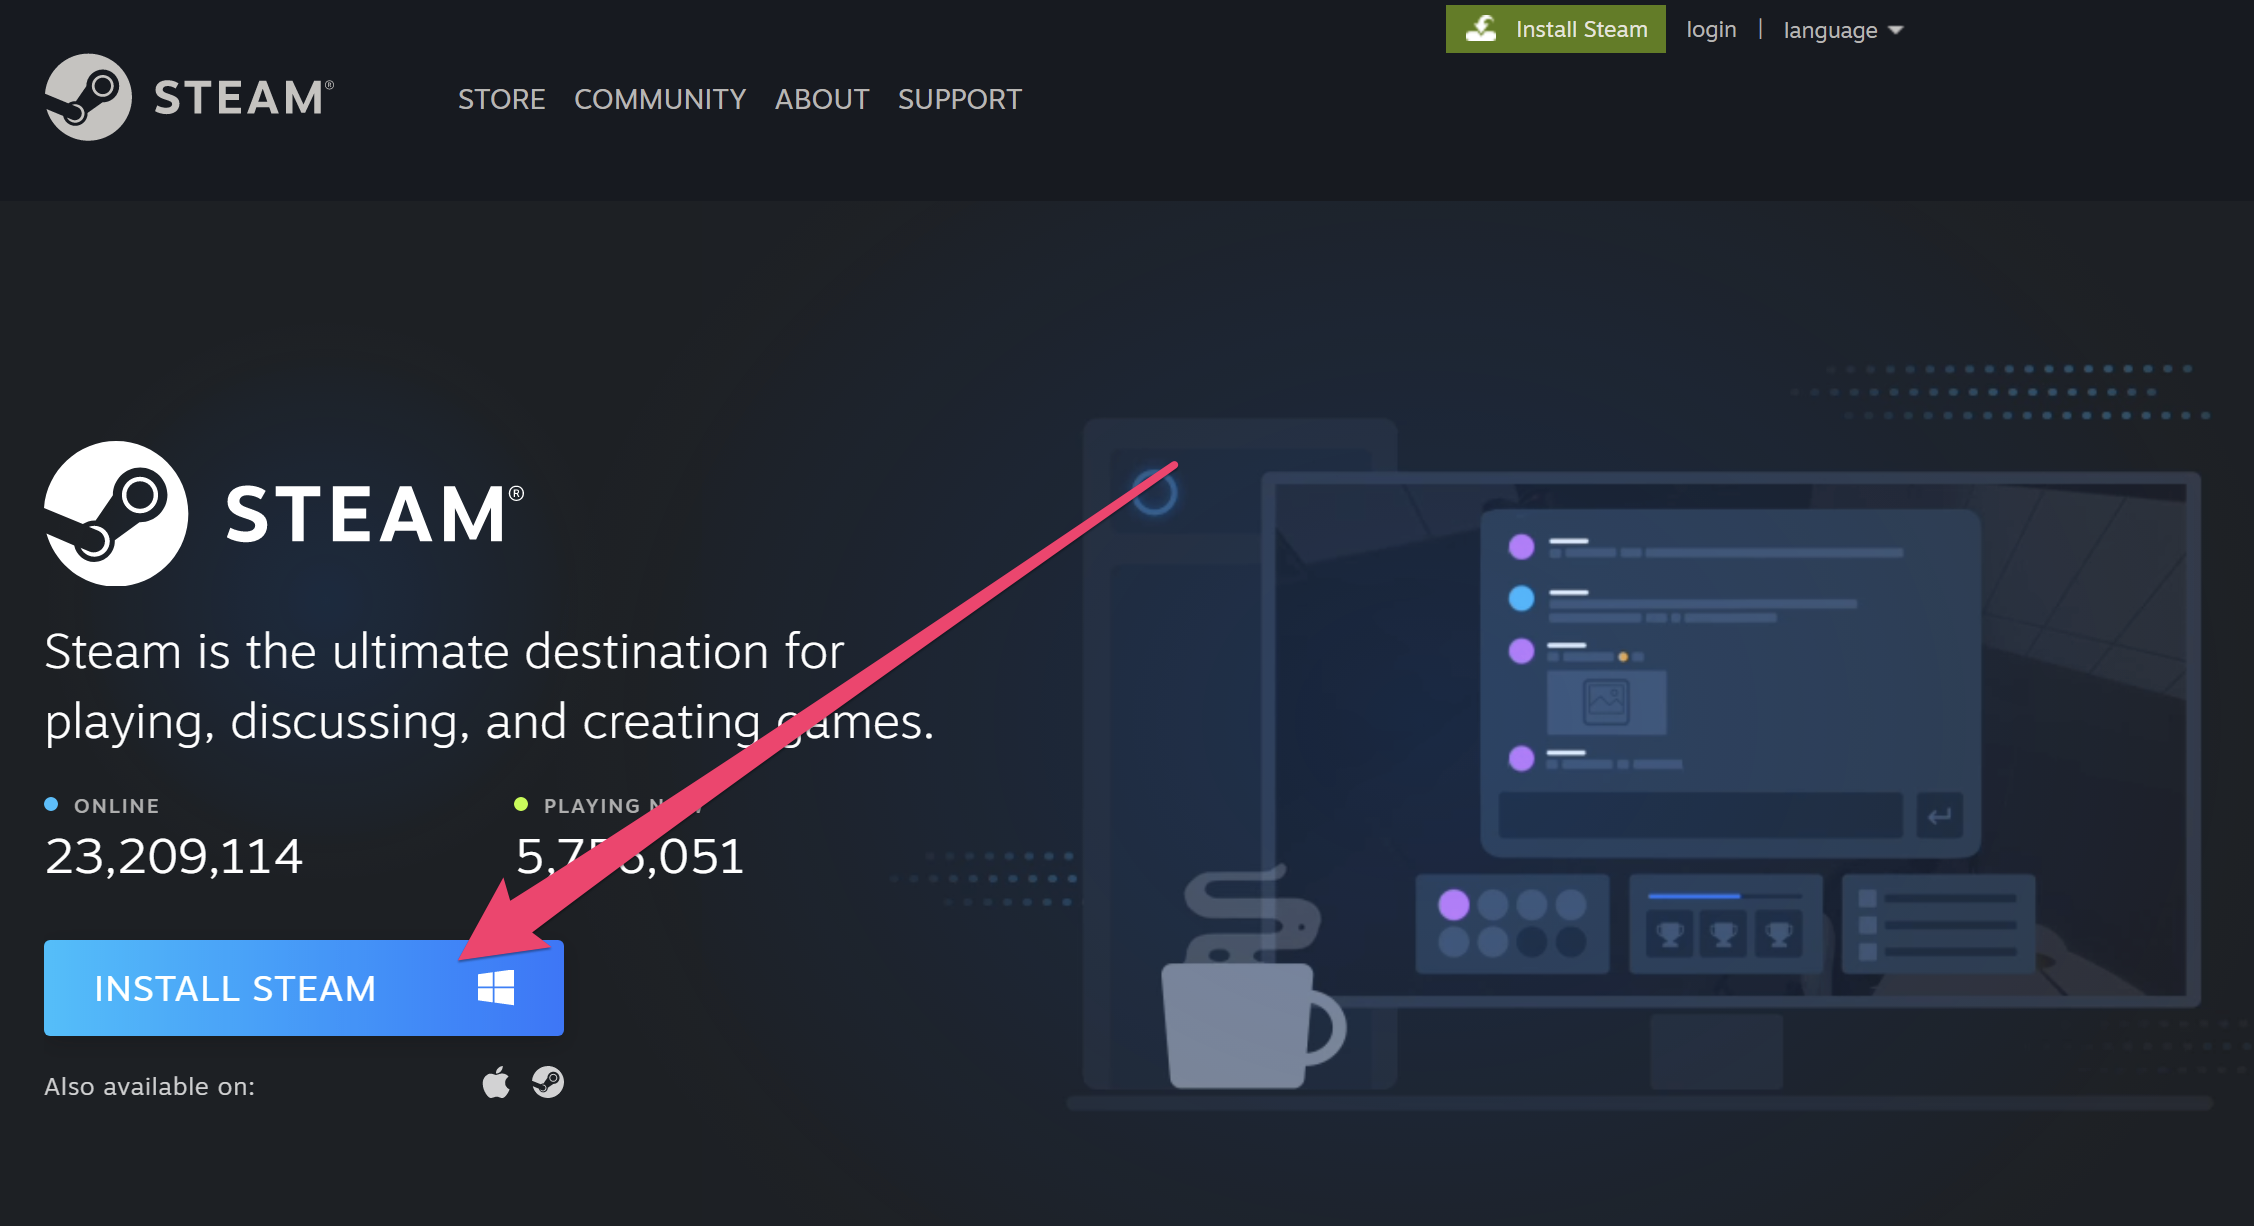
1. Visit the Steam Launcher Install Page to download the latest version of the Steam Launcher.
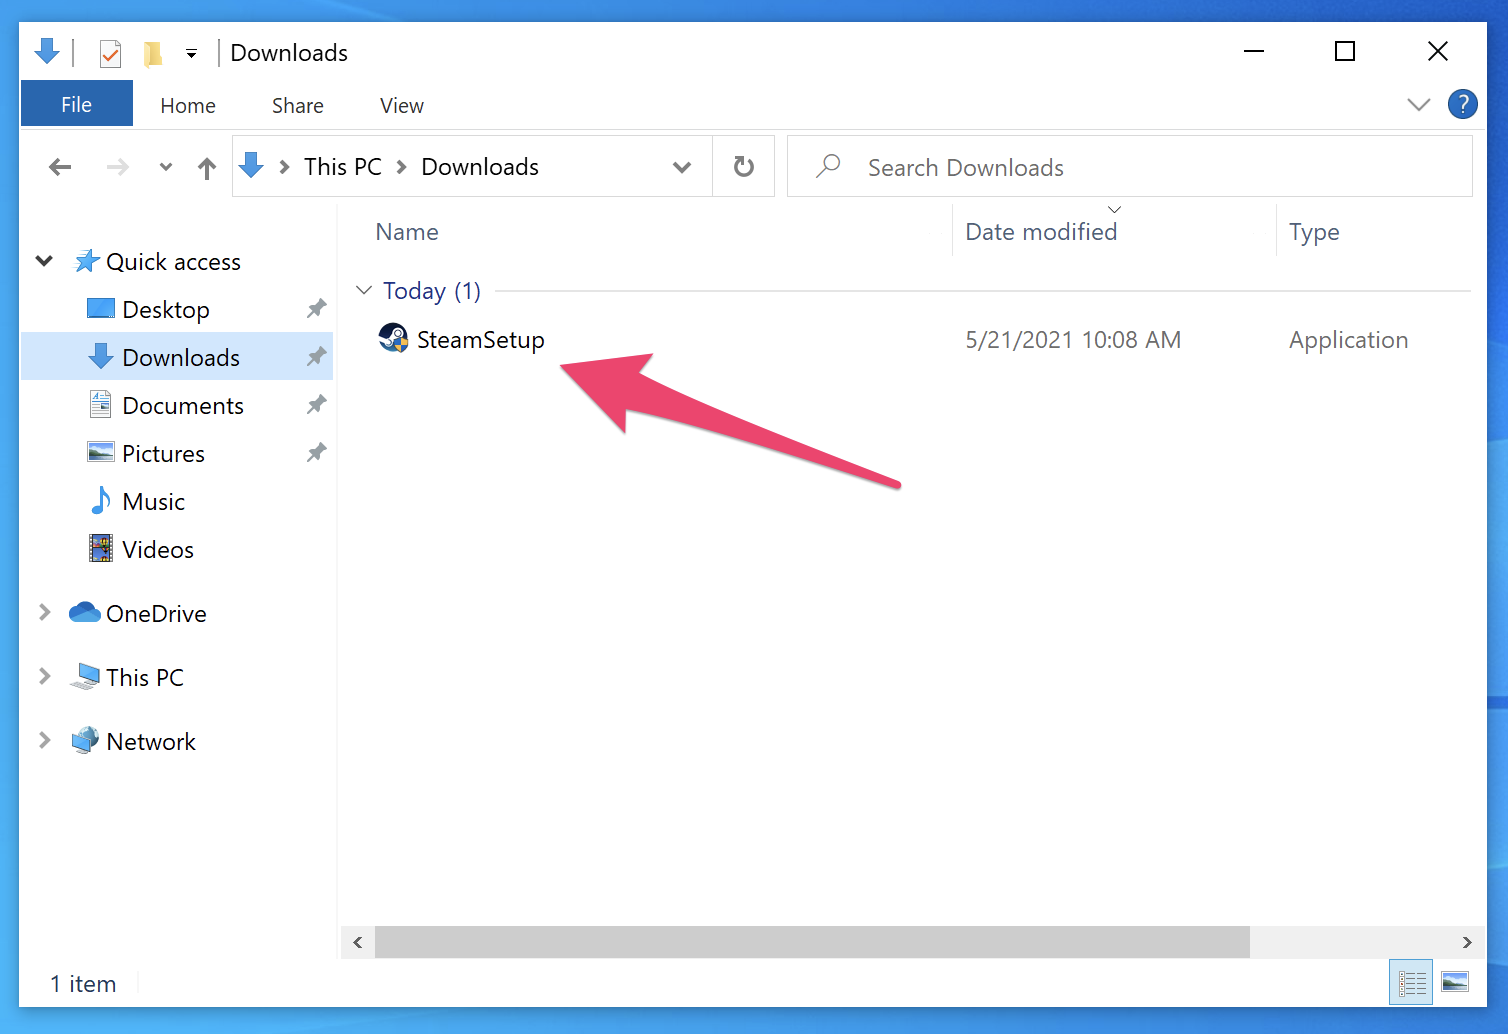
2. Locate and execute the downloaded file - by default this will be in your "Downloads" folder.
3. If you receive a UAC prompt, click the "Yes" button to proceed.
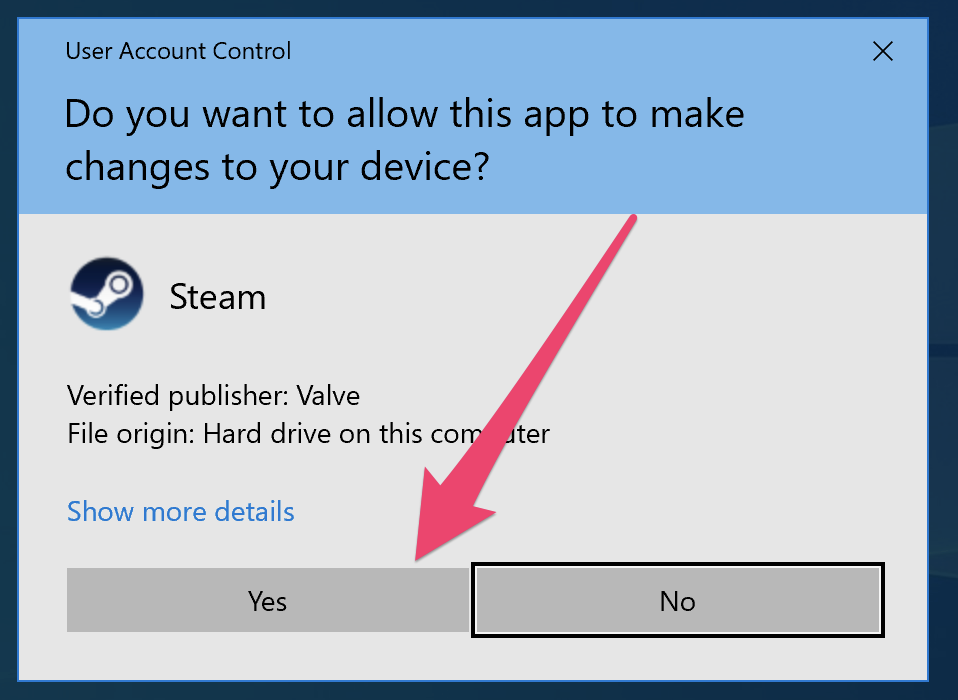
4. If you receive a UAC prompt, please click the "Yes" button to proceed.
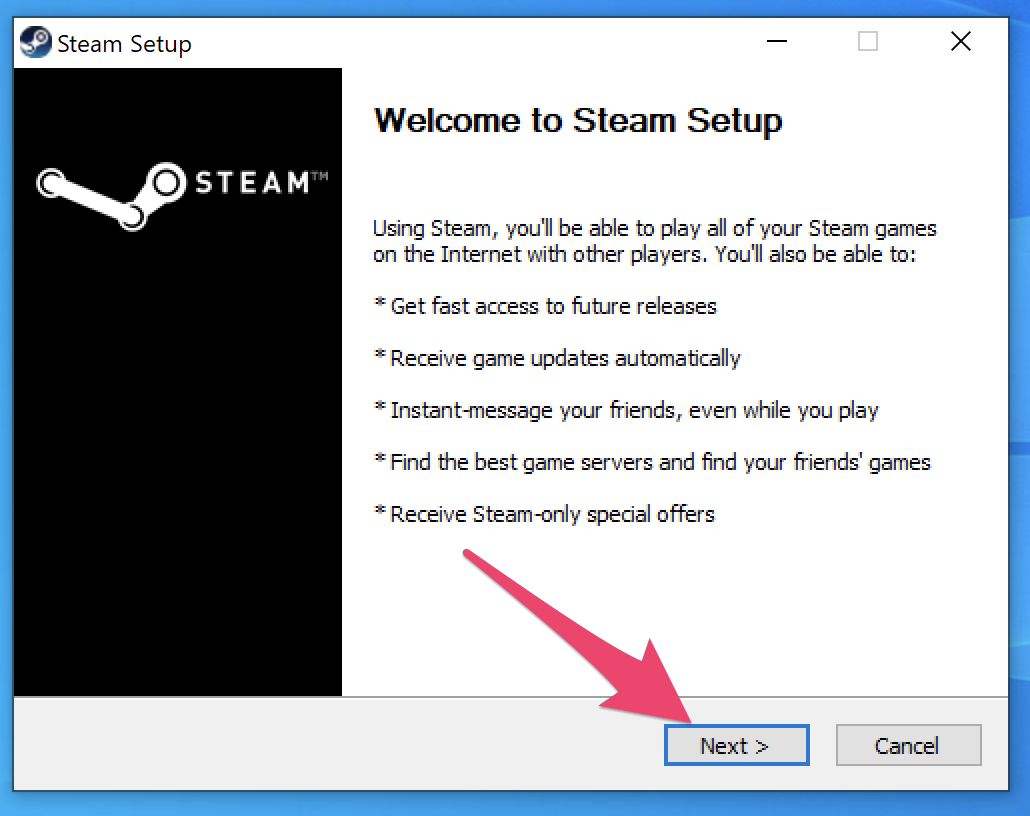
5. At the "Welcome to Steam Setup" page of the installation wizard, click the "Next" button to proceed.
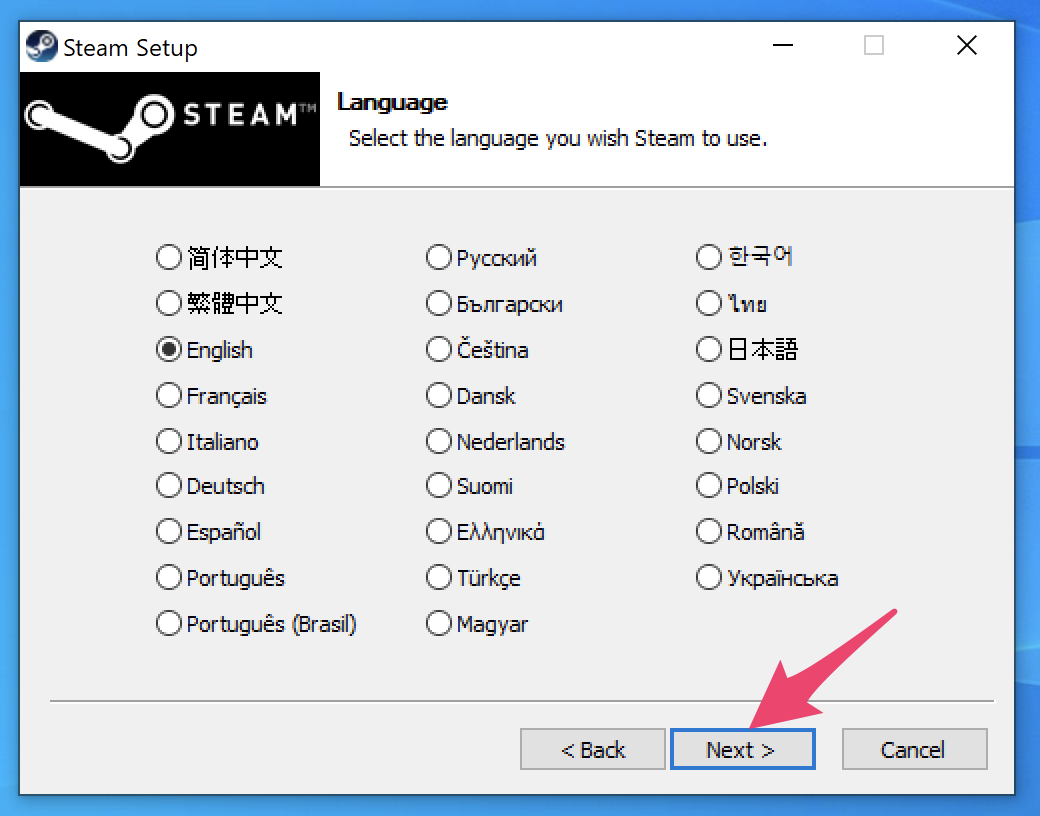
6. Select a language you wish Steam to use, then click the "Next" button to proceed.
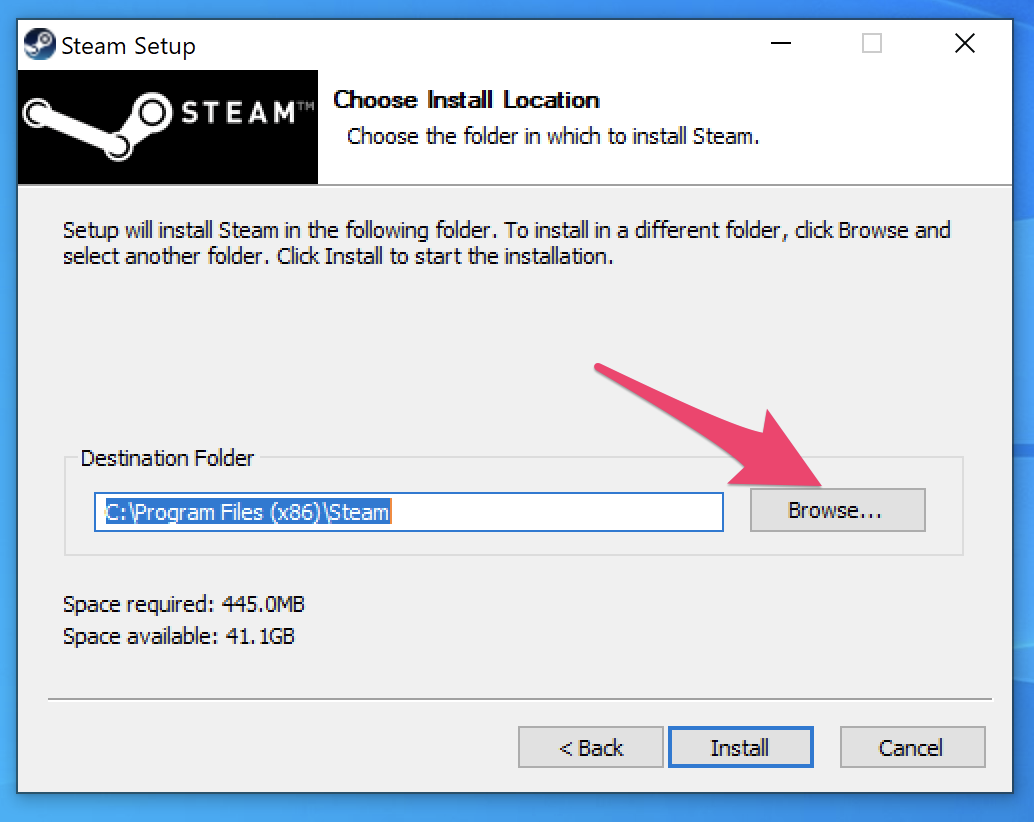
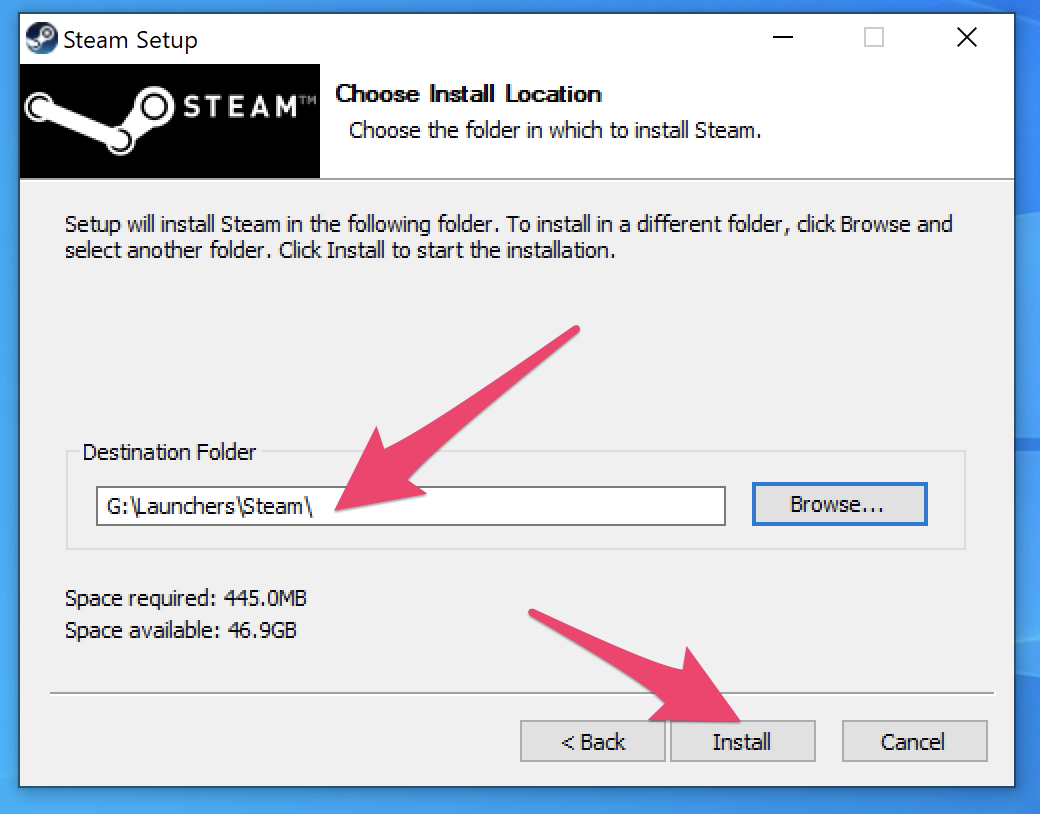
7. Click the "Browse" button to change the Destination Folder.
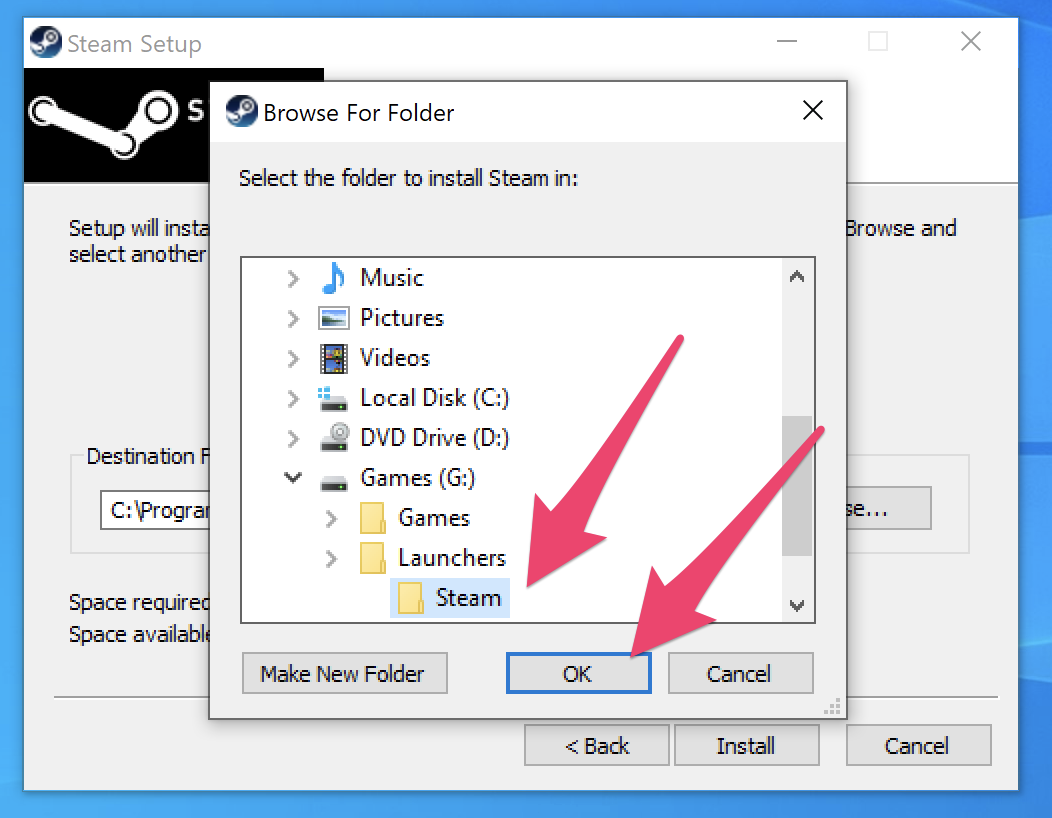
8. If you are following recommendations, browse to the "G:\" drive. Additionally, you may need to pre-create the directory structure to install the Steam Launcher to, meaning create the folder "Launchers" within the "G:\" drive if it does not exist, and also create the folder "Steam" inside of the "Launchers" folder. Click the "OK" button to proceed.
9. Confirm the newly-modified Destination Folder (it should be "G:\Launchers\Steam\"), then click the "Install" button to proceed.
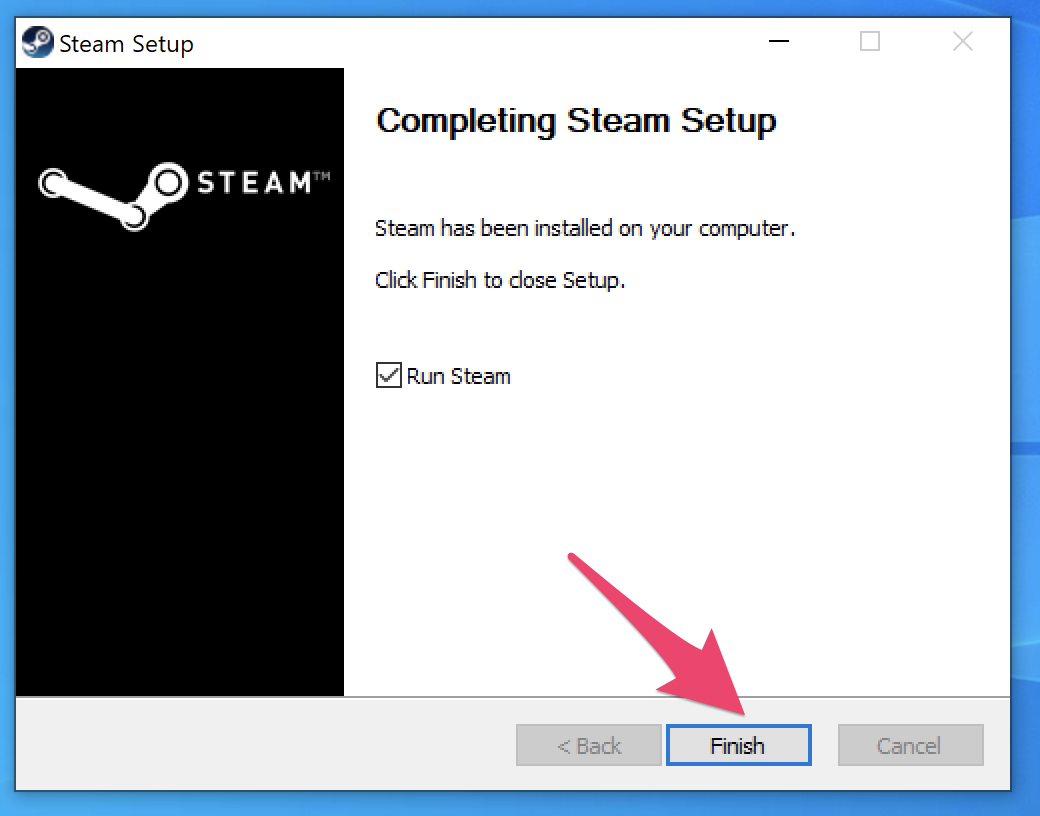
10. Wait for the Steam Launcher to install, then click the "Finish" button to proceed.
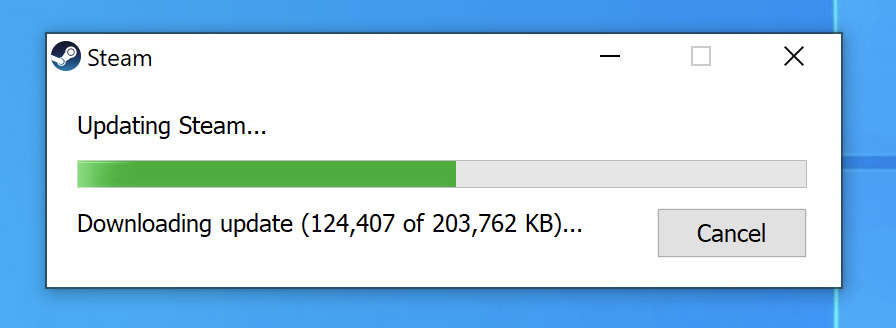
11. There is likely an incremental update to the Steam Launcher that will install automatically on first launch. Wait for the installation to complete.
12. After installation completes, the Steam welcome dialog appears. Create a new account or log into an existing account to proceed.

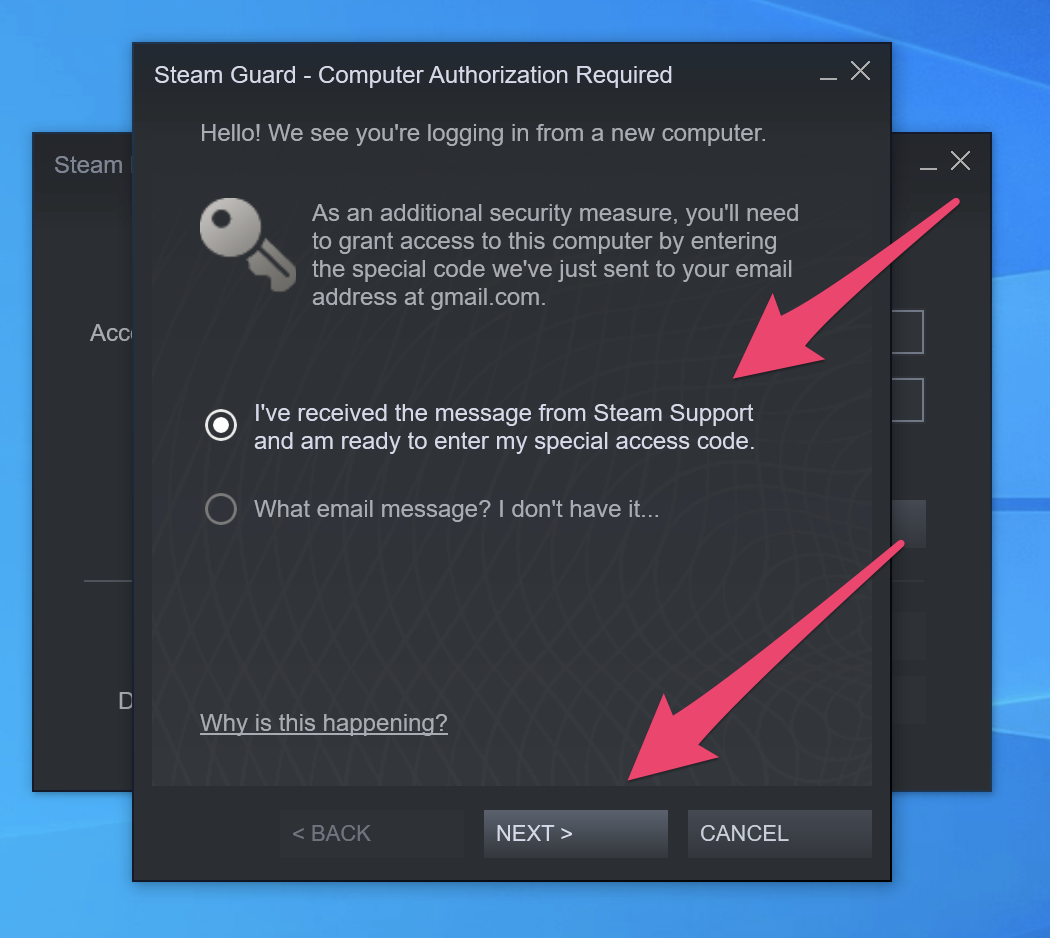
13. If the account you are logging in with has SteamGuard enabled, you will need to access the email account associated with the Steam account and retrieve the code provided therein. Click the "Next" button to proceed.
NOTE:
For Center Accounts, it is recommended that SteamGuard be disabled, otherwise, every Steam account will need to be logged into every Machine at least one time to register the Machine with Steam.
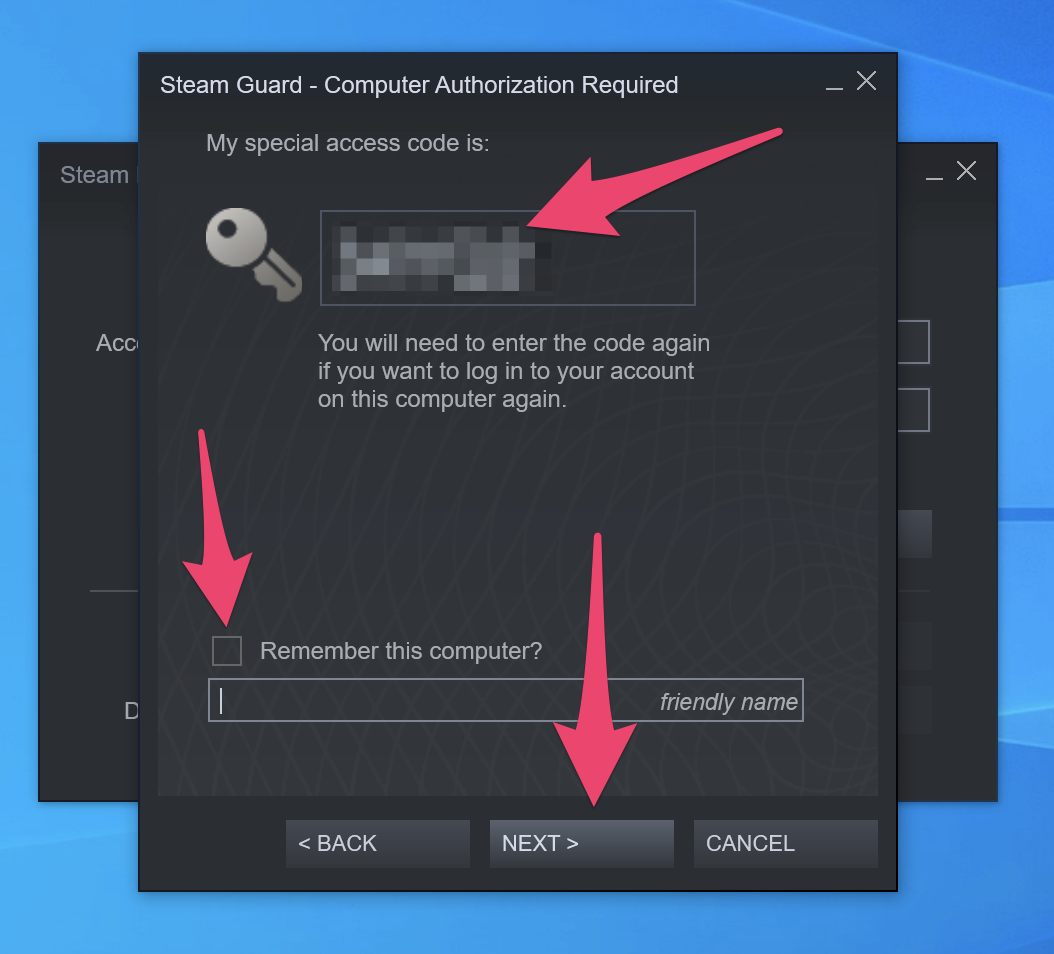
14. Enter the code obtained in the previous step, UNcheck "Remember this computer?", and click the "Next" button to proceed.
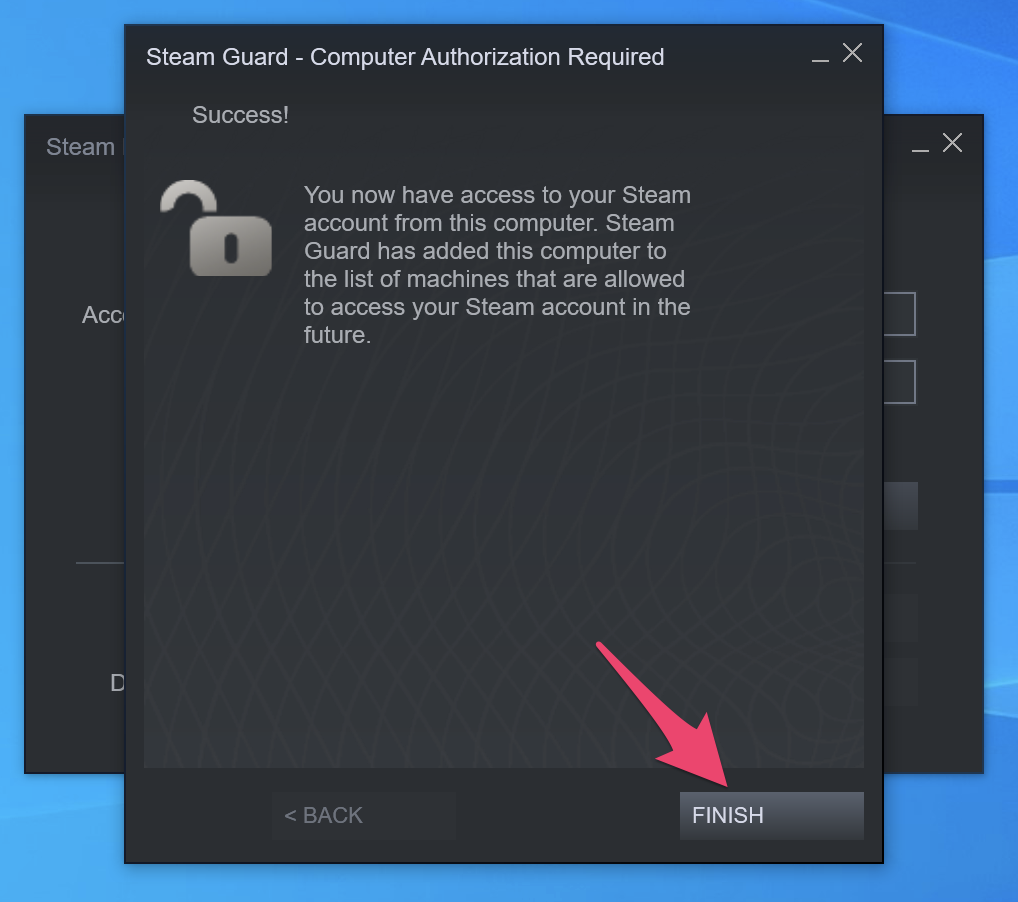
15. Click the "Finish" button to proceed.
16. Congratulations! At this point, the Steam Launcher is now installed to your games drive (G:\Launchers\Steam) and the Steam Library Directory is now configured (G:\Launchers\Steam\steamapps).
Uplay (Ubisoft Connect) Launcher
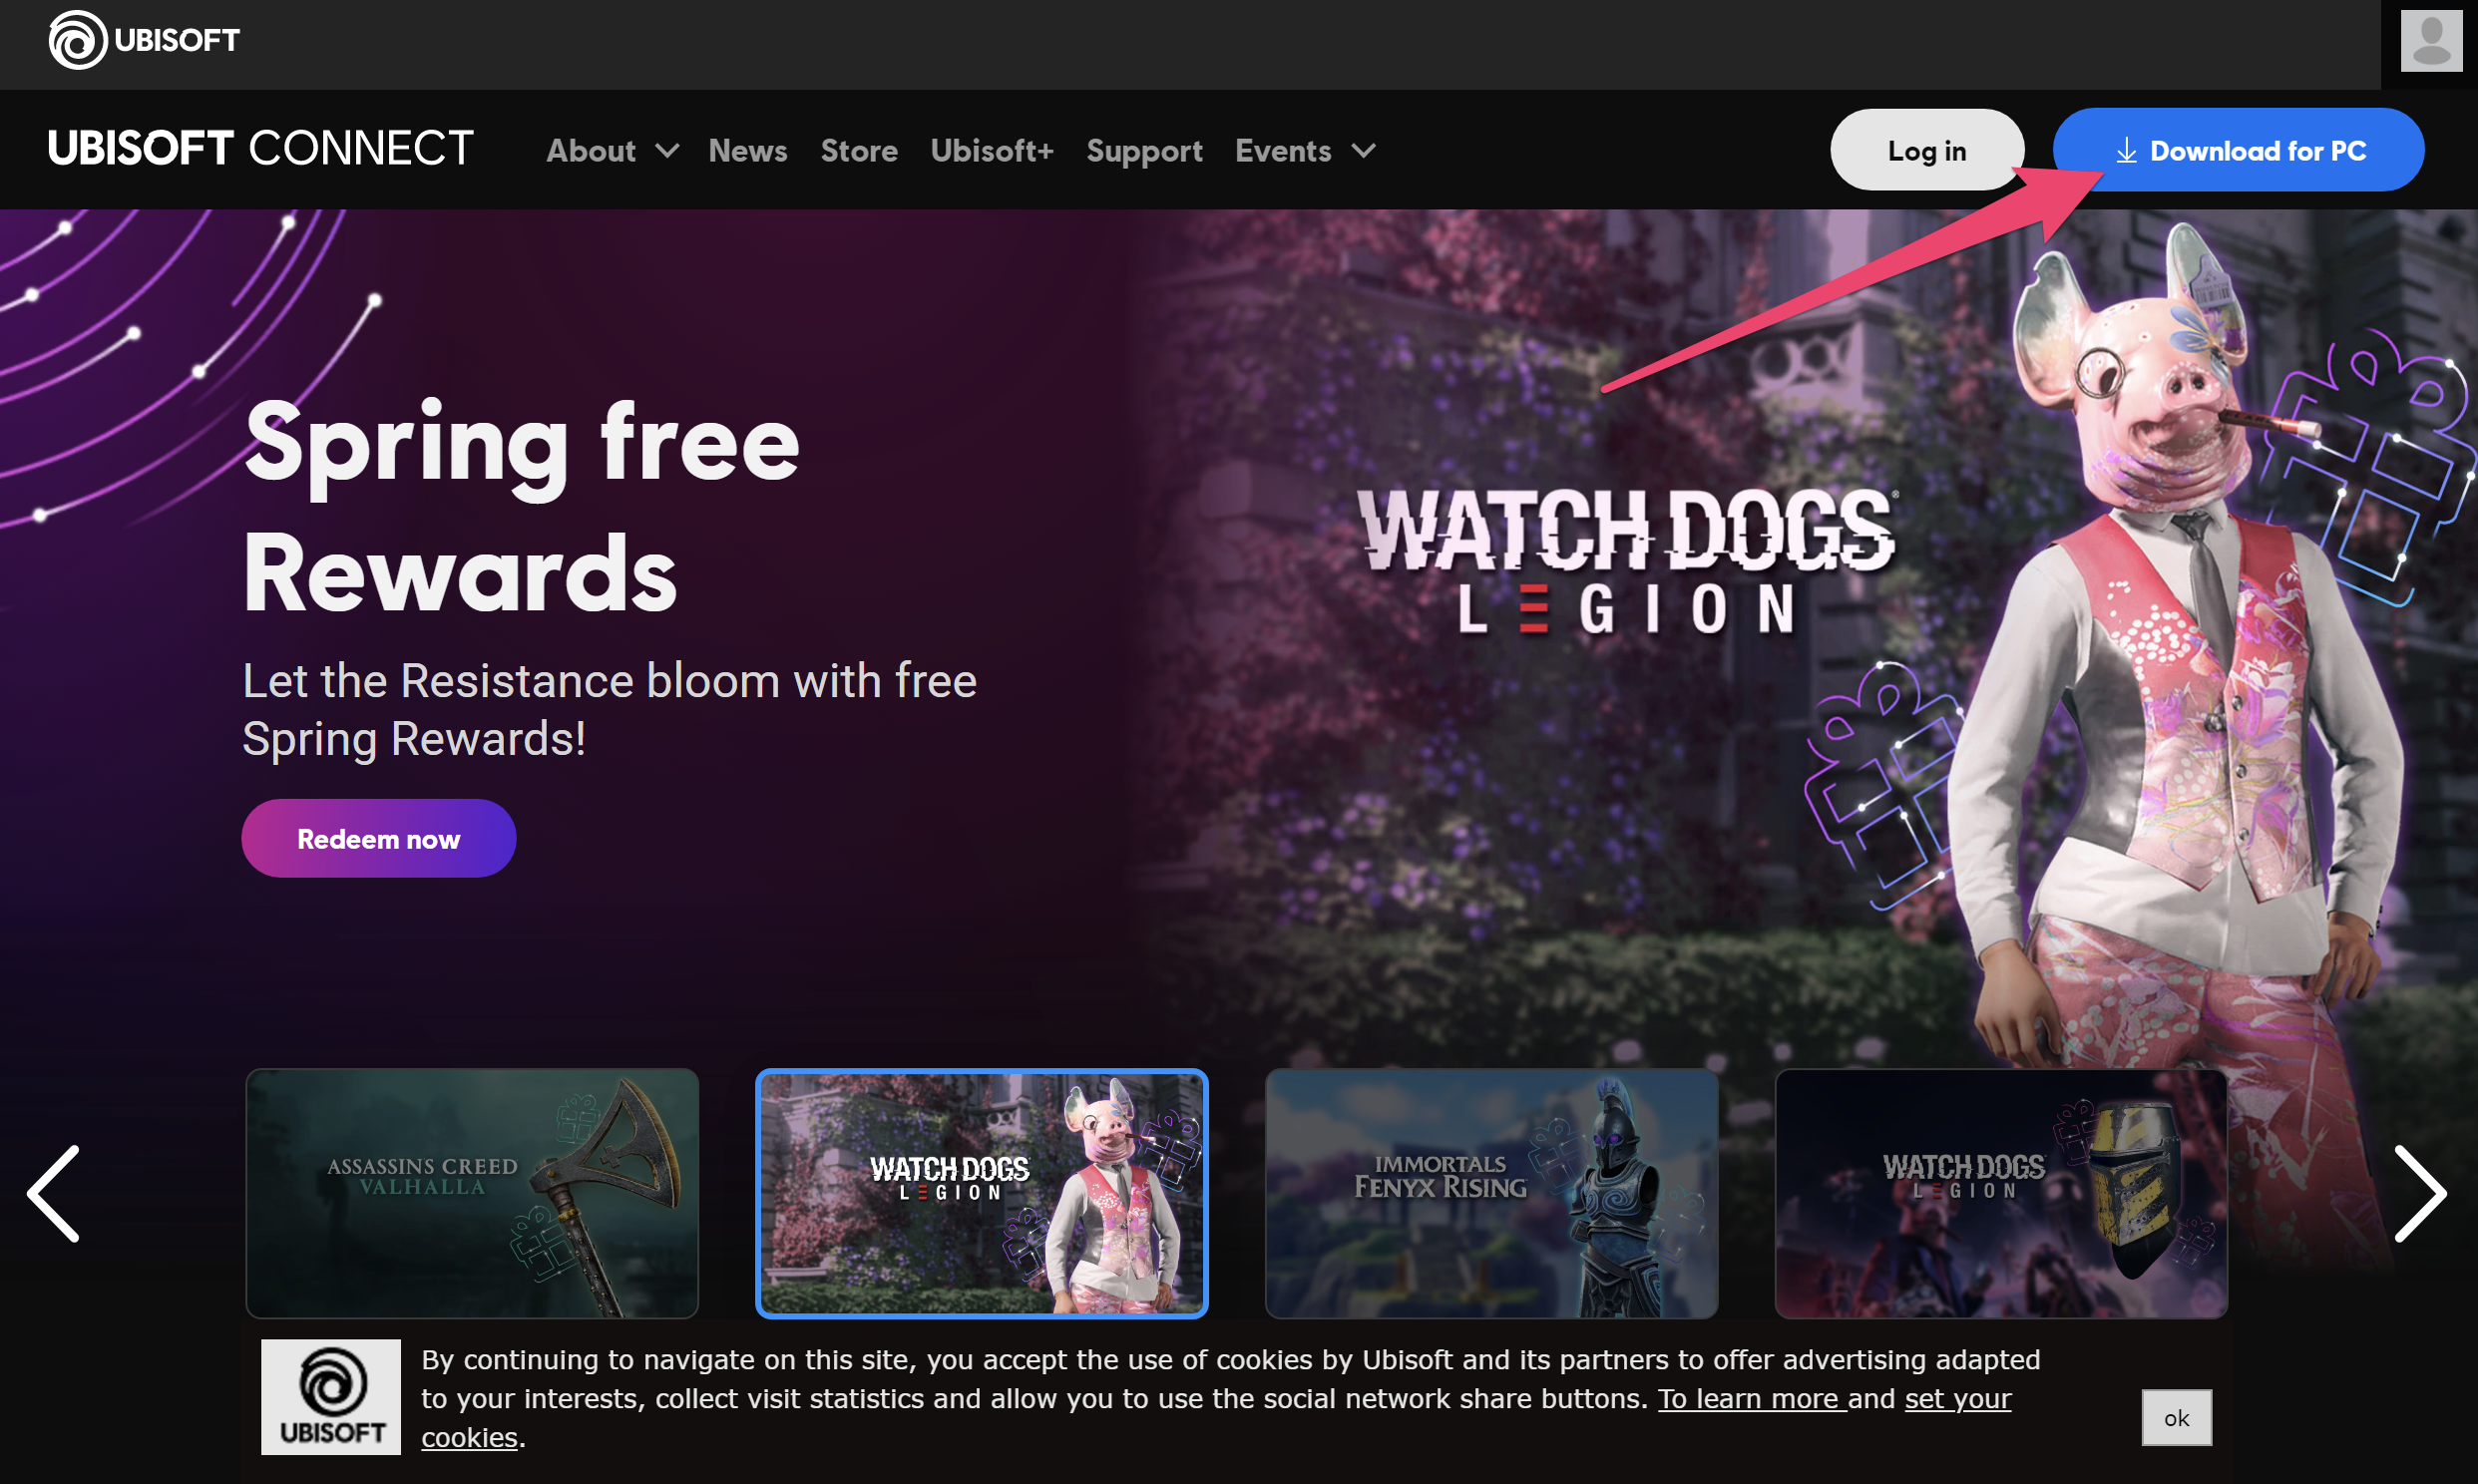
1. Visit the Ubisoft Connect Launcher Download Page to download the latest version of the Uplay (Ubisoft Connect) Launcher.
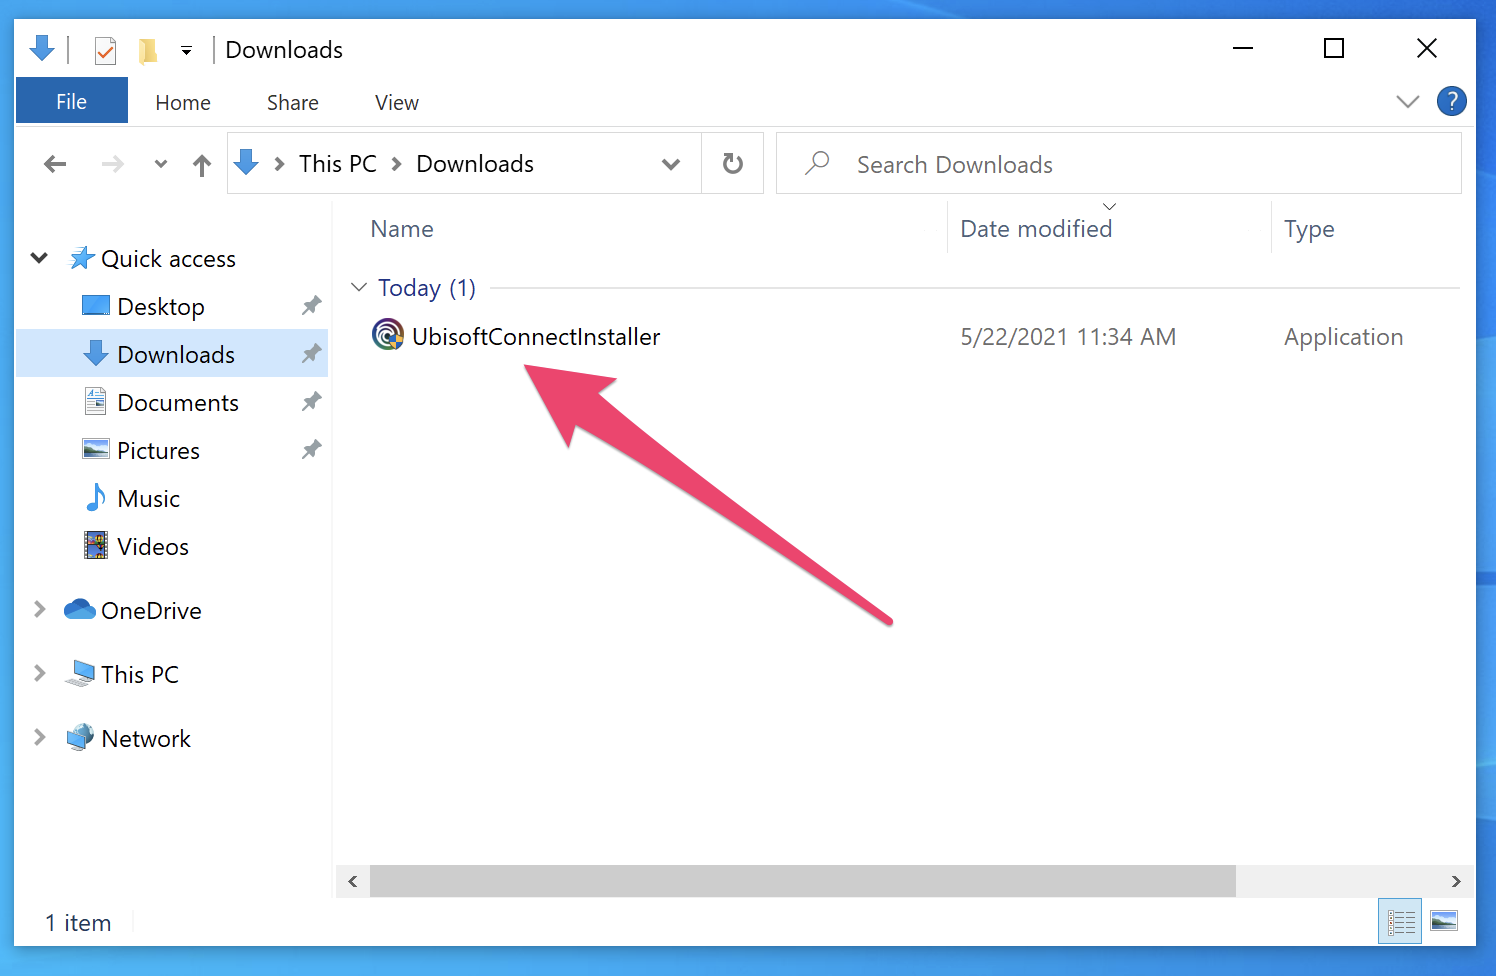
2. Locate and execute the downloaded file - by default, this will be in your "Downloads" folder.
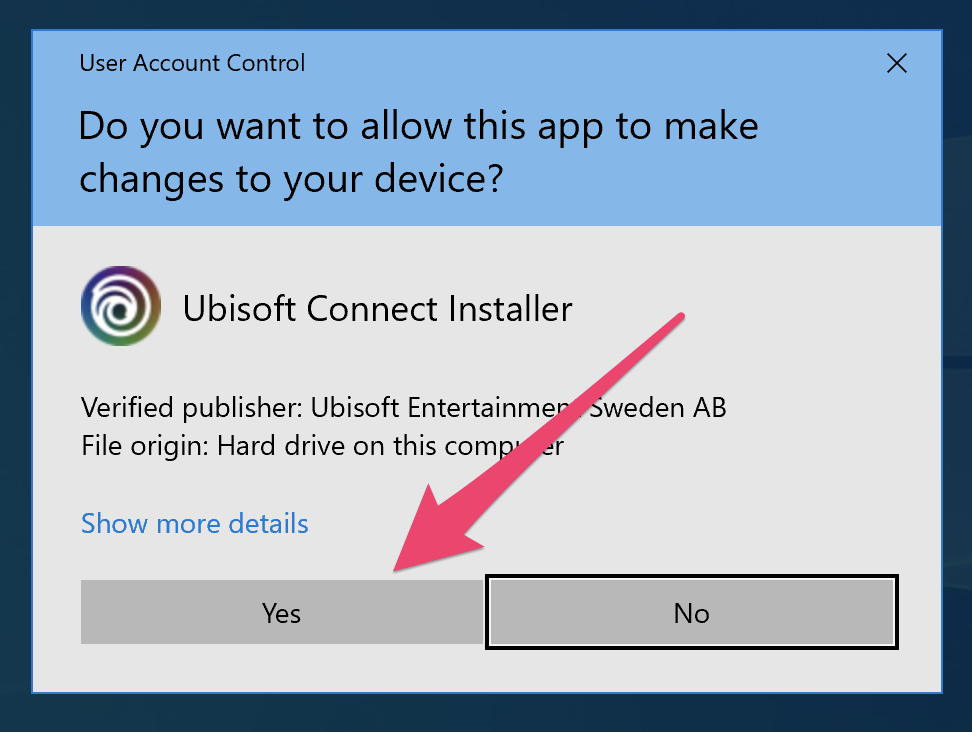
3. If you receive a UAC prompt, please click the "Yes" button to proceed.
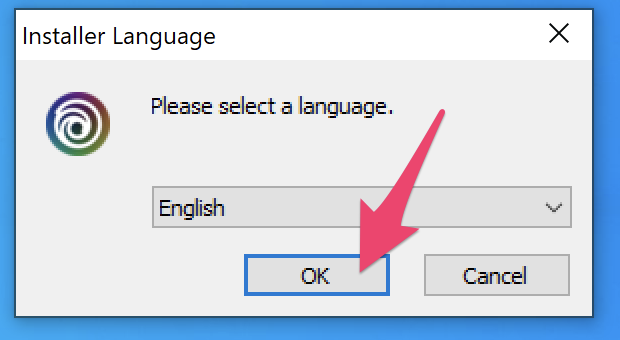
4. Choose a language from the "Please select a language." drop-down, then click the "OK" button to proceed.
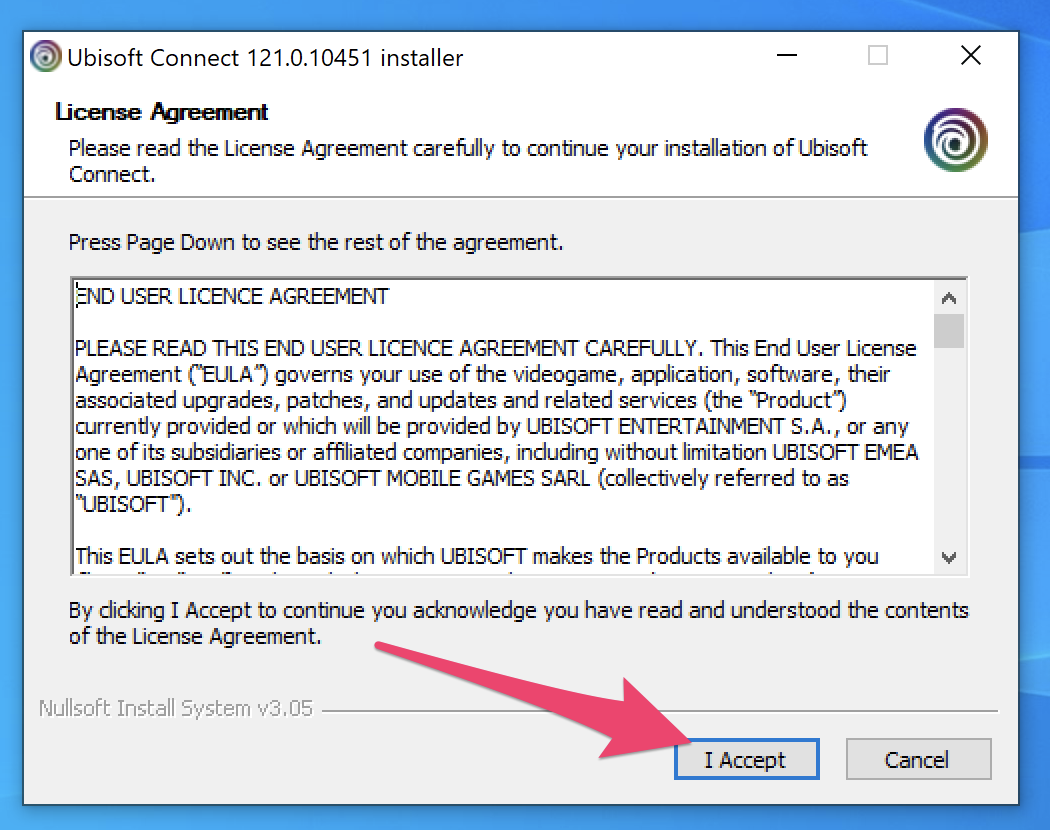
5. If you agree with the terms of the End User License Agreement, click the "I Accept" button to proceed.
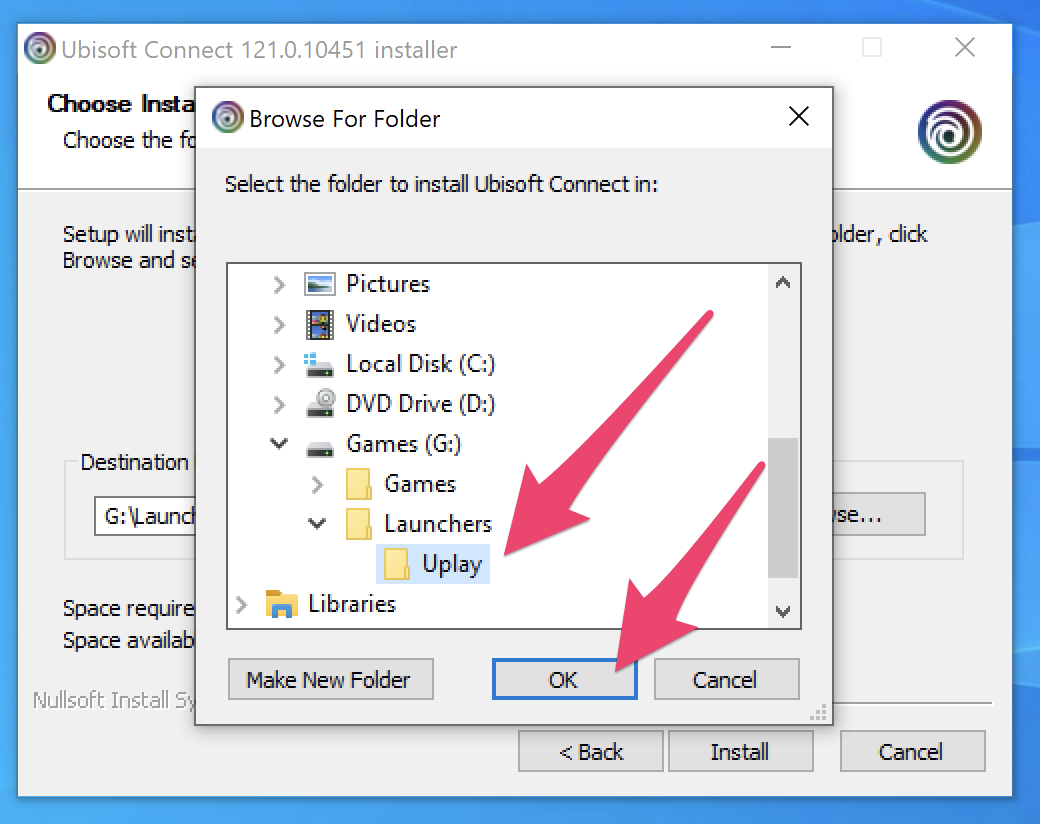
6. Click the "Browse" button on the "Choose Install Location" page of the installation wizard.
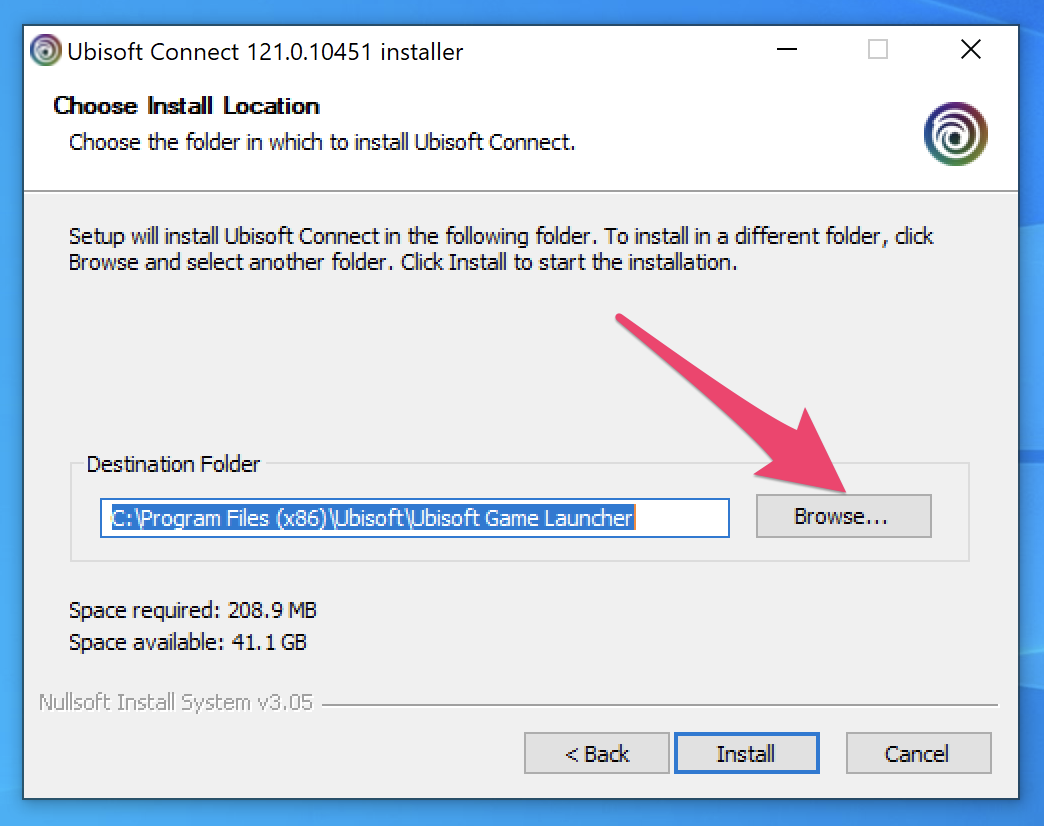
7. If you are following recommendations, browse to the "G:\" drive. Additionally, you may need to pre-create the directory structure to install the Uplay Launcher to, meaning create the folder "Launchers" within the "G:\" drive if it does not exist, and also create the folder "Uplay" inside of the "Launchers" folder. Click the "OK" button to proceed.
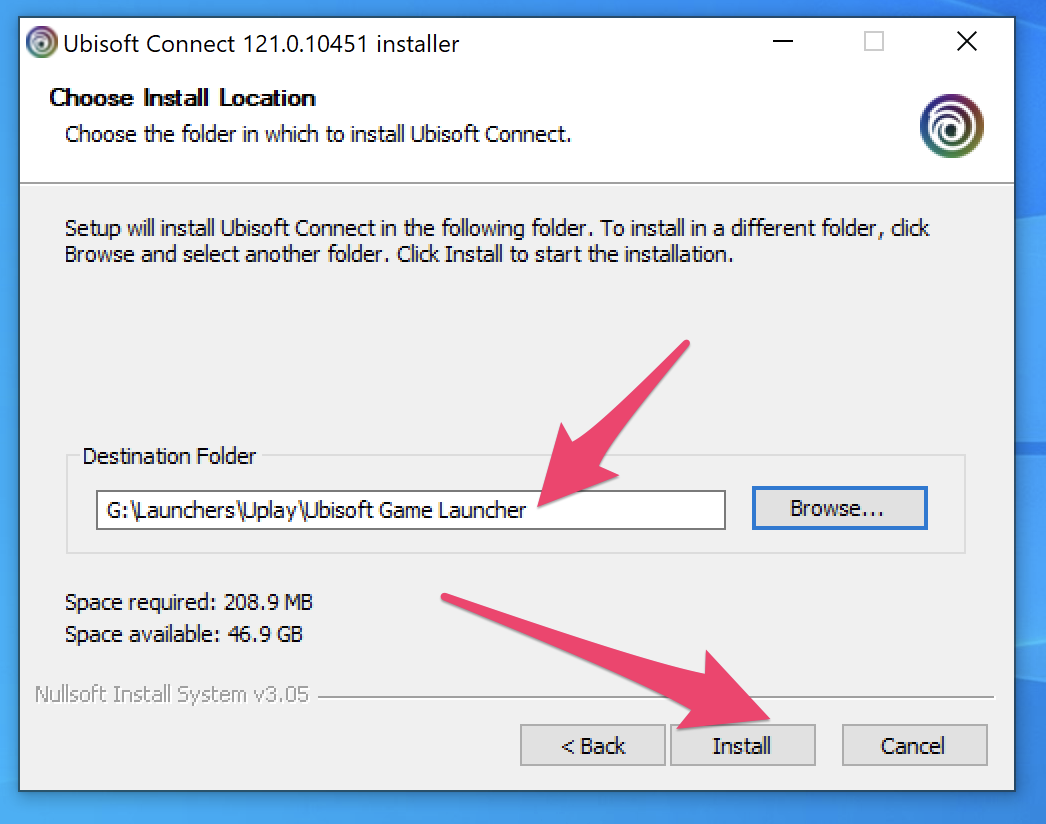
8. Confirm the Destination Folder is configured appropriately per the previous step, then click the "Install" button to proceed.
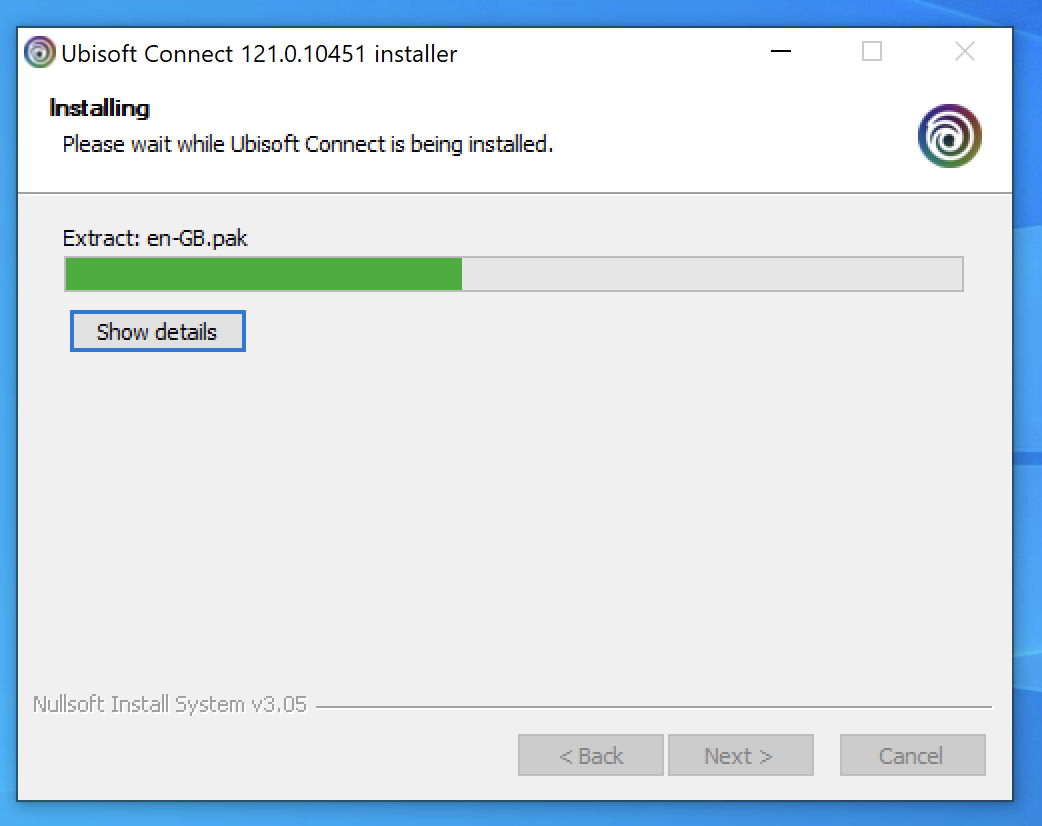
9. Wait while the installation wizard completes.
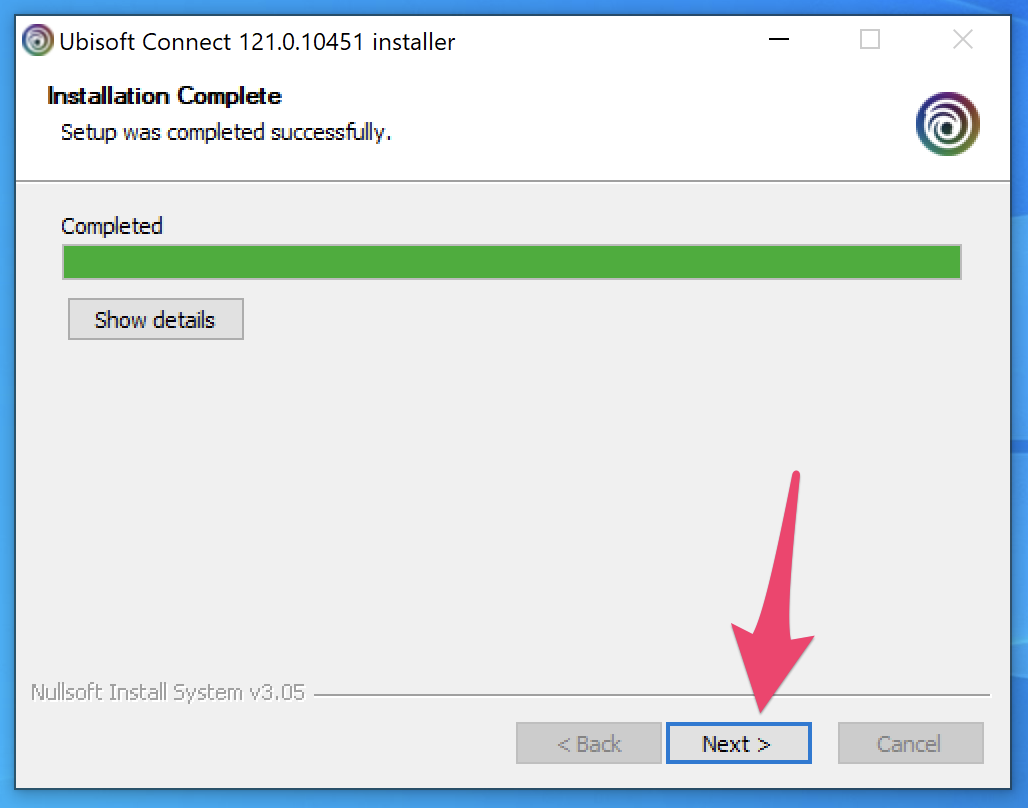
10. Once the installation has been completed, click the "Next" button to proceed.
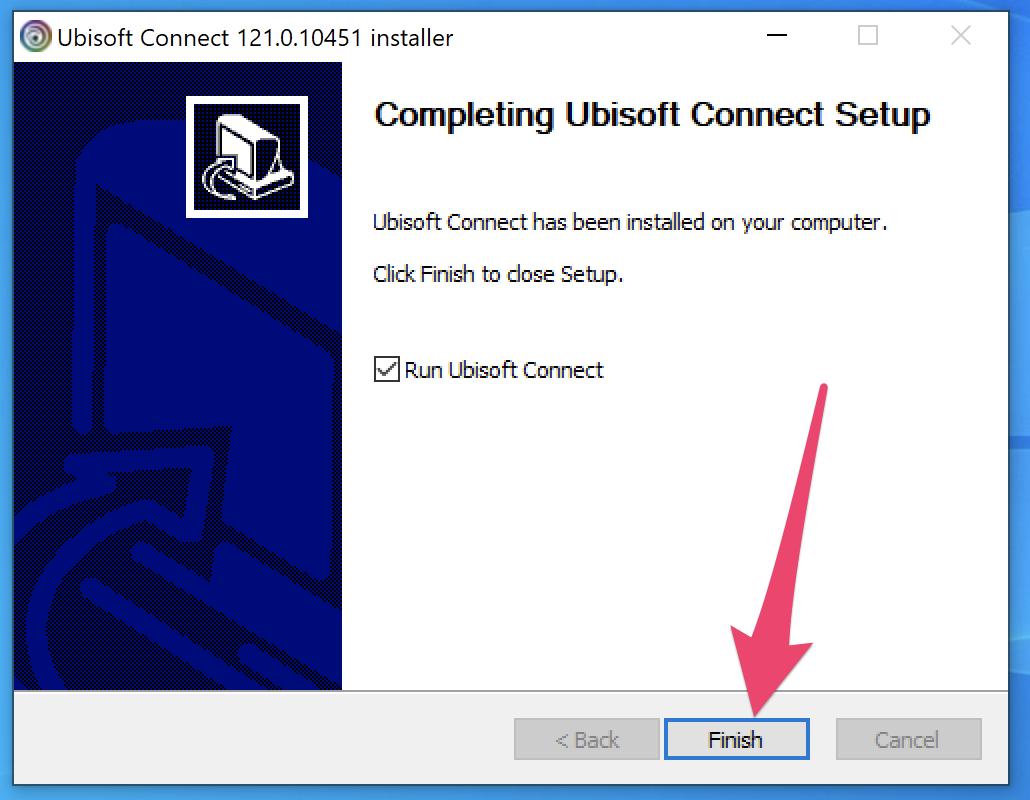
11. Click the "Finish" button to proceed.
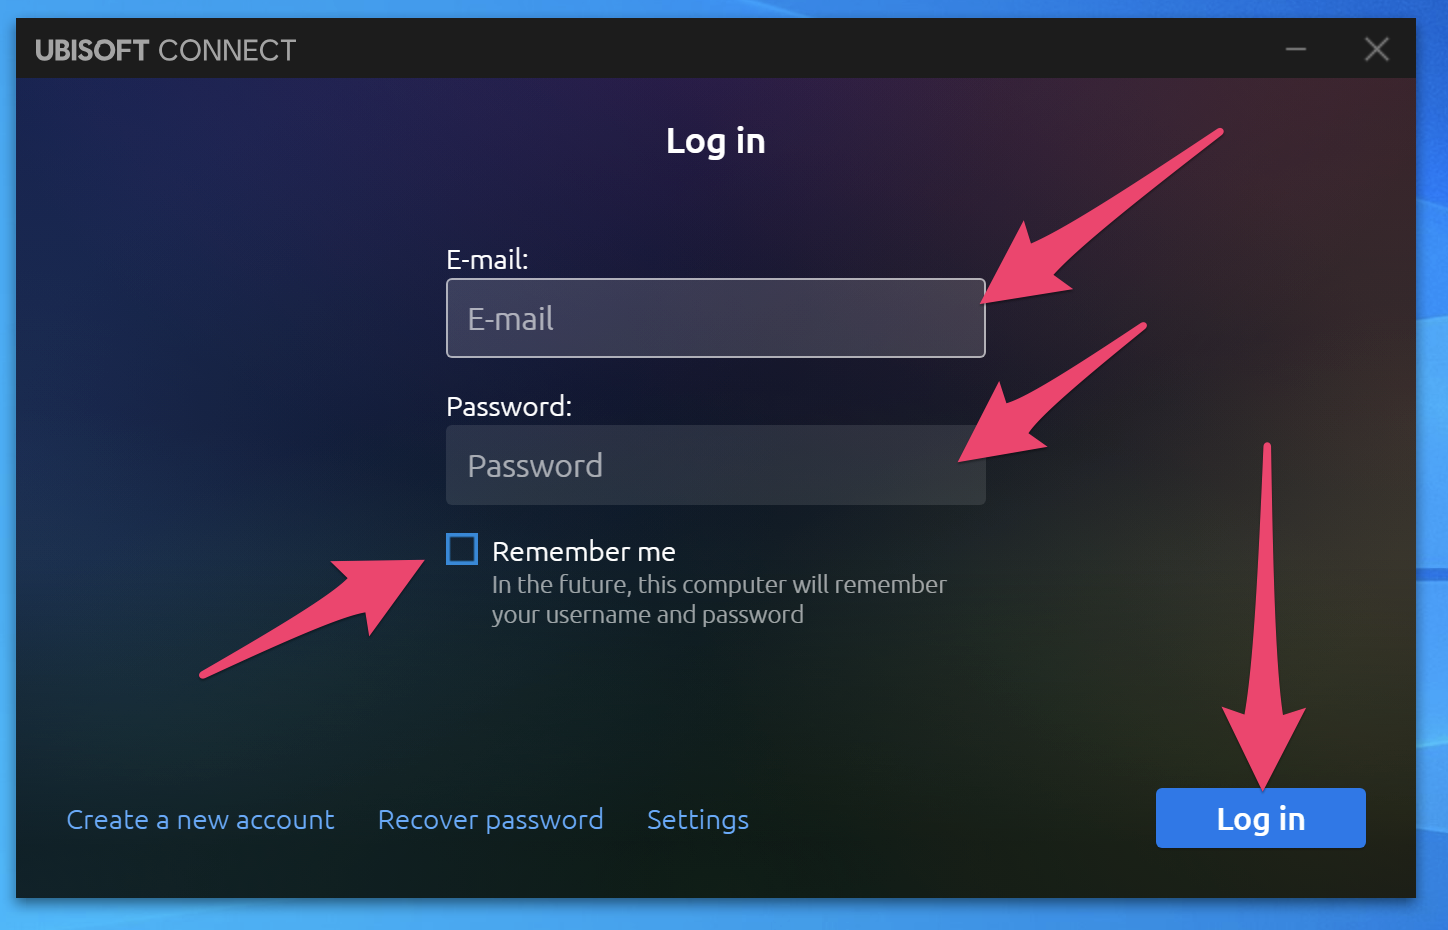
12. Enter your uplay (ubisoft connect) account email address and password. Ensure the "Remember me" box is NOT checked, then click the "Log in" button to proceed.
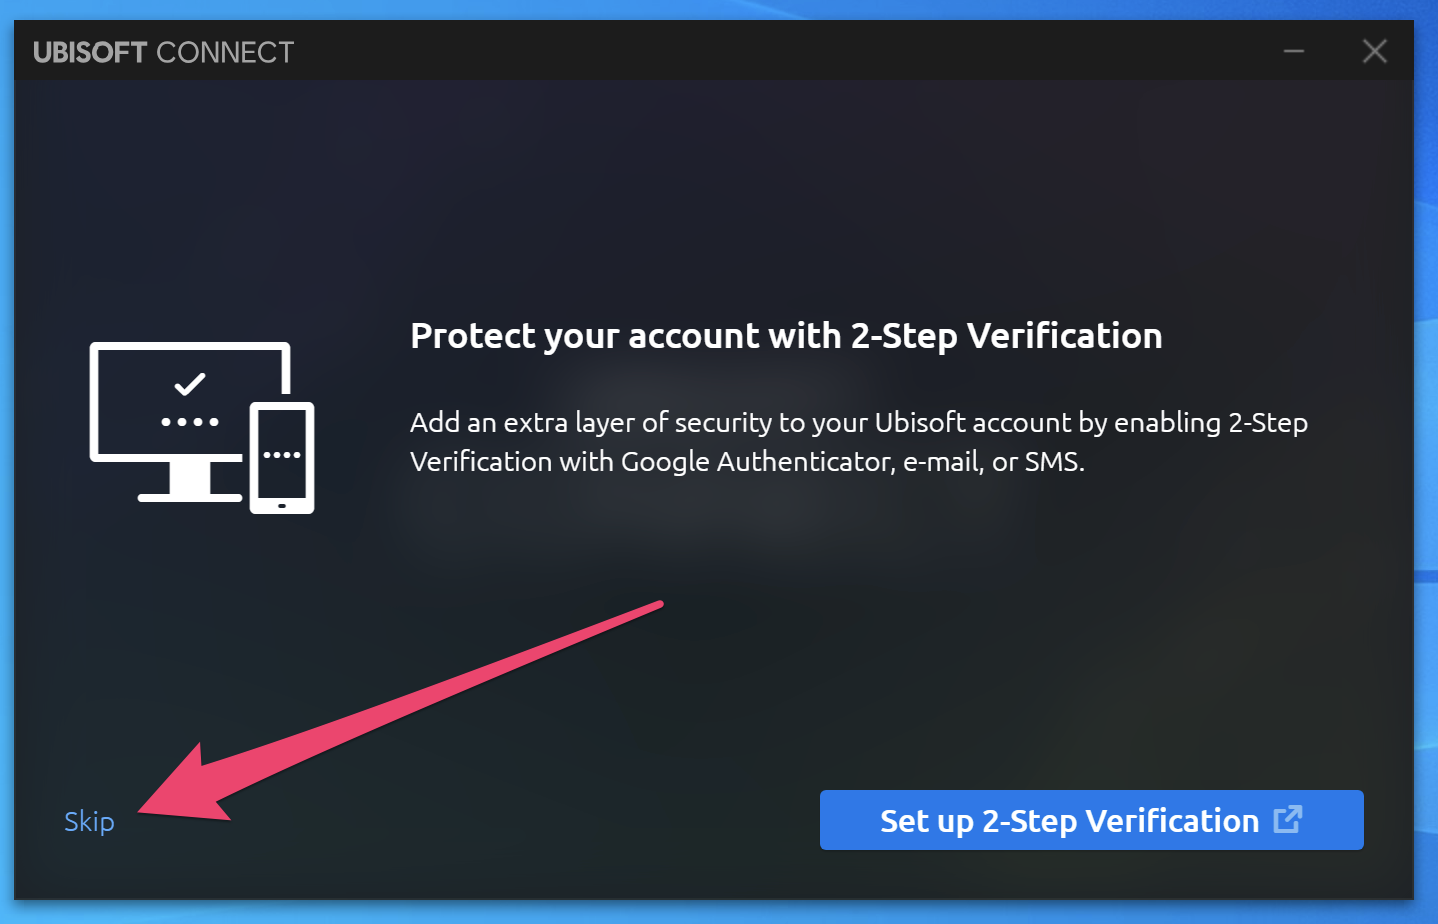
13. If prompted to enable 2-factor authentication, click the "Skip" link.
NOTE:
Please ensure that 2-factor authentication is disabled for any center accounts to prevent your patrons from having difficulty playing games.
17. Congratulations! At this point, the Uplay (Ubisoft Connect) Launcher is now installed to your games drive (G:\Launchers\Uplay) and the Uplay (Ubisoft Connect) Default game installation location is now configured (G:\Launchers\Uplay\Ubisoft Game Launcher\games\) by default.
League of Legends (Riot Launcher)
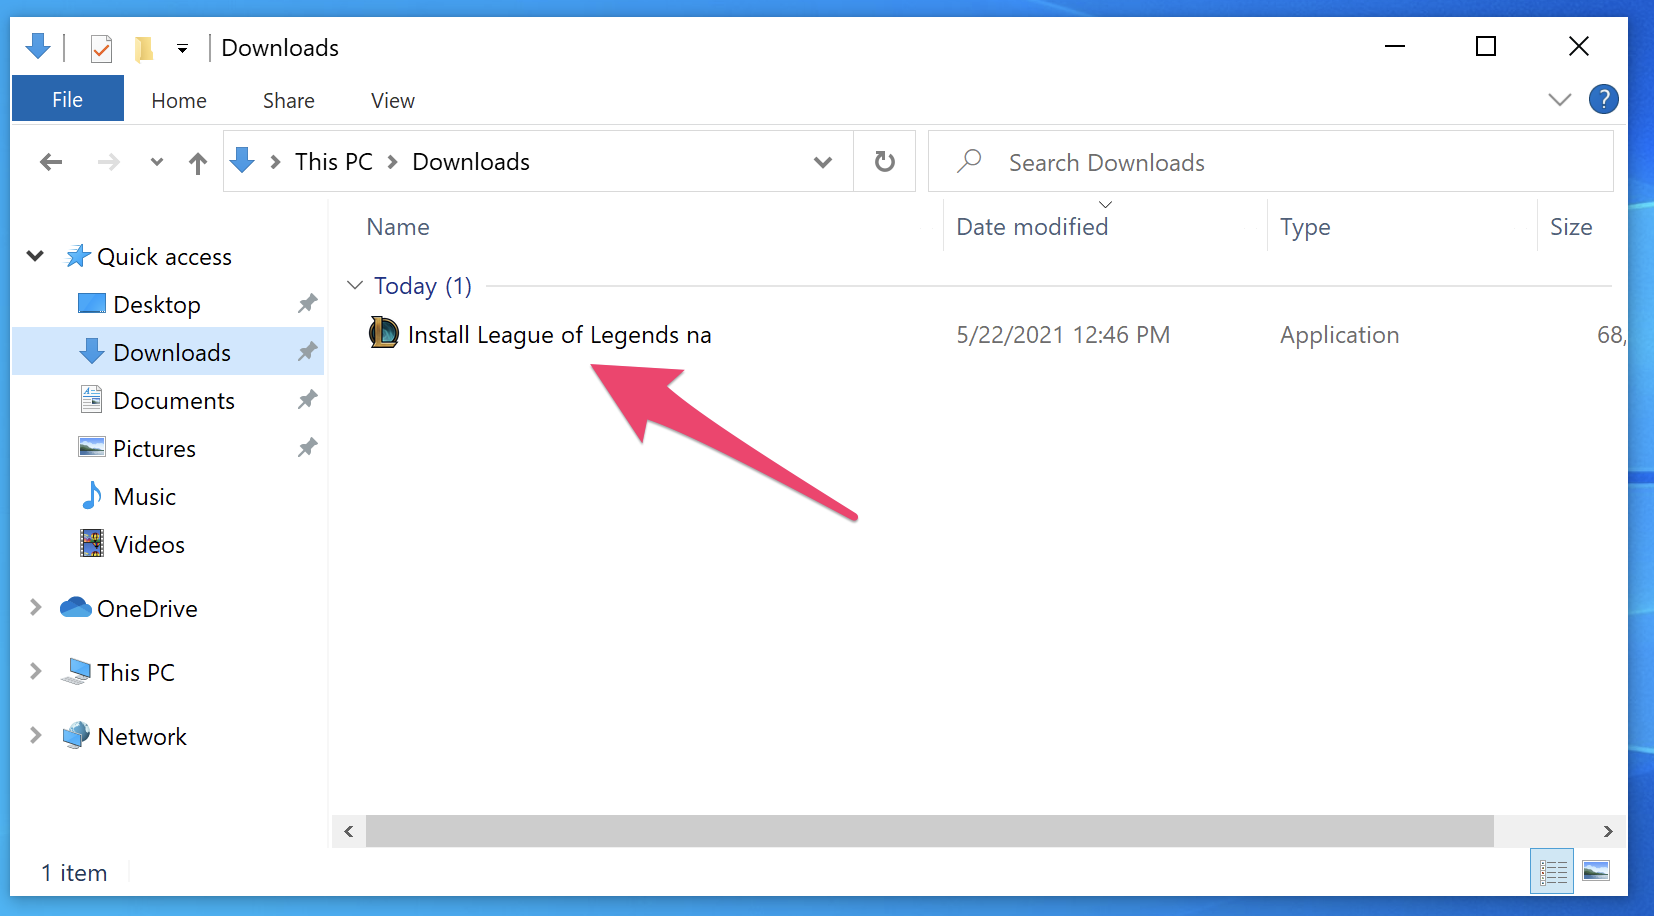
1. Visit the League of Legends Download Page to download the latest version of the League of Legends installer.

2. Locate and execute the downloaded file - by default, this will be in your "Downloads" folder.
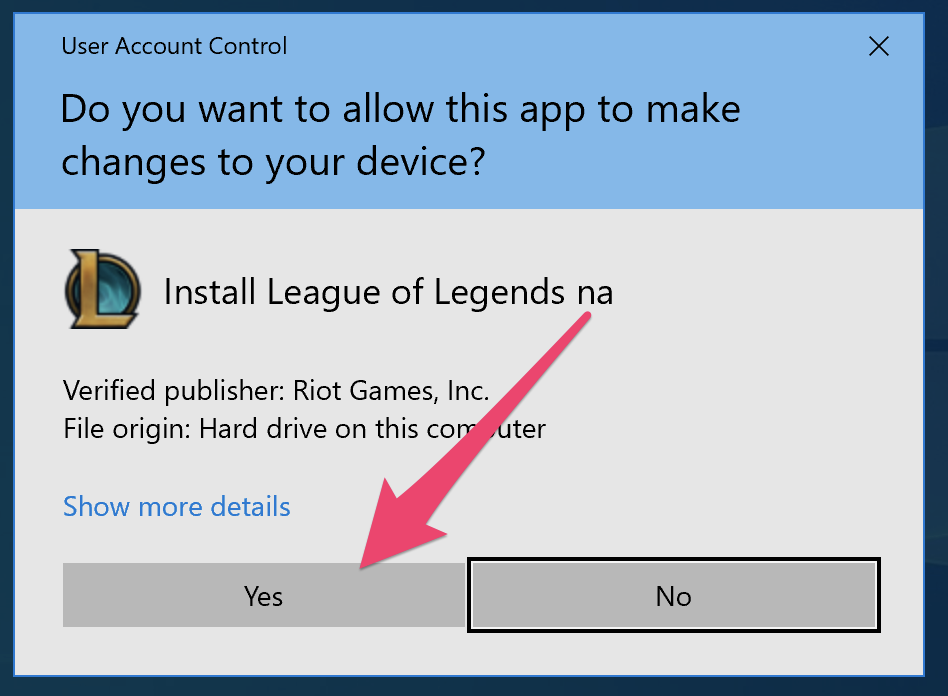
3. If you receive a UAC prompt, please click the "Yes" button to proceed.
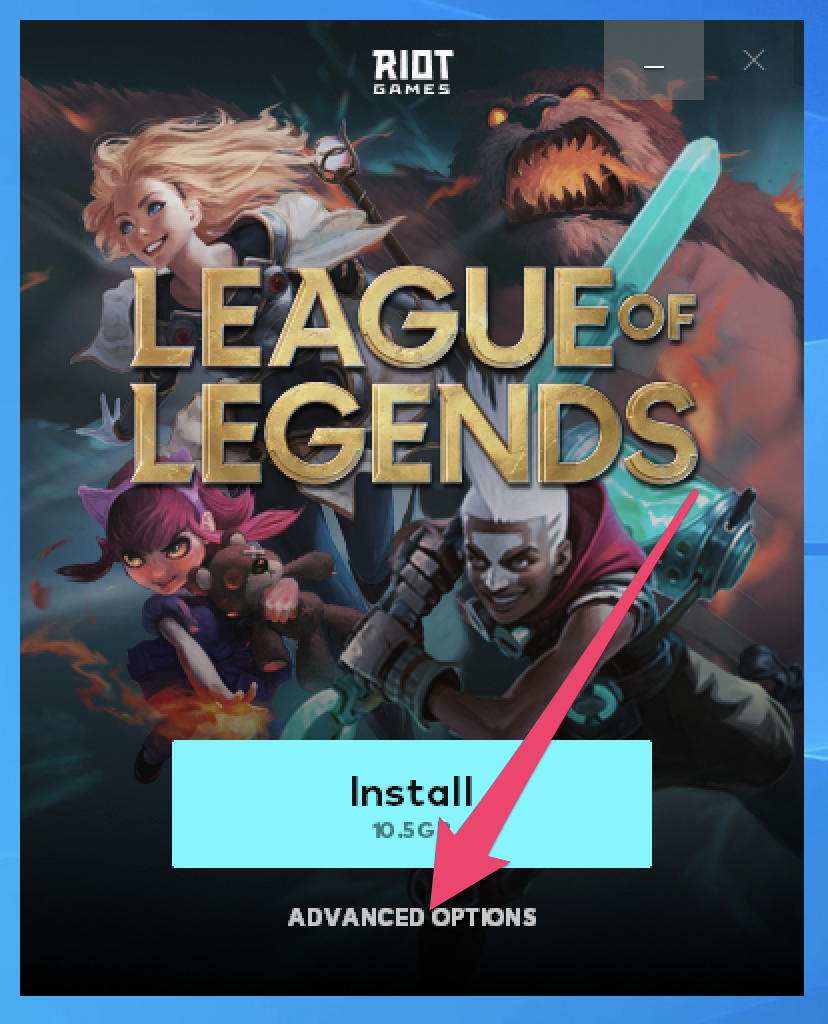
4. Click the "Advanced Options" link to proceed.
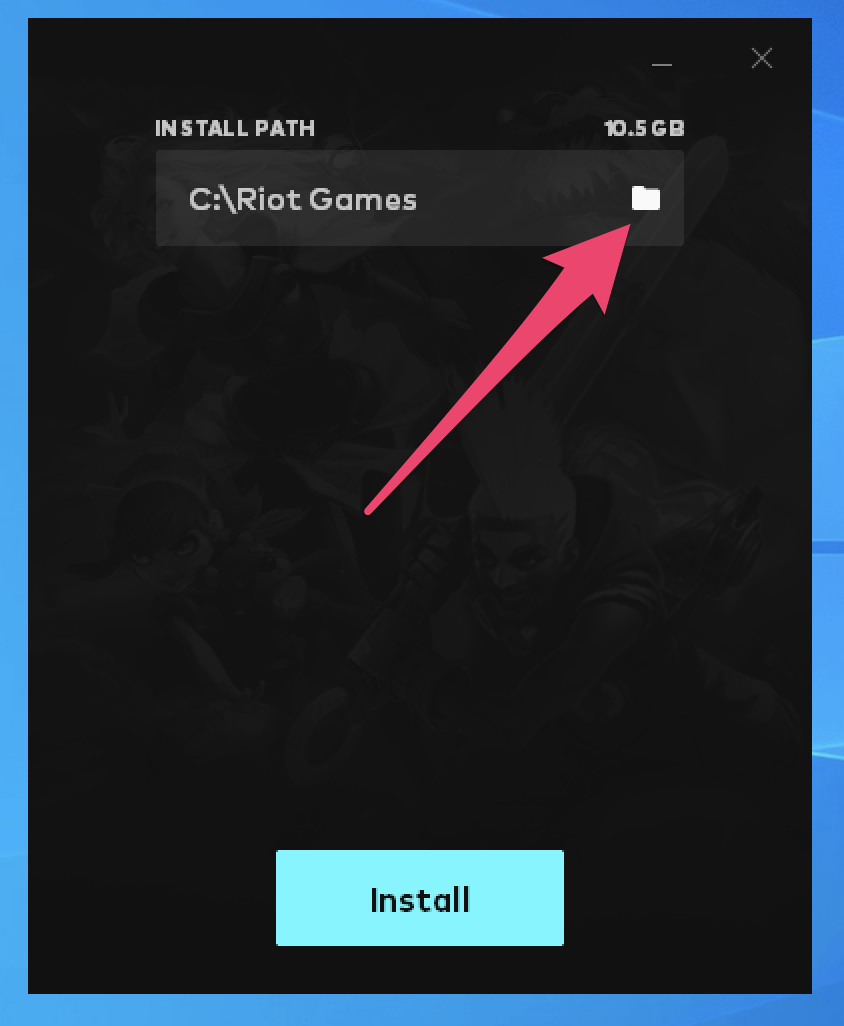
5. When the "Advanced Options" dialog appears, click the folder icon to adjust the installation path.
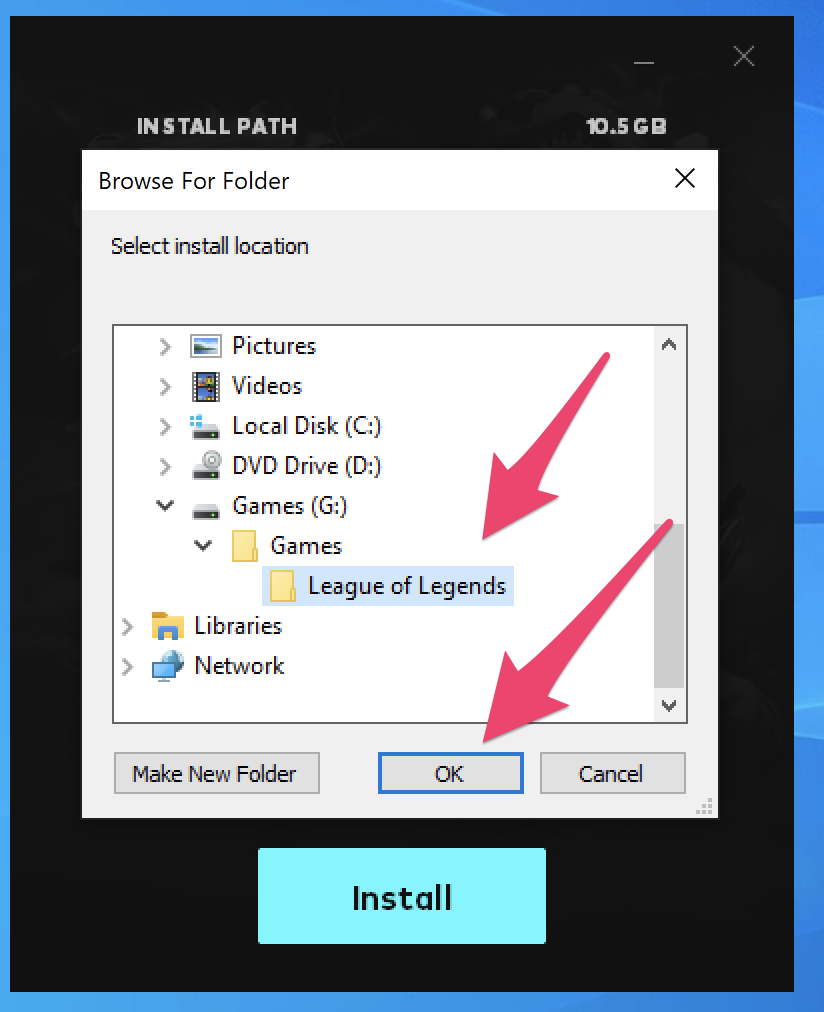
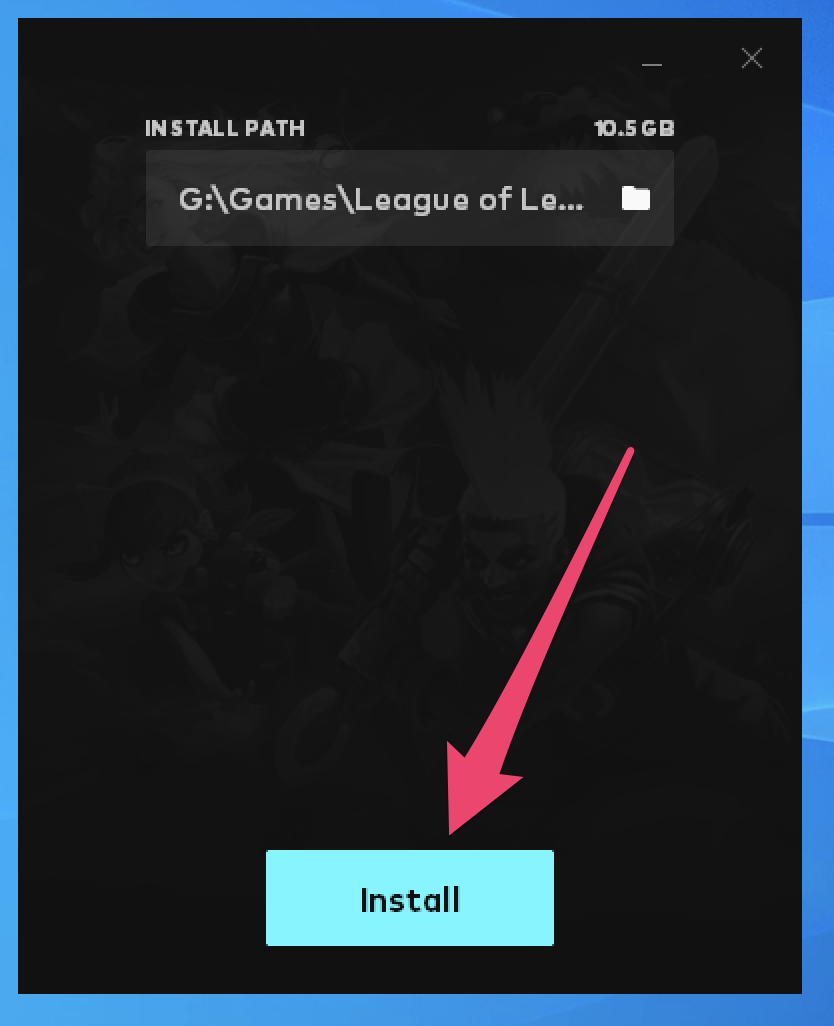
6. If you are following recommendations, browse to the "G:\" drive. Additionally, you may need to pre-create the directory structure to install the League of Legends Riot Launcher to, meaning create the folder "Games" within the "G:\" drive if it does not exist, and also create the folder "League of Legends" inside of the "Games" folder. Click the "OK" button to proceed.
NOTE:
League of Legends is closely coupled with its launcher, so the launcher and game are installed together. It is for this reason that in this example we chose to place the League of Legends Riot Launcher in the "Games" directory. The decision is mostly personal preference and organization here, so you may make up your own mind as to where to install it.
7. Confirm the installation directory is configured as per the previous step, then click the "Install" button to proceed.
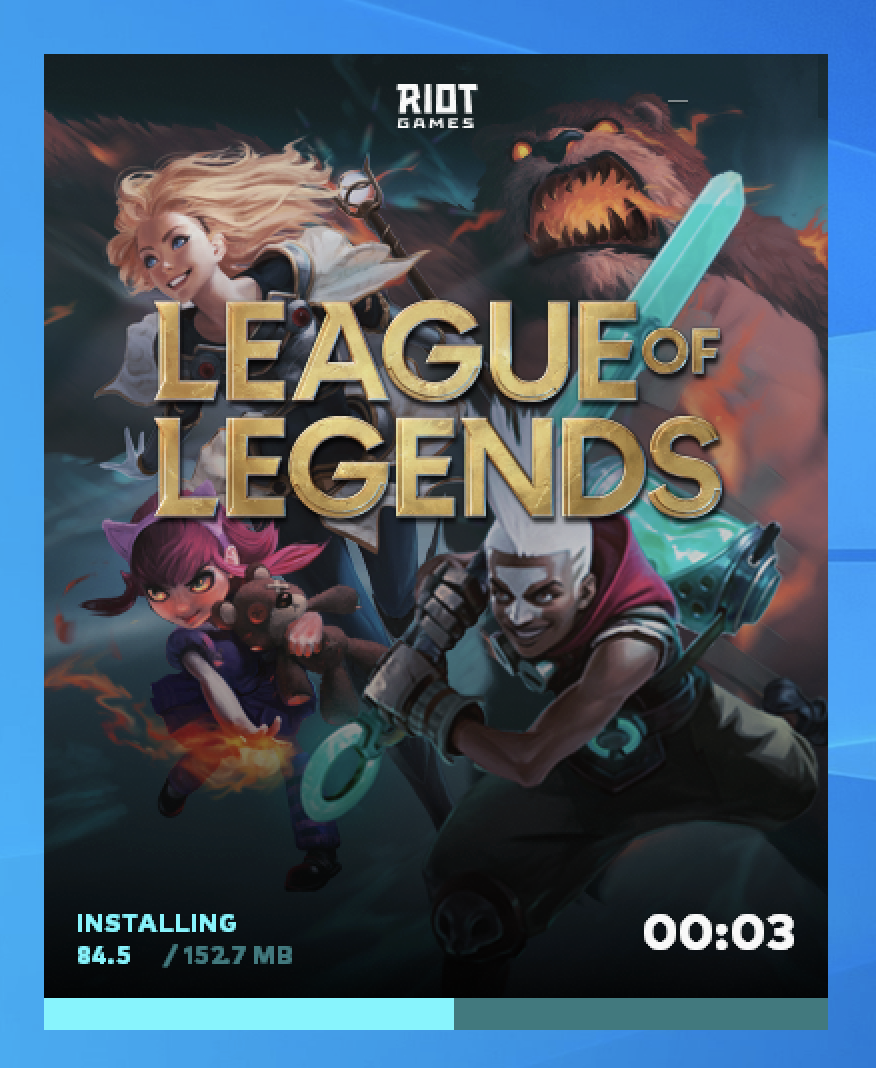
8. Wait while the installation of the League of Legends Riot Launcher completes.
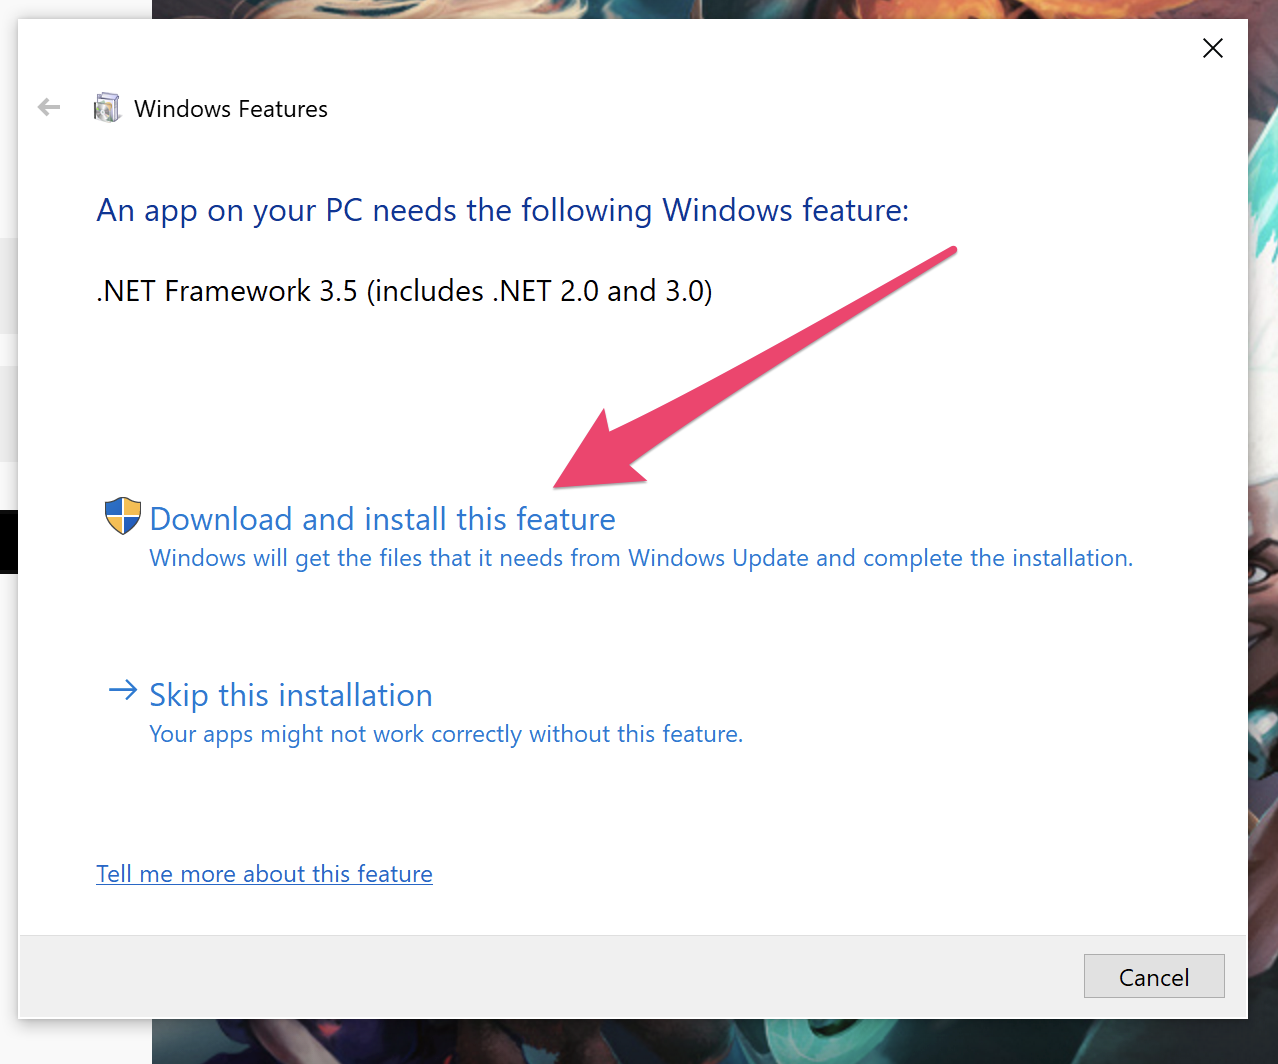
9. If prompted, install ".NET Framework 3.5" by clicking the "Download and install this feature" button to proceed.
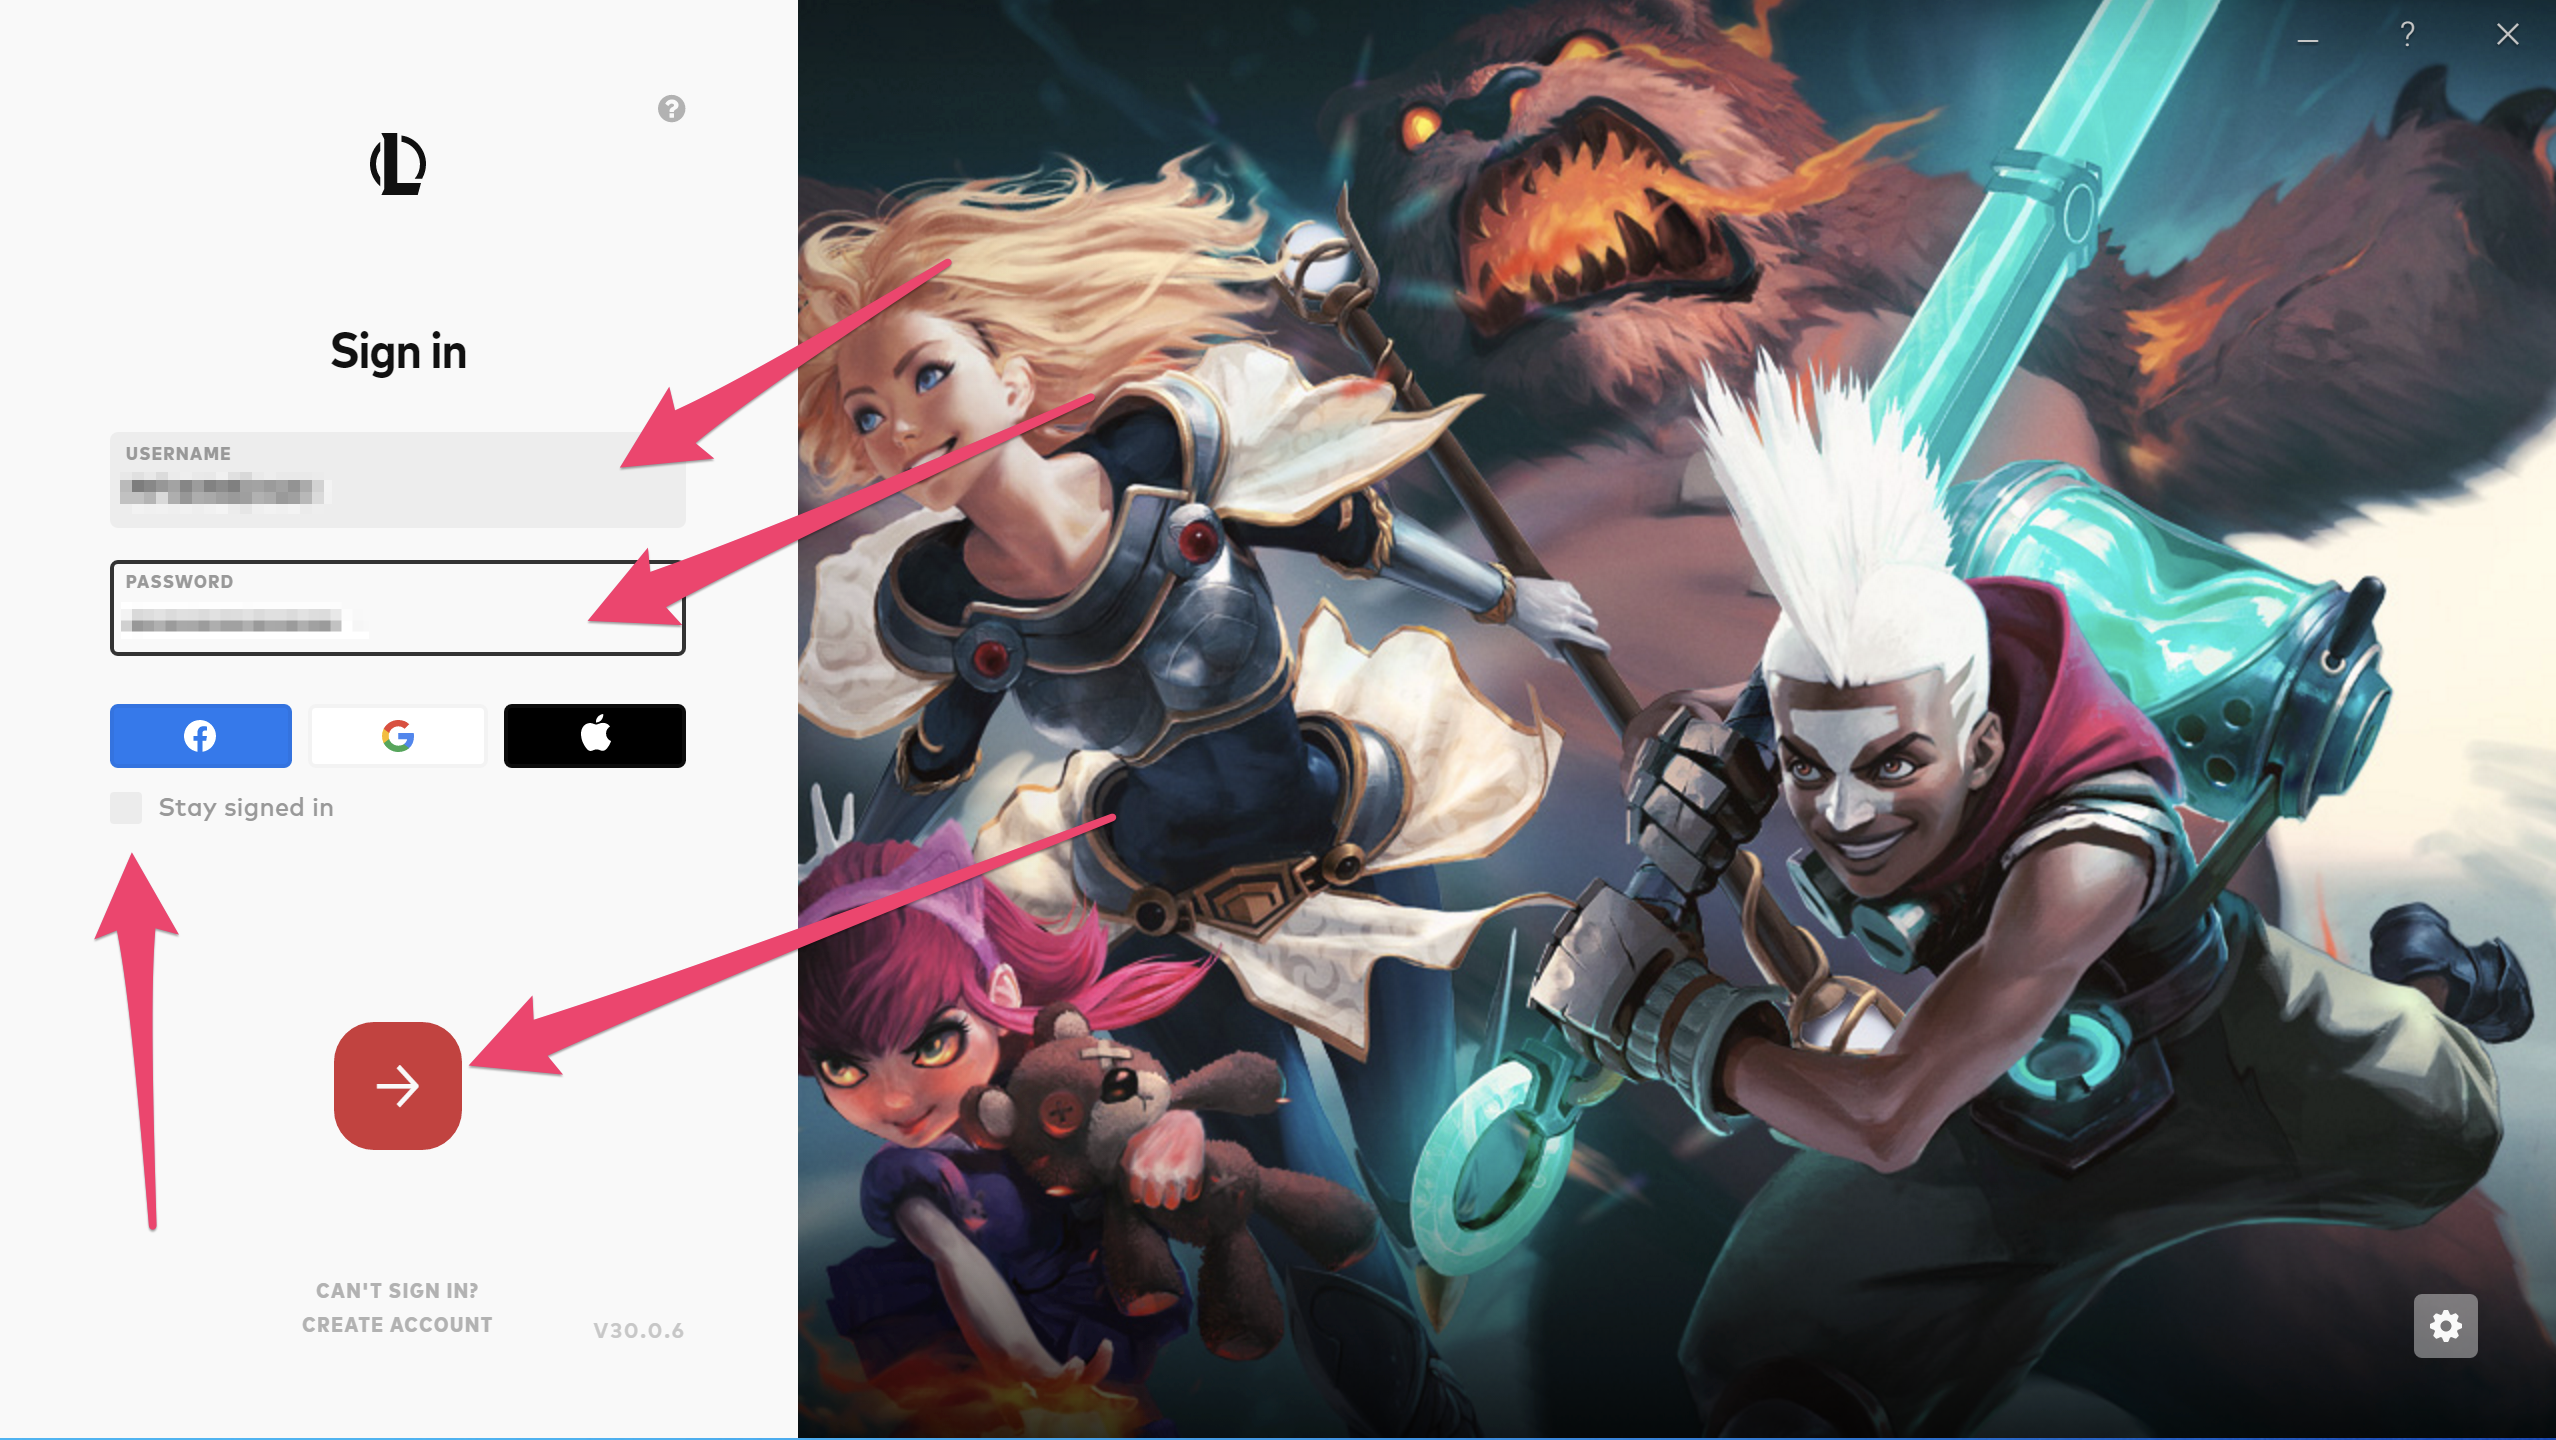
10. Once installation completes, enter your League of Legends username and password, making sure NOT to check the "Stay signed in" checkbox. Click the red arrow button to sign in and proceed.
11. Once signed in, observe the update installation progress.
12. Congratulations! At this point, the League of Legends Riot Launcher is now installed to your games drive (G:\Games\League of Legends).
Valorant (Riot Launcher)
NOTE:
Several components of the Valorant Riot Launcher require a reboot, so before beginning please ensure the "Keep Writebacks" advanced setting is enabled for the Machine you will be installing Valorant on. Additionally, you will need to temporarily reverse the process of disabling Windows Updates due to a dependency on the .NET framework 3.5, which requires Windows Update to be enabled during installation.
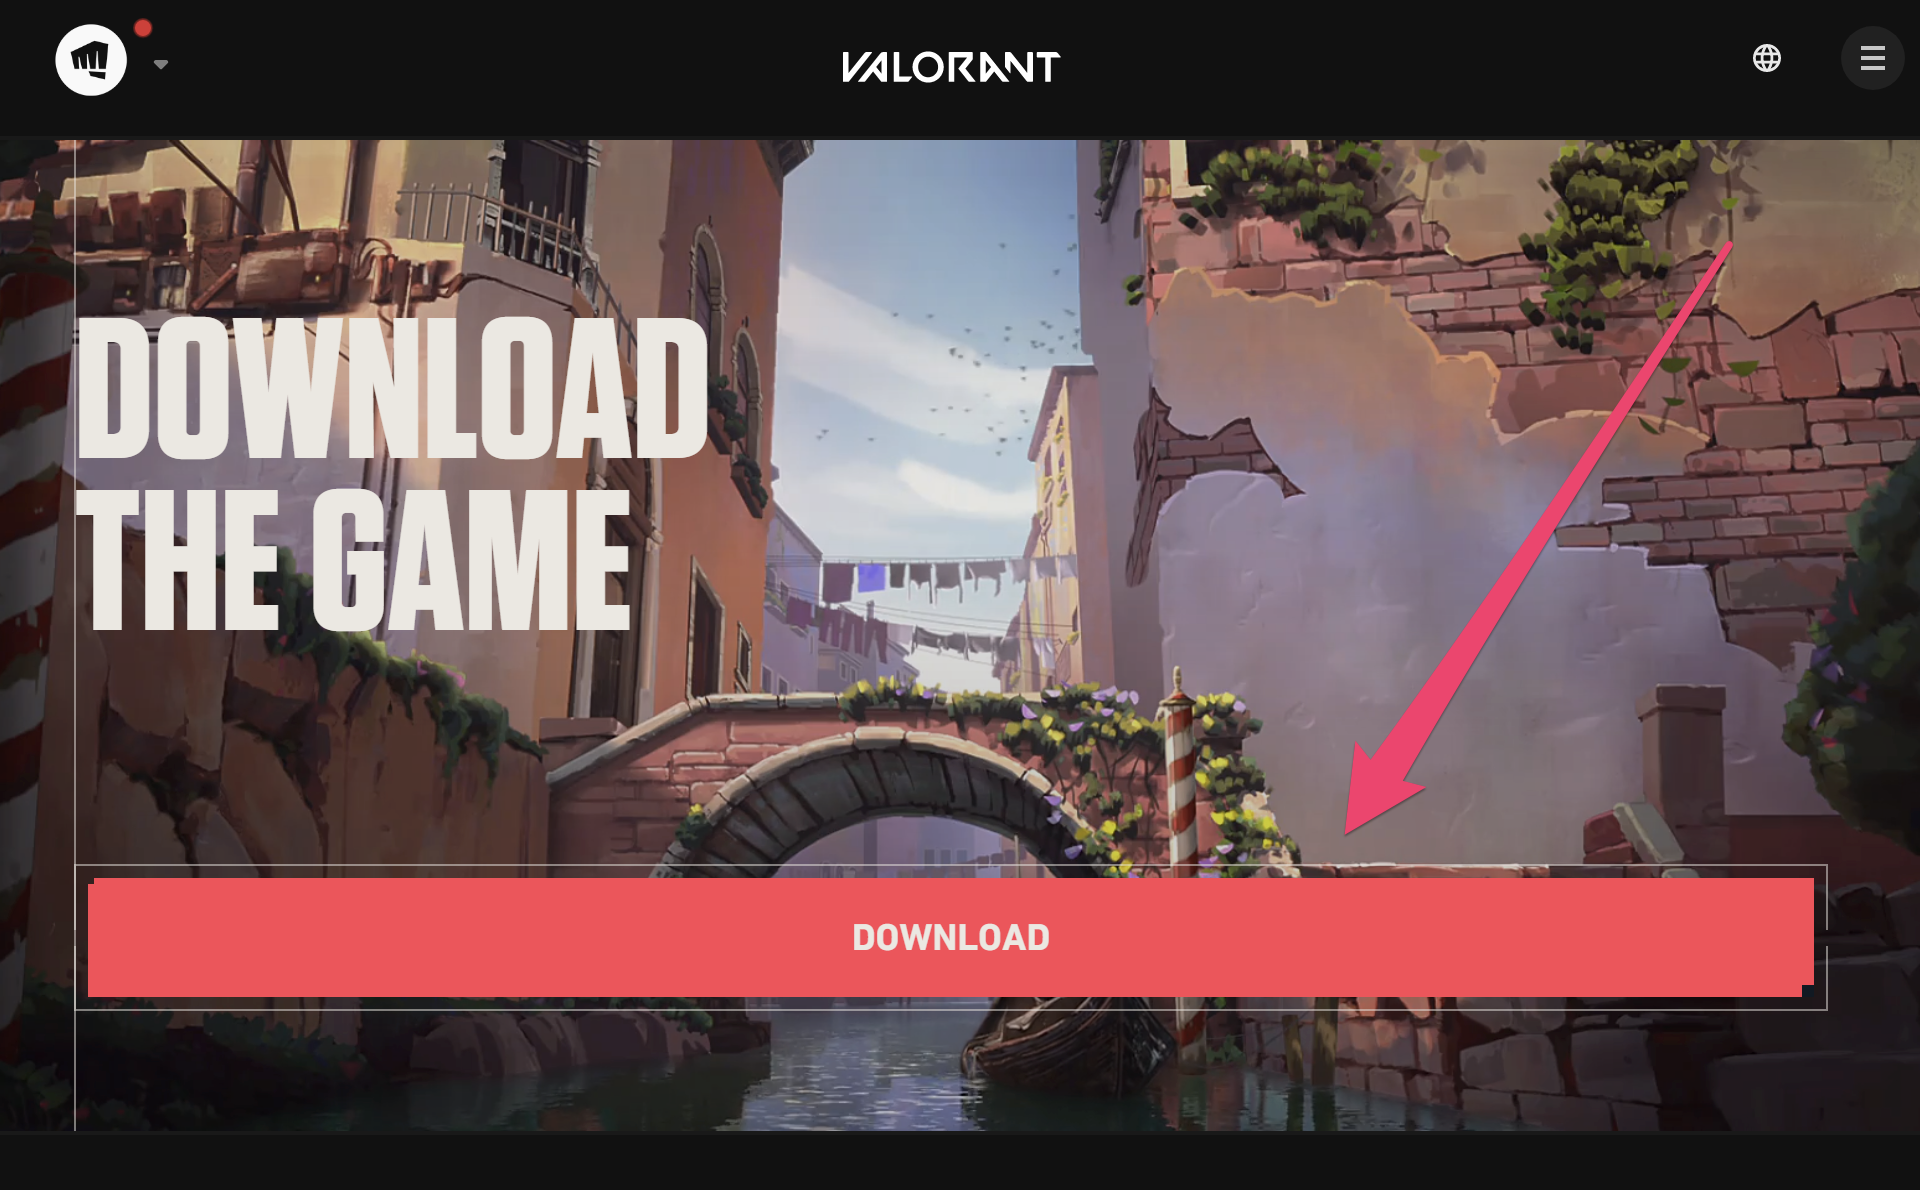
1. Visit the Valorant Download Page to download the latest version of the Valorant installer.
2. Locate and execute the downloaded file - by default, this will be in your "Downloads" folder.

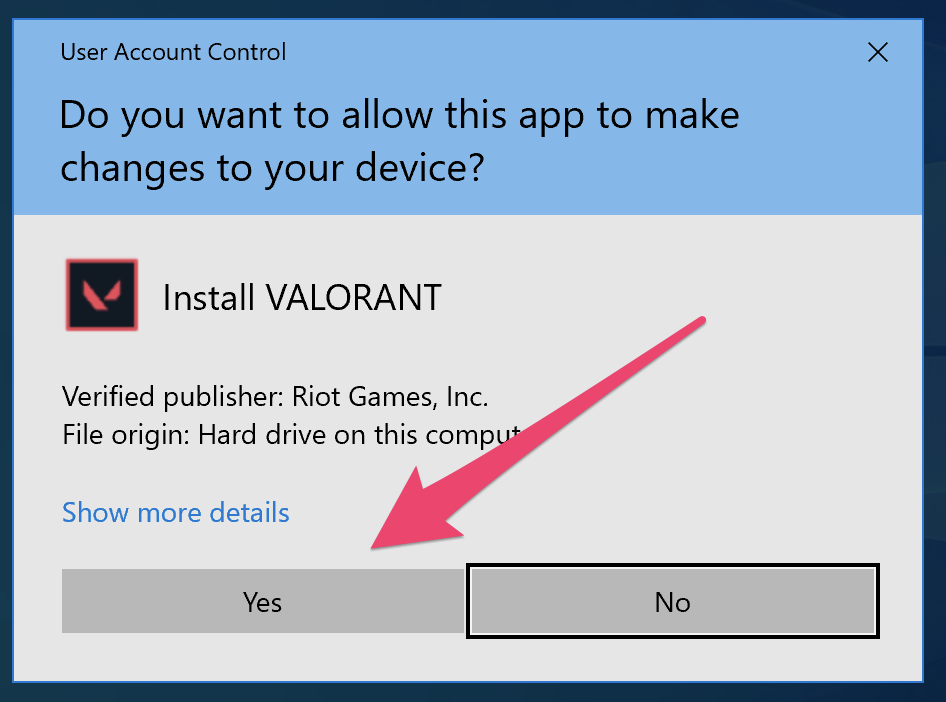
3. If you receive a UAC prompt, please click the "Yes" button to proceed.
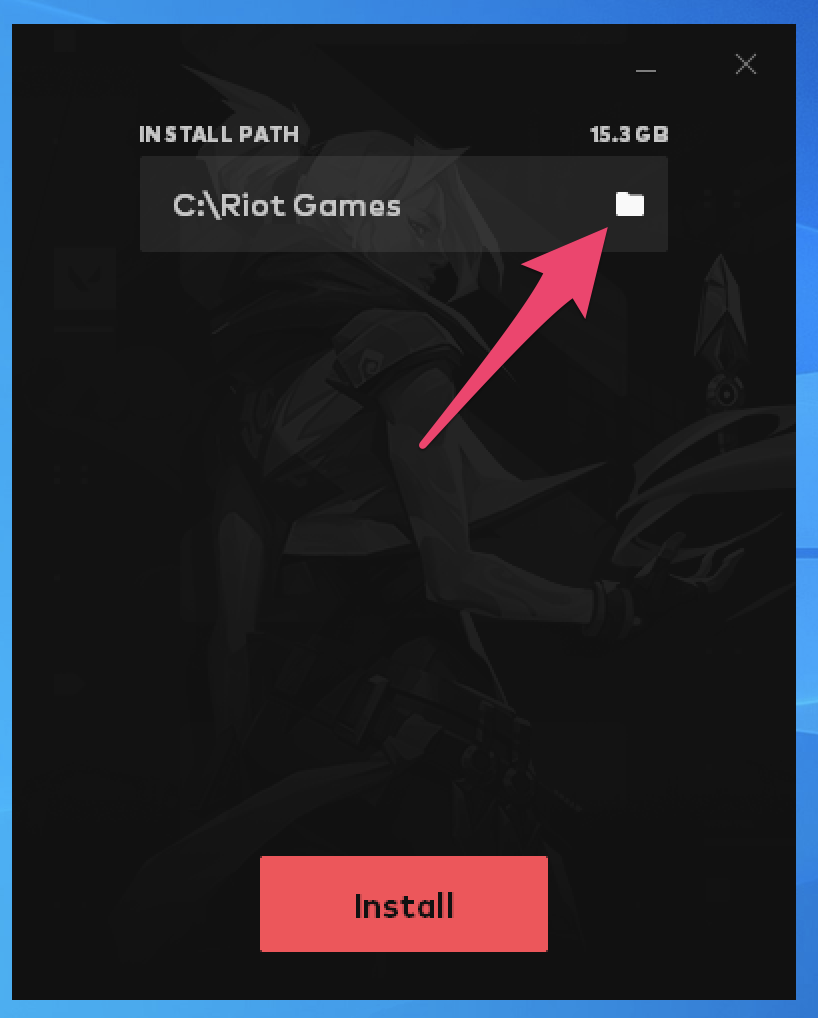
4. Click the "Advanced Options" link to proceed.
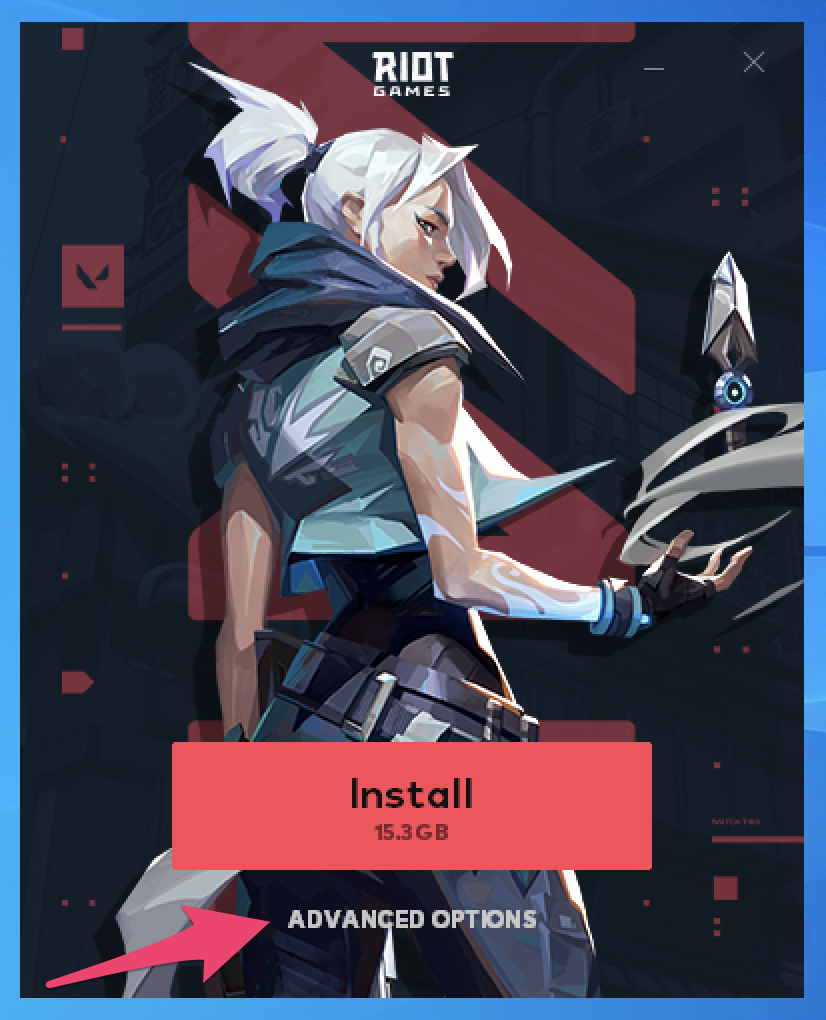
5. When the "Advanced Options" dialog appears, click the folder icon to adjust the installation path.
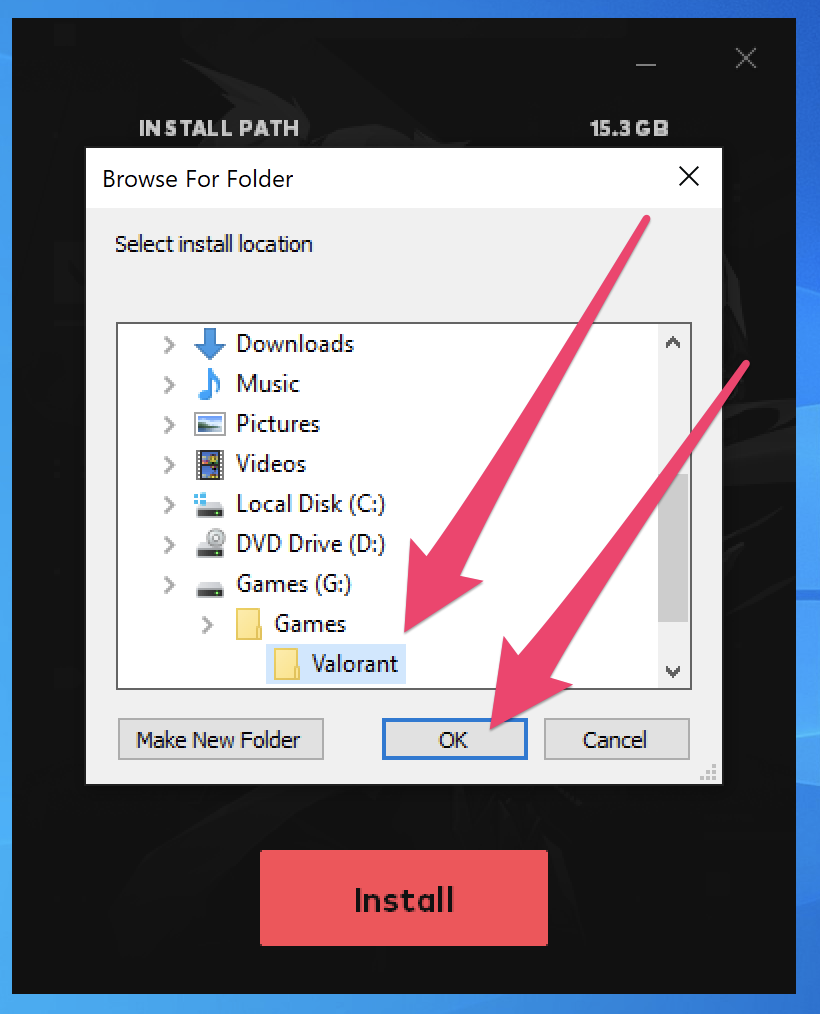
6. If you are following recommendations, browse to the "G:\" drive. Additionally, you may need to pre-create the directory structure to install the Valorant Riot Launcher to, meaning create the folder "Games" within the "G:\" drive if it does not exist, and also create the folder "Valorant" inside of the "Games" folder. Click the "OK" button to proceed.
NOTE:
Valorant is closely coupled with its launcher, so the launcher and game are installed together. It is for this reason that in this example we chose to place the Valorant Riot Launcher in the "Games" directory. The decision is mostly personal preference and organization here, so you may make up your own mind as to where to install it.
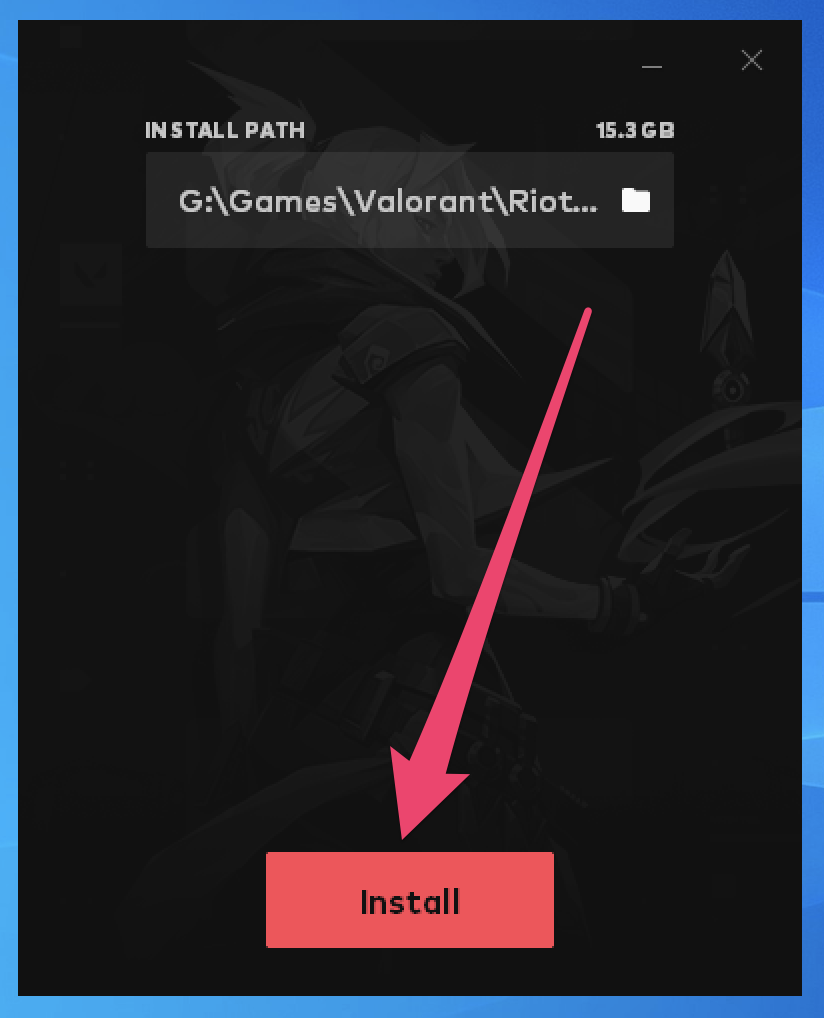
7. Confirm the installation directory is configured as per the previous step, then click the "Install" button to proceed.
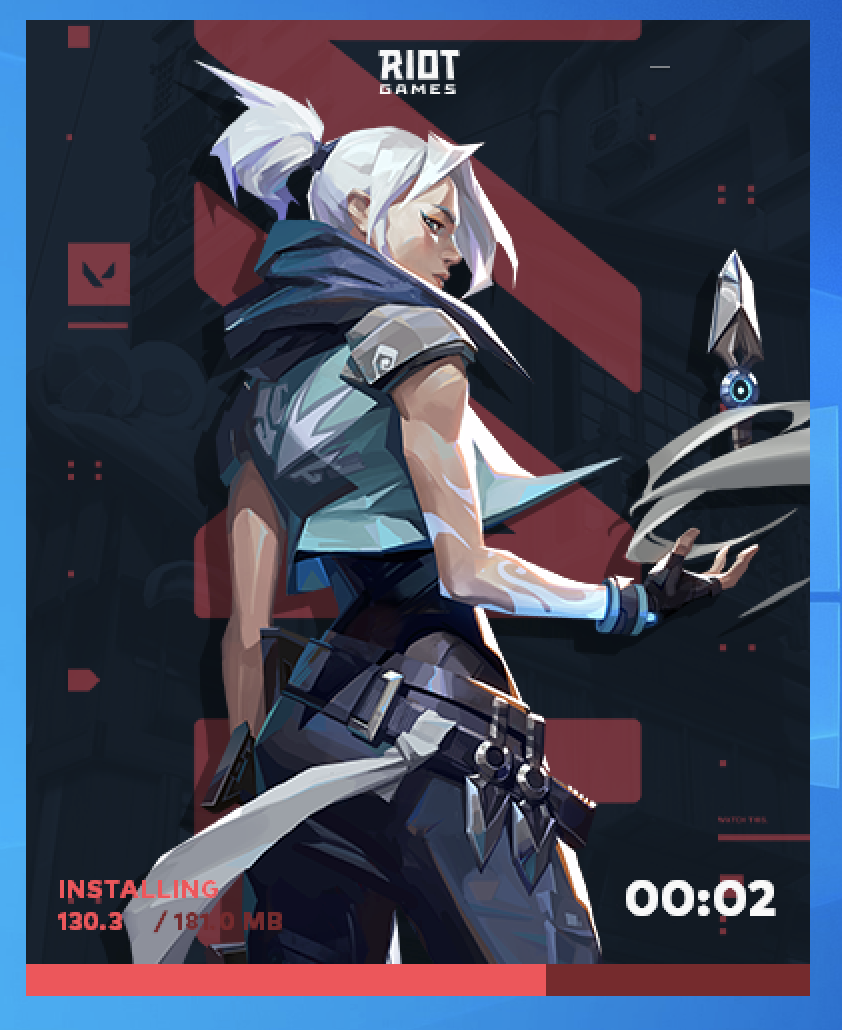
8. Wait while the installation of the Valorant Riot Launcher completes.
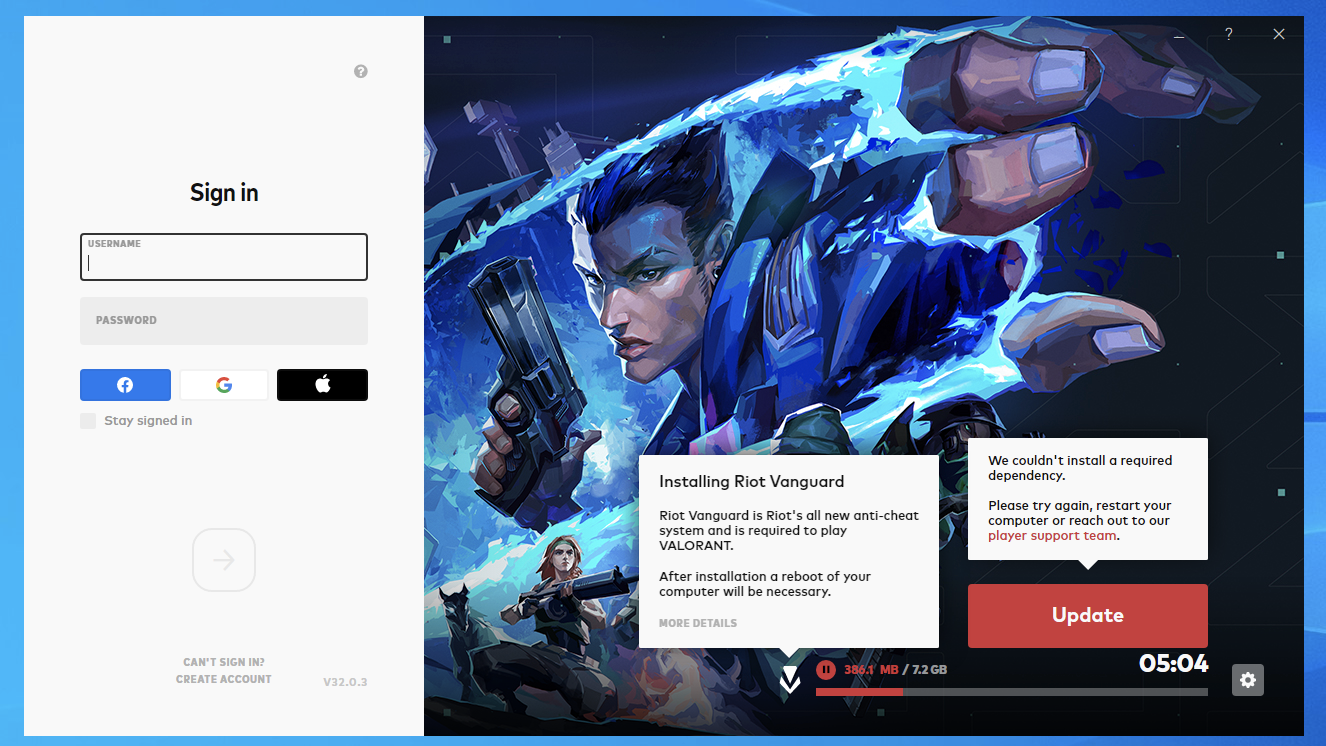
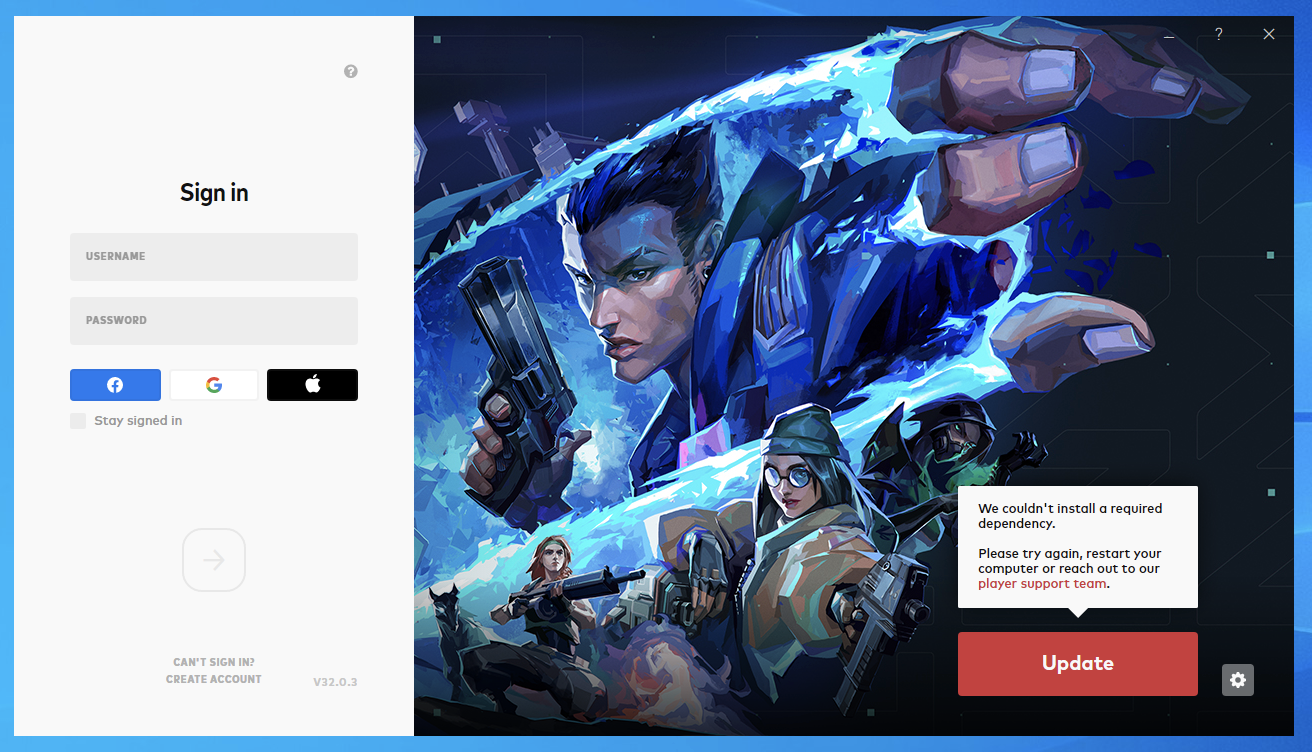
9. If installation fails due to a missing required dependency that could not be installed (likely Riot Vanguard), please make sure to enable "keep writebacks" in the advanced settings of the Machine in question, then reboot.
NOTE:
If you get stuck here, please attempt to re-install the game from the downloaded executable in step 2, as some dependencies may not have been downloaded initially, but might be on a re-download.
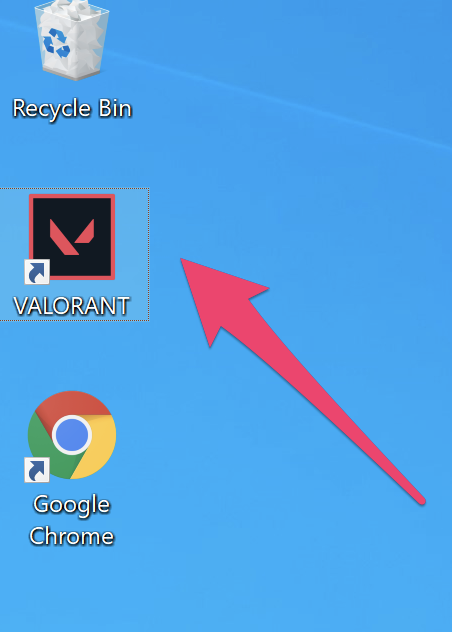
10. After the reboot, if required, re-run the Valorant Riot Client from its Desktop shortcut.
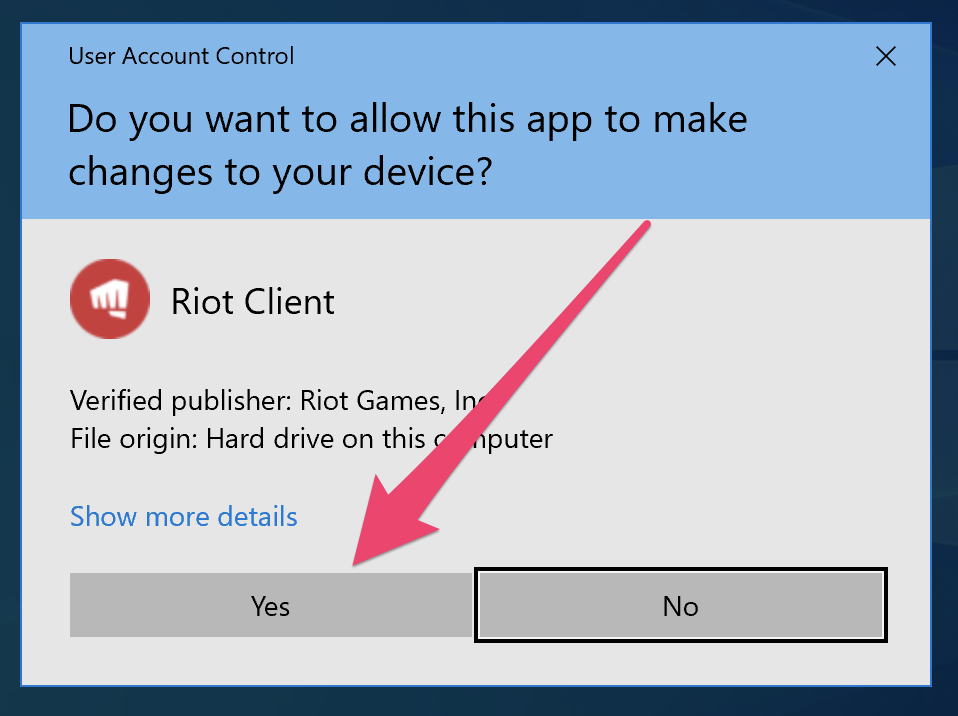
11. If a UAC prompt appears, click the "Yes" button to proceed.
12. Congratulations! At this point the Valorant Riot Launcher is now installed to your games drive (G:\Games\Valorant).