
Installing or Updating the ggLeap Client on a ggRock Machine This article describes steps necessary to install or update the ggLeap client on a ggRock Machine.
General Outline
-
Enable Keep Writebacks for the Machine on which you would like to install the ggLeap Client
-
Turn On the Machine from which you would like to apply changes
-
Install the ggLeap Client
-
Observe a reboot that occurs after the ggLeap Client installation completes
-
Set a name for the Machine in ggLeap when prompted
-
Shut down the Machine
-
Disable Keep Writebacks for the Machine
-
Apply Writebacks
-
Reboot all systems to ensure the changes propagate to them, setting names on each when prompted.
Pre-Installation Setup
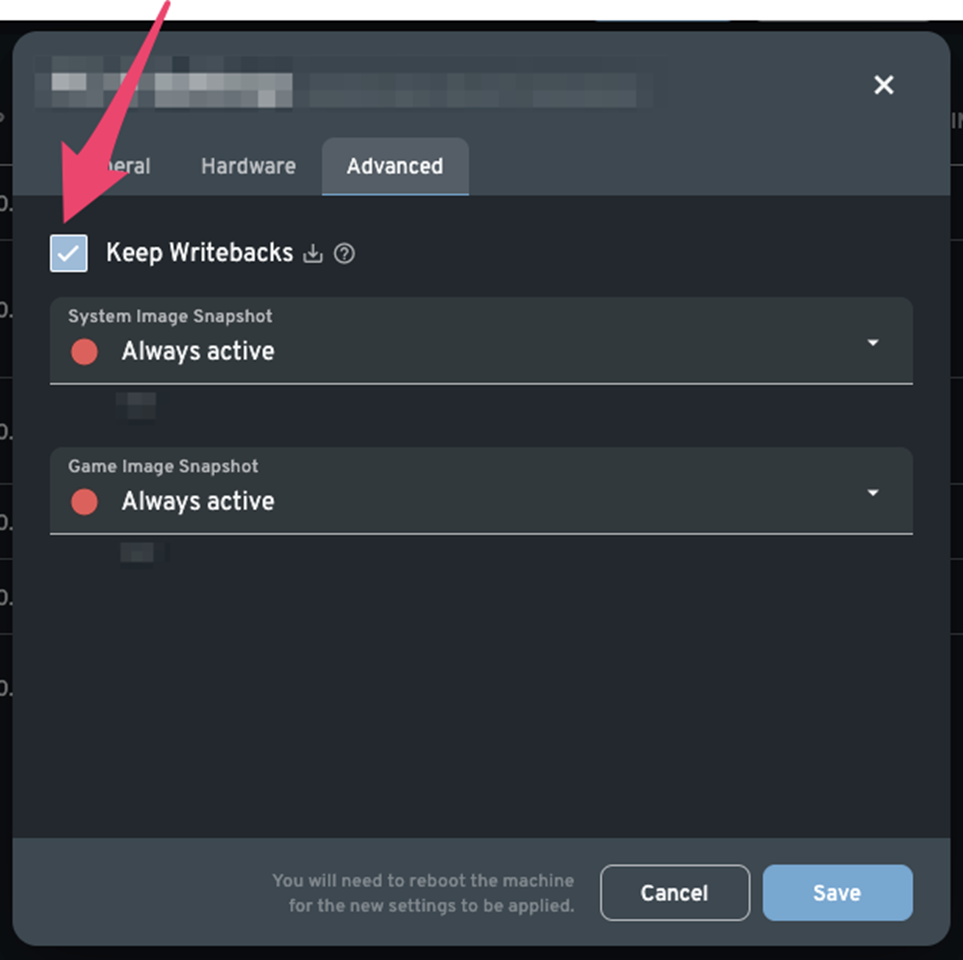
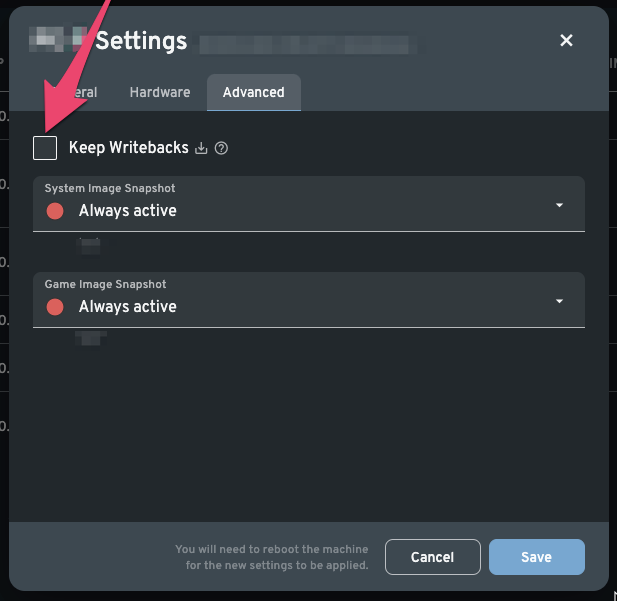
1. Enable "Keep Writebacks" in the Settings of the Machine.
(See the Machines Administration Manual for more information).
NOTE:
This is a required step because the ggLeap Client installation requires a reboot - without "Keep Writebacks" enabled the changes will be lost on reboot.
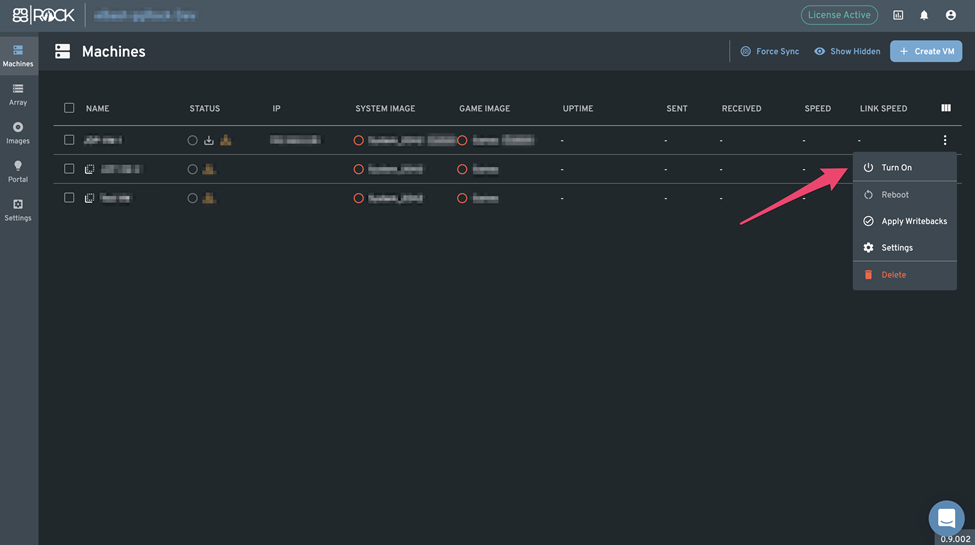
2. Turn on the Machine. In this example we use the "Wake on LAN" functionality of ggRock, however you may elect to press the power button physically on the Machine.
 ggLeap Client Installation
3. Download the ggLeap Client.
For more information, please refer to "How to Download the ggLeap Client".
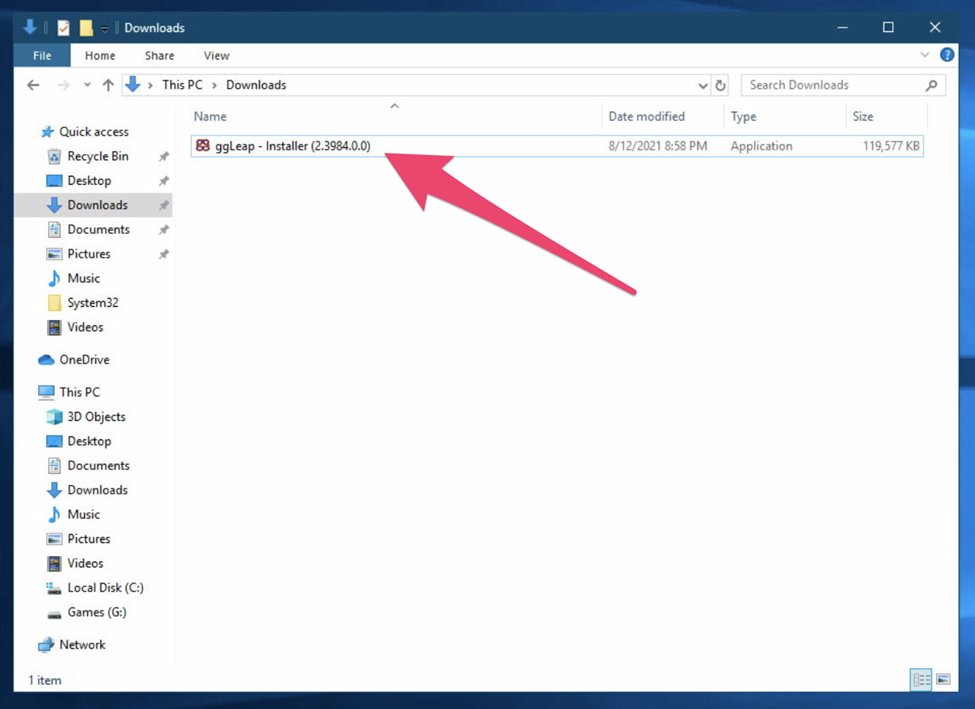
4. Install the ggLeap Client.
Locate the downloaded installation file and double-click it to begin installation.
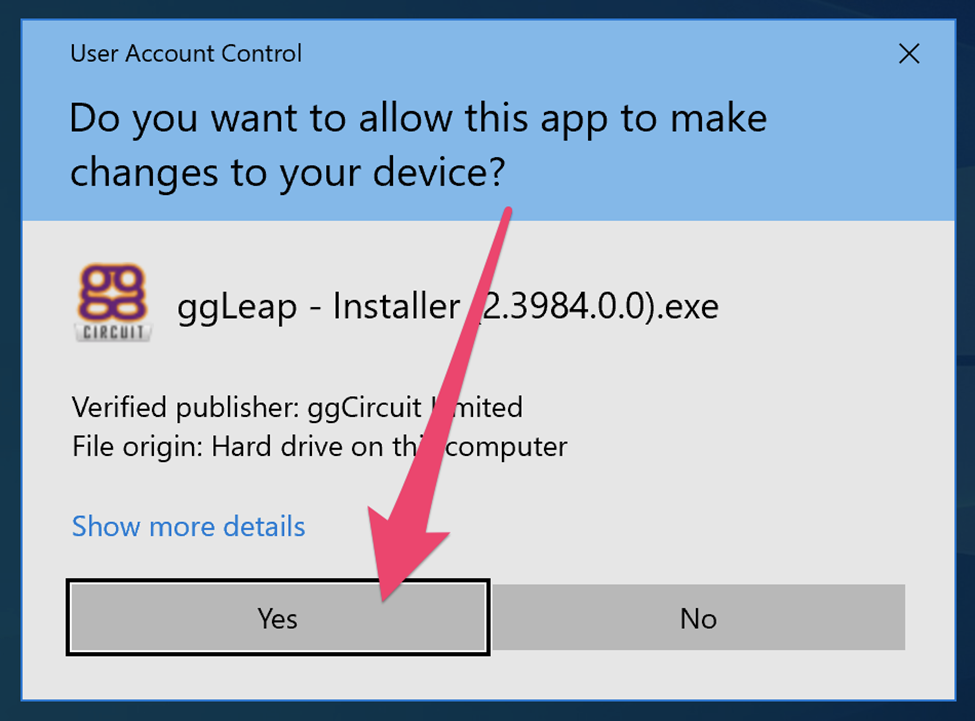
5. If a UAC prompt appears, click the "Yes" button to continue.
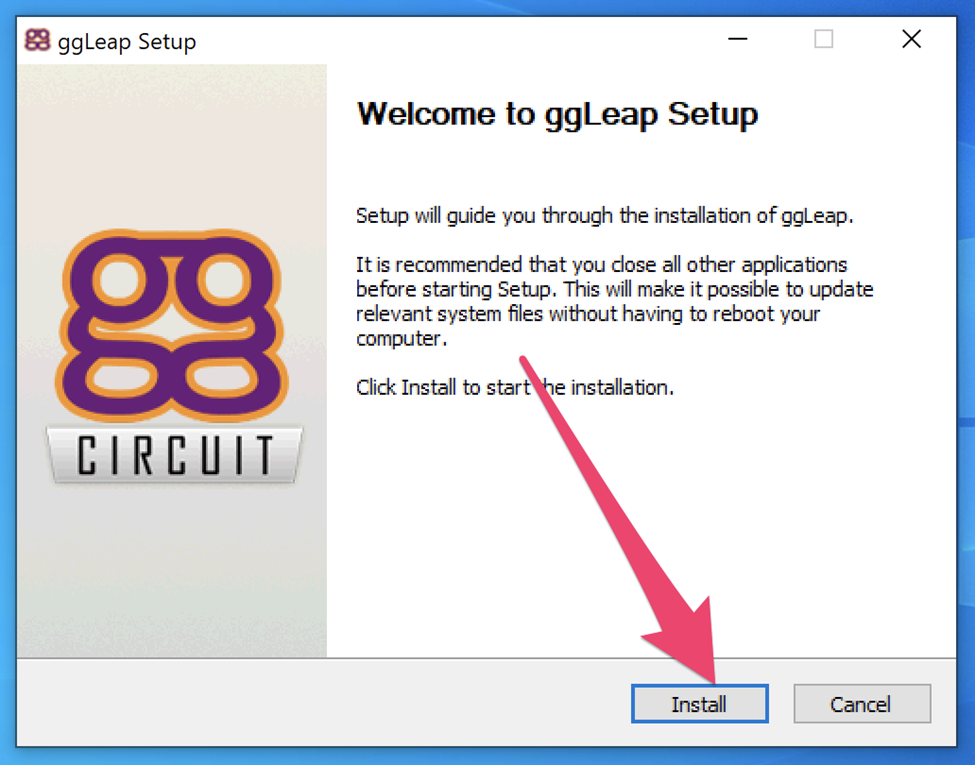
6. From the "Welcome to ggLeap Setup" screen, click the "Install" button.
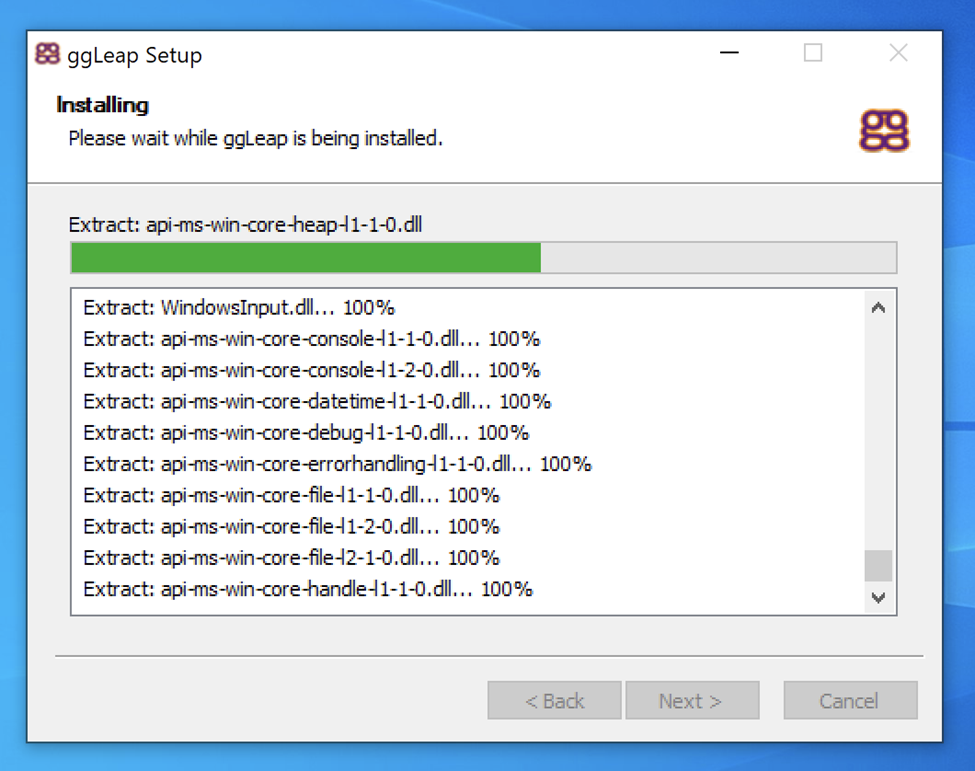
7. Observe the installation process.
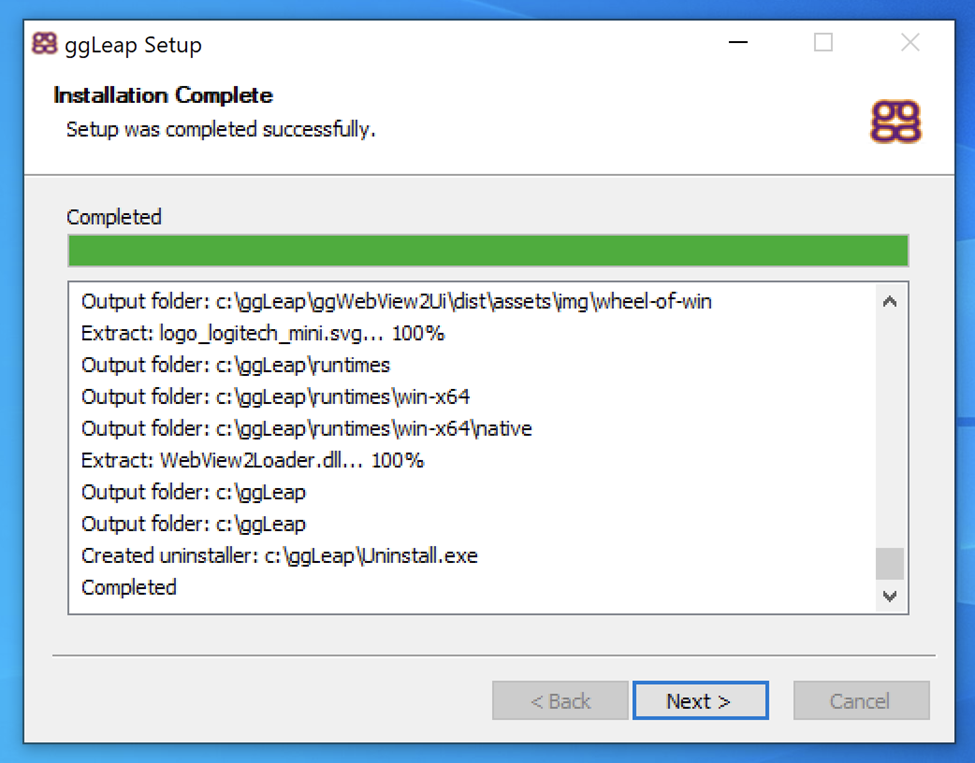
8. From the "Installation Complete" screen, click the "Next >" button.
9. From the "Completing ggLeap Setup" screen, click the "Finish" button.

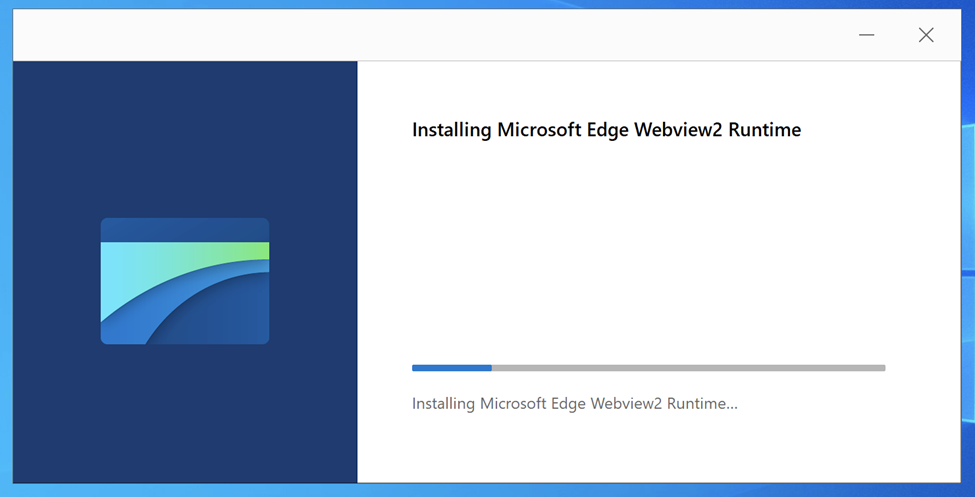
10. Observe the installation of the Microsoft Edge Webview2 Runtime (if required).
 Post-Installation Configuration
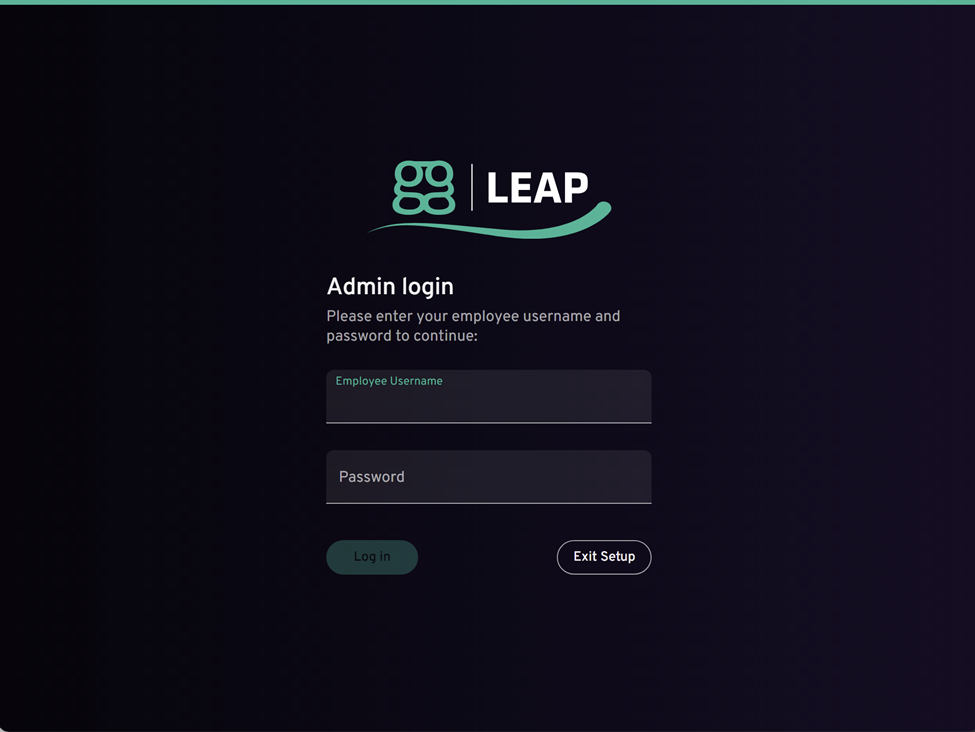
11. From the "Admin login" screen, enter your ggLeap administrator account credentials.
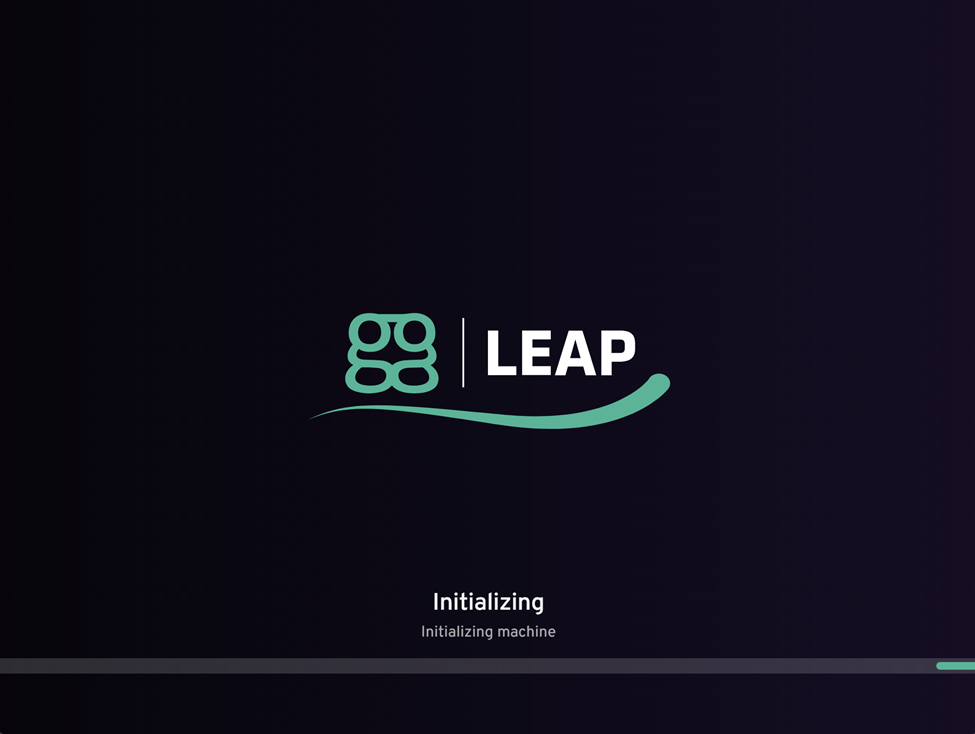
12. Observe the initialization process of the ggLeap Client.
13. From the "PC name setup" screen, enter a name for this ggRock Machine in the "PC name" text box.
NOTE:
This is the name that you will see in the ggLeap Web Admin to perform administrative tasks on this Machine. Each Machine must have a unique name in the ggLeap Web Admin. This name can be changed at a later time.

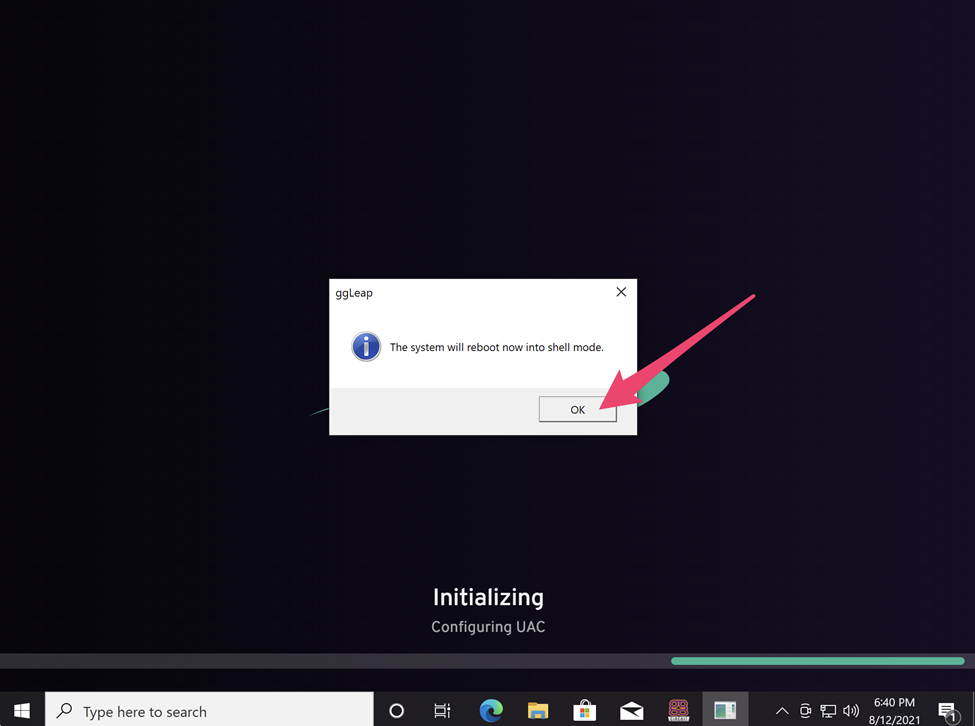
14. When prompted to permit the system to reboot into shell mode, click the "OK" button.
NOTE:
It is important at this phase to ensure that "Keep Writebacks" is enabled for the Machine in question. For more information, please refer to the Machines Manual.
15. After the Machine reboots, observe additional automated post-reboot setup

16. Observe the ggLeap login screen.
Final Steps
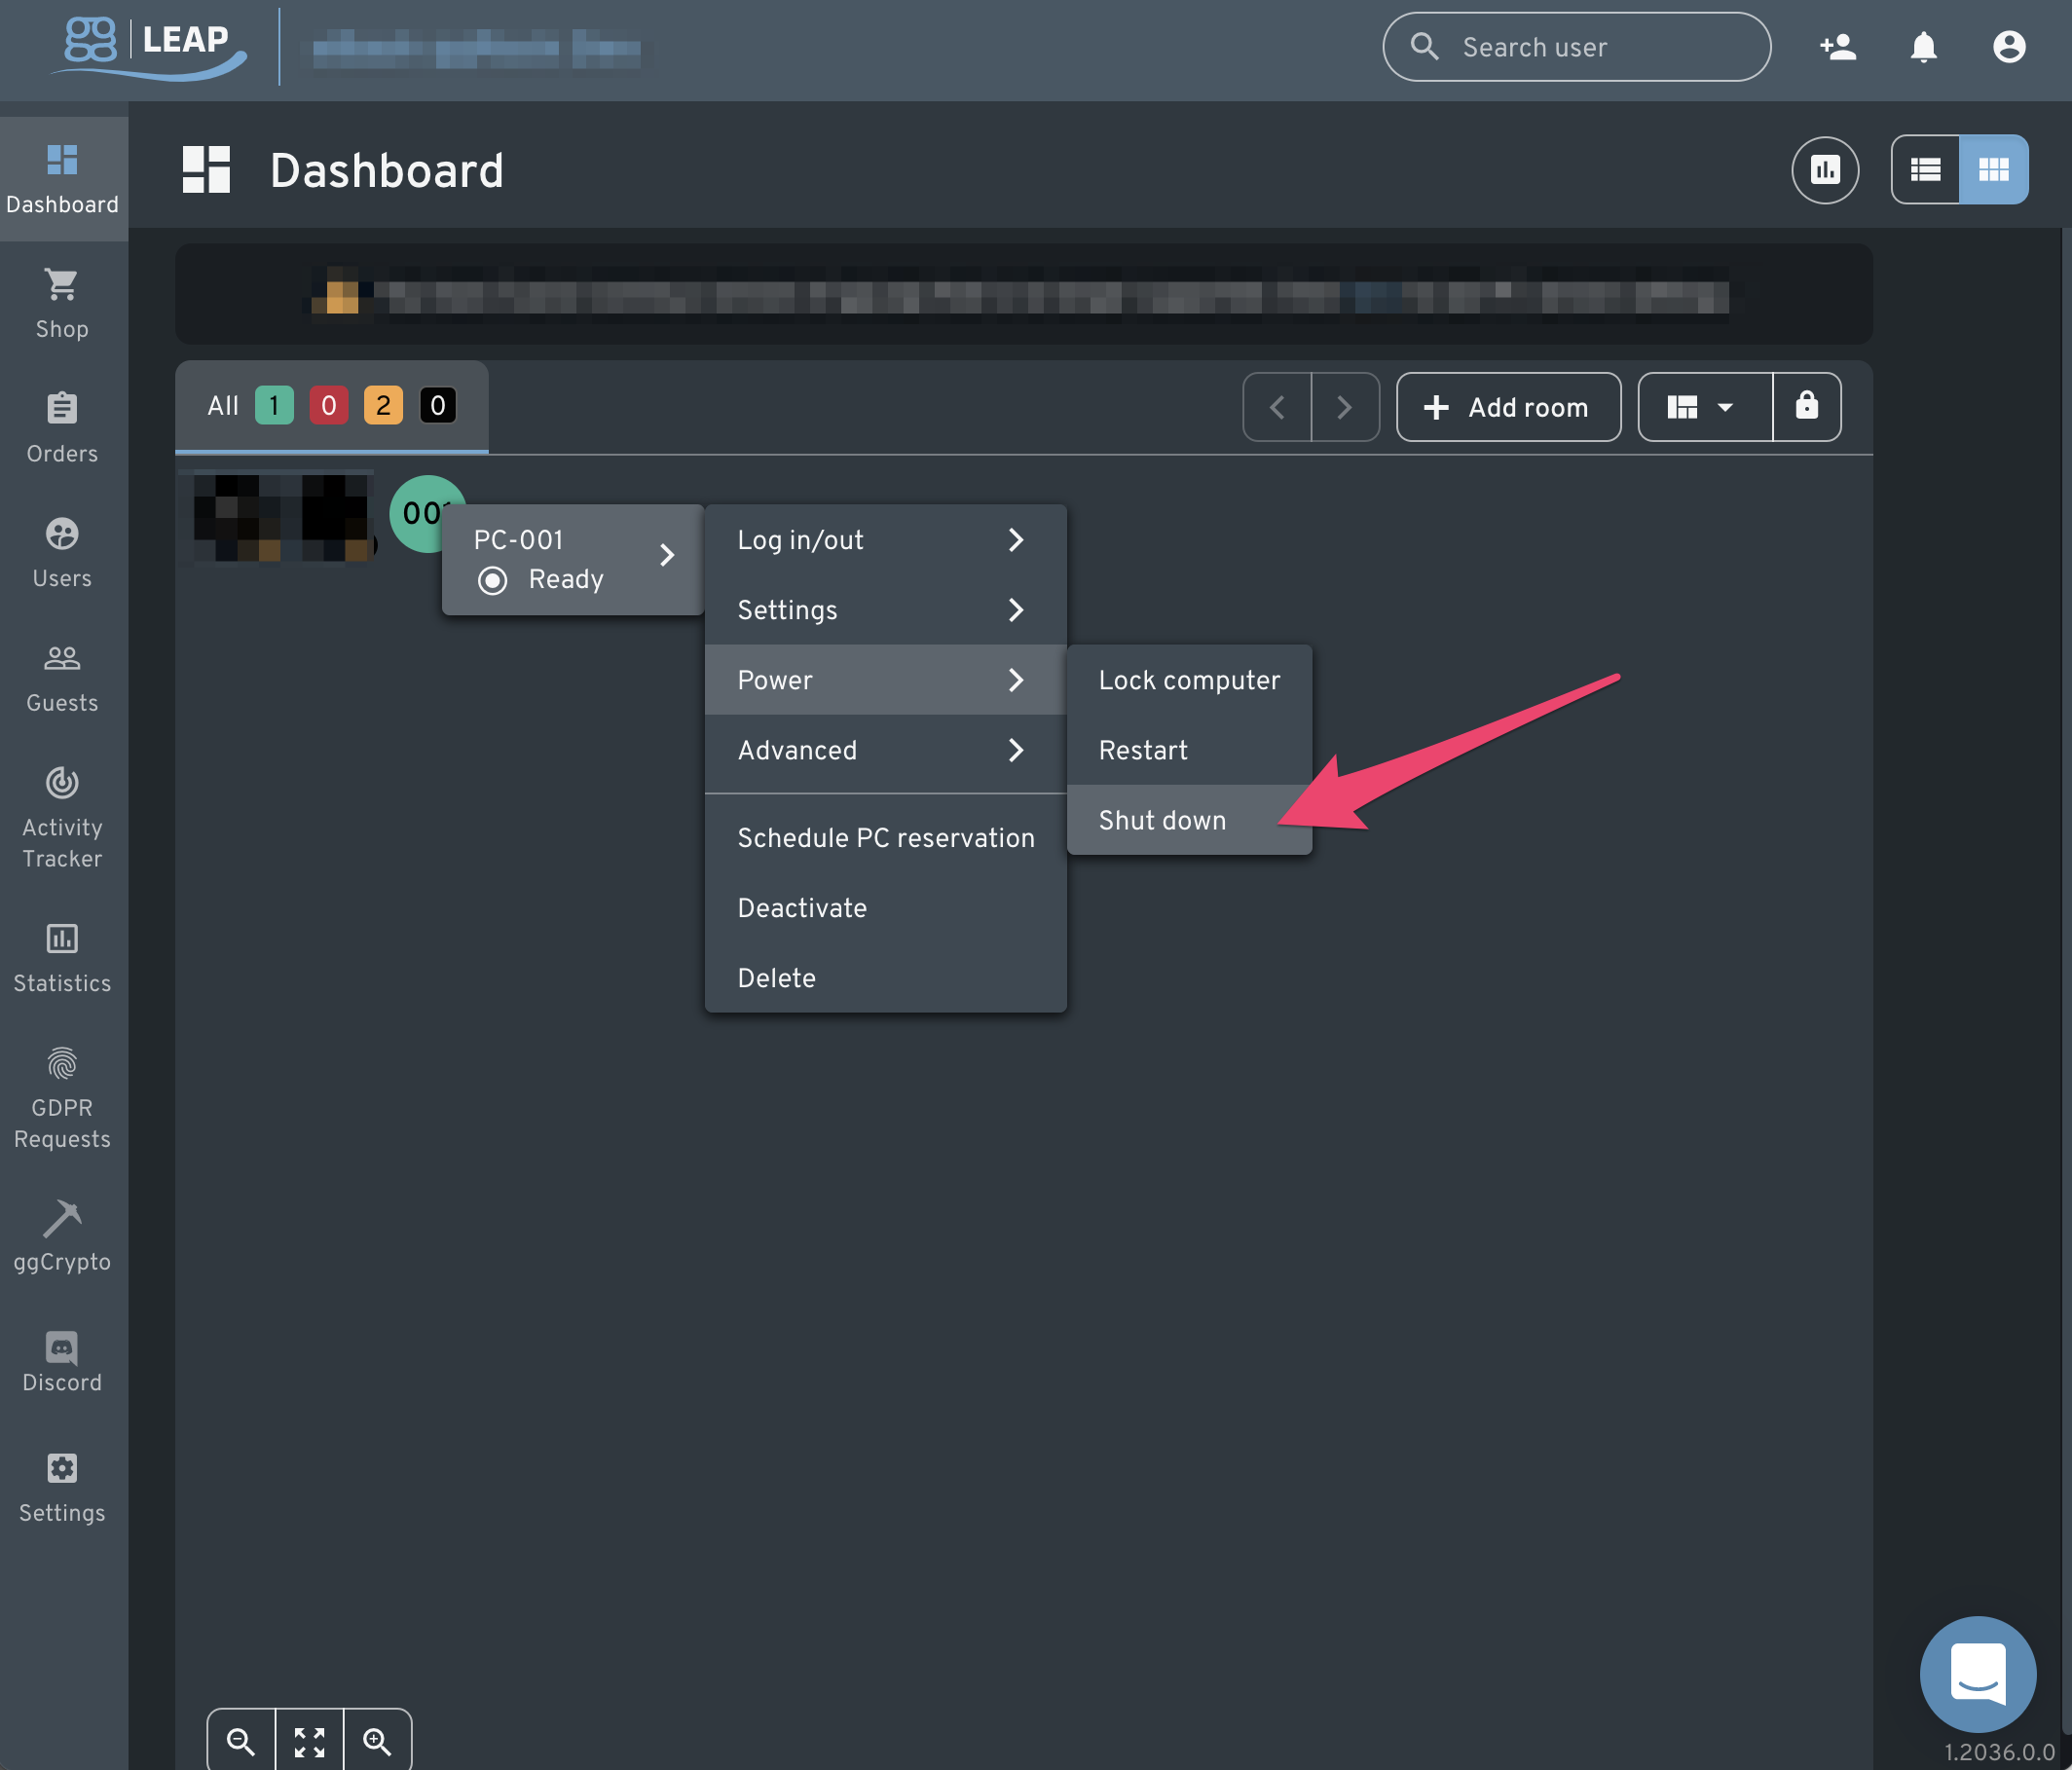
17. Shut Down the Machine. In this case, we utilize the "Shut down" Power command within the ggLeap Web Admin, however you may utilize the power button or the ggRock "Turn Off" command as well.
18. Disable "Keep Writebacks" in the Settings of the Machine.
(See the Machines Administration Manual for more information).
19. Apply Writebacks.
(See Applying Writebacks for more information).
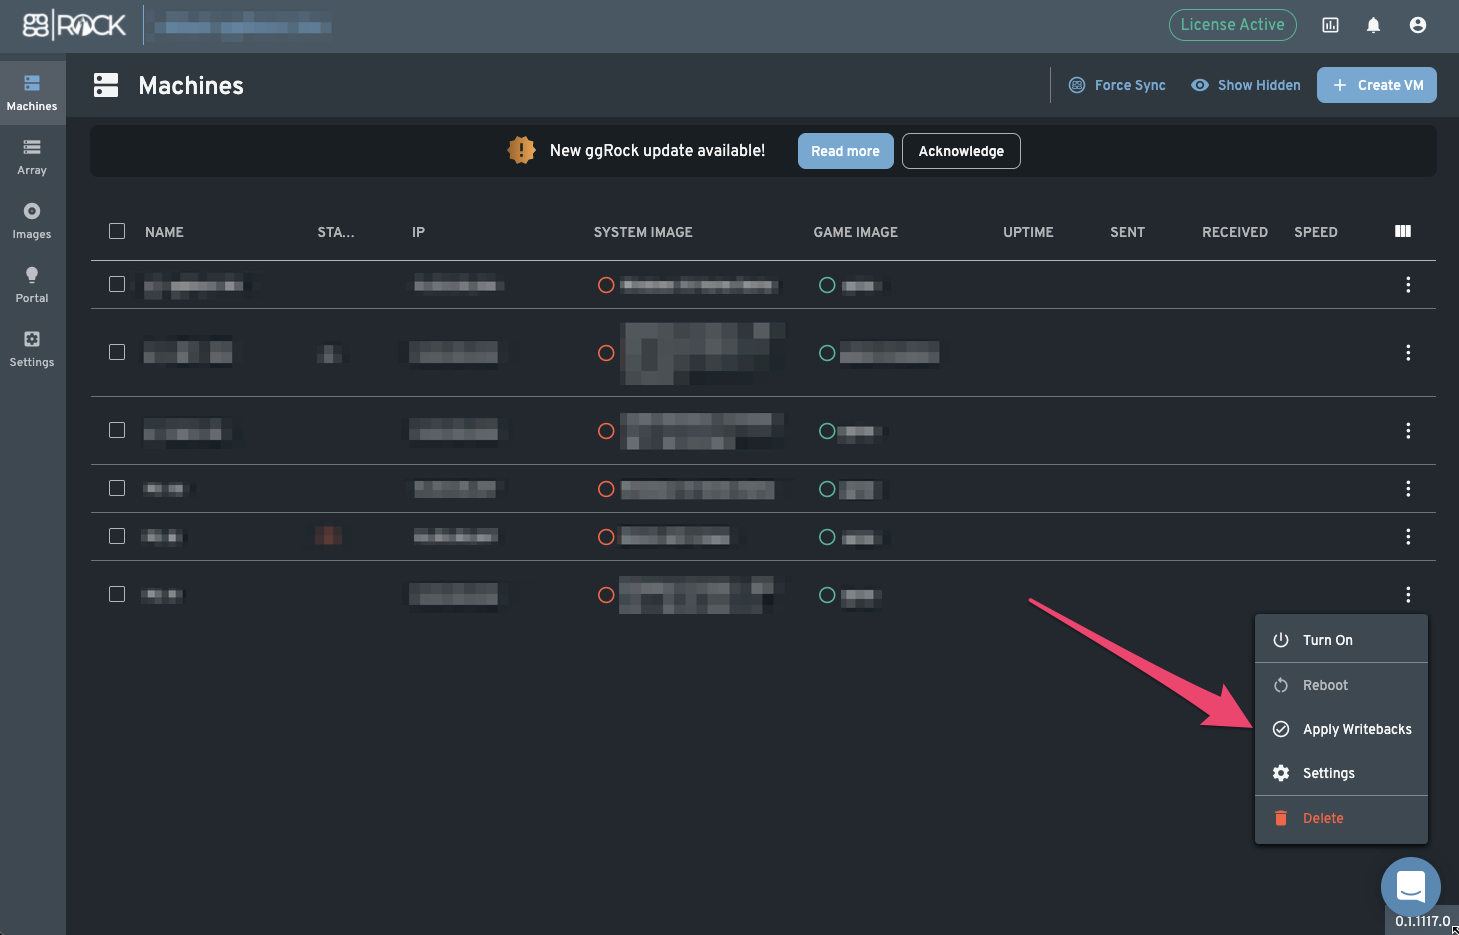
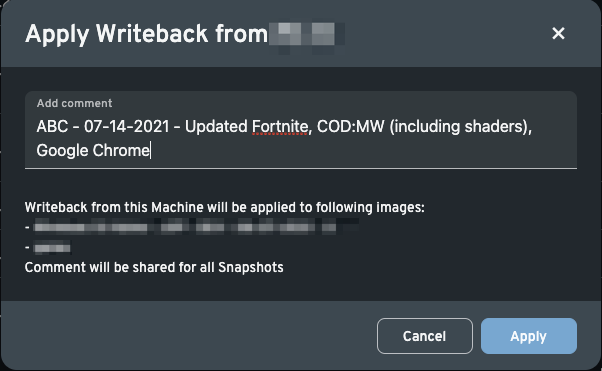
Enter a comment when prompted (typically initials of the administrator, the date, and the contents (e.g. games, applications updated).
Example:
ABC - 07-14-2021 - Updated Fortnite, COD:MW (launched to install shaders), and Google Chrome
20. Boot up all machines in the center, repeating steps 11-13 for each in order to set a PC name.
Additional Information
-
Ensure "Keep Writebacks" is enabled prior to rebooting so that your changes are not discarded.
-
If changes have been made and committed from a separate Machine while you were working on this one, it will not be possible to apply writebacks. Please coordinate with other administrators at your center when updating games and applications.
-
See "How Writebacks and Snapshots Work" for more information
- Upon installing the ggLeap client to a ggRock Machine, the system reboots and after the reboot the ggLeap client is no longer installed (the system state is is reverted).