
This article describes alternate steps for disk configuration if you elect to install the Debian OS to a software-based RAID1 Array.
Table of Contents
Executive Summary
Required Time: 10 Minutes
Description: Configure Debian OS Installation disk Software-based RAID array, including installation of GRUB bootloader. This guide will walk you through the simplest RAID1 setup. Ensure the disk(s) you intend to install the Debian OS to have at least 20GB of space for this guide. This guide presumes you followed the "Install the Debian OS on Your Server" guide until step 13 (This guide replaces steps 14 through 18 of the "Install the Debian OS on Your Server" guide).
Procedure
NOTE:
For advanced users, there are other options that are theoretically possible but were not tested by our team:
Software BIOS RAID: https://wiki.debian.org/DebianInstaller/SataRaid
Hardware RAID: Check your raid controller settings.
Manual Partitioning Method
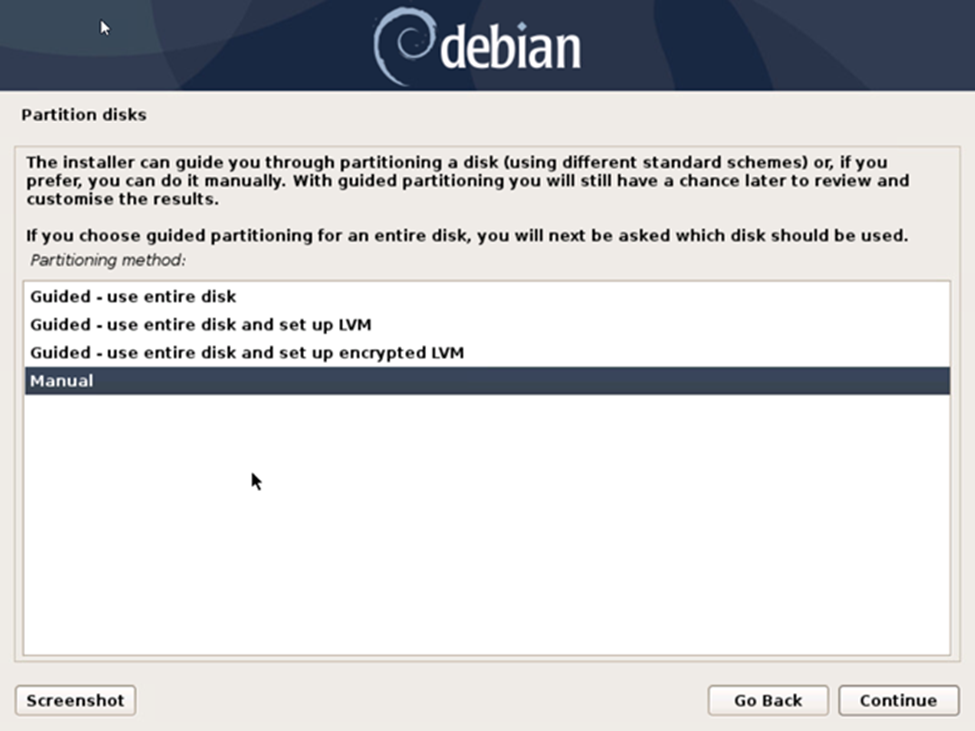
1. From the "Partition disks" screen, select "Manual" within the "Partitioning method" listbox, then click the "Continue" button.
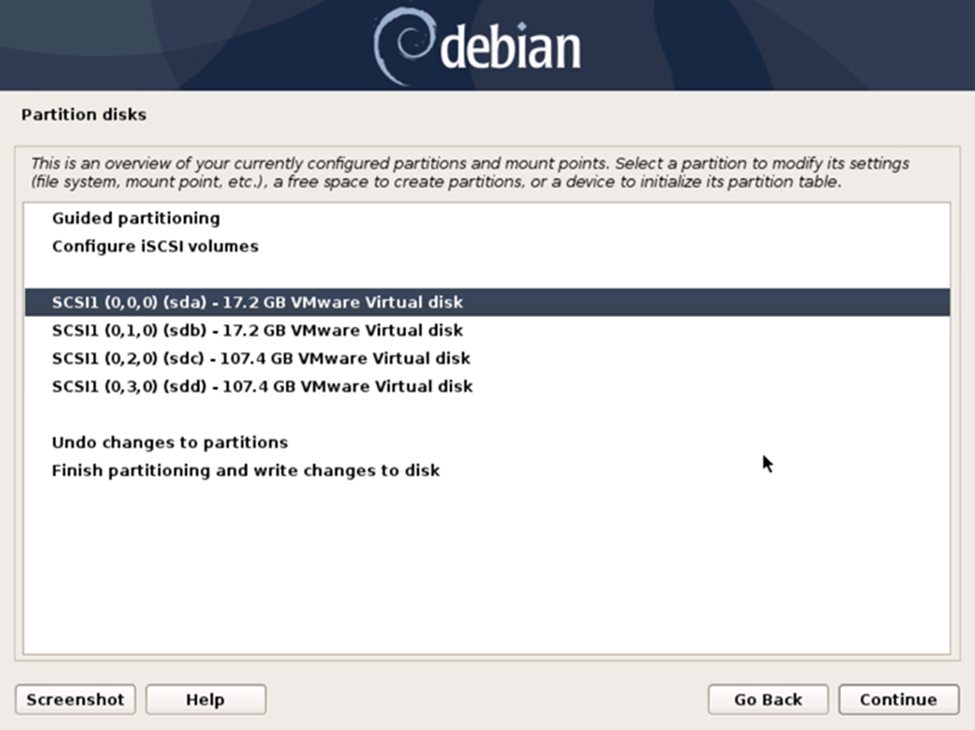
2. From the "Partition disks" screen, select the first drive to utilize in the Debian OS installation RAID array, then click the "Continue" button.
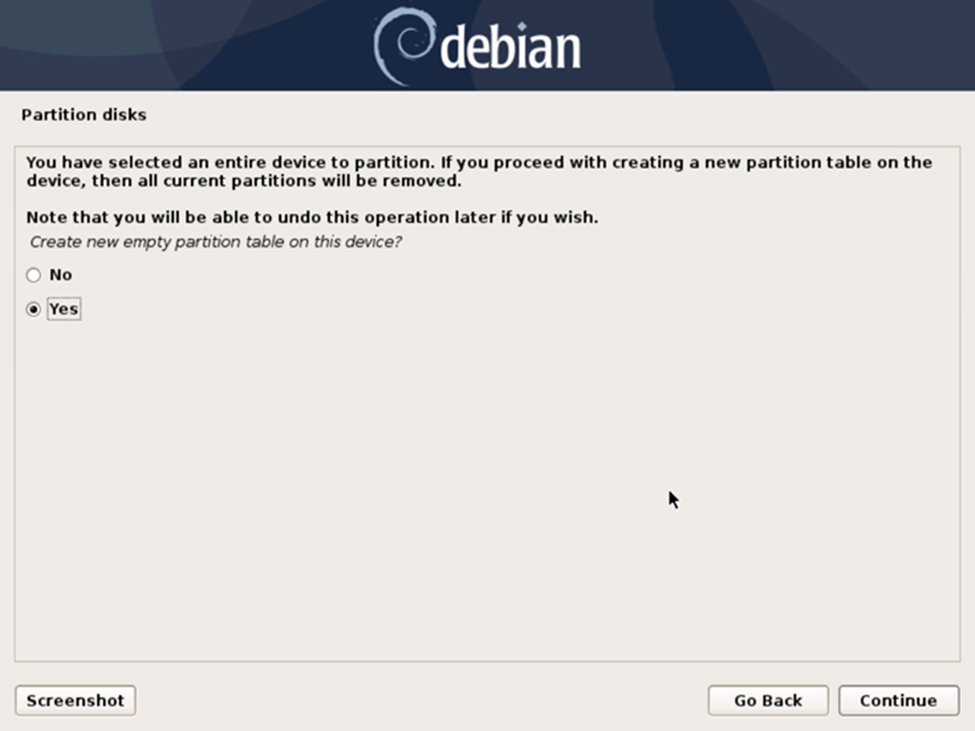
3. From the "Partition disks" screen, select "Yes" when prompted to create a new empty partition table on the first drive, then click the "Continue" button.
4. From the "Partition disks" screen, select the second drive to utilize in the Debian OS installation RAID array, then click the "Continue" button.

5. From the "Partition disks" screen, select "Yes" when prompted to create a new empty partition table on the second drive, then click the "Continue" button.

Configure Software RAID
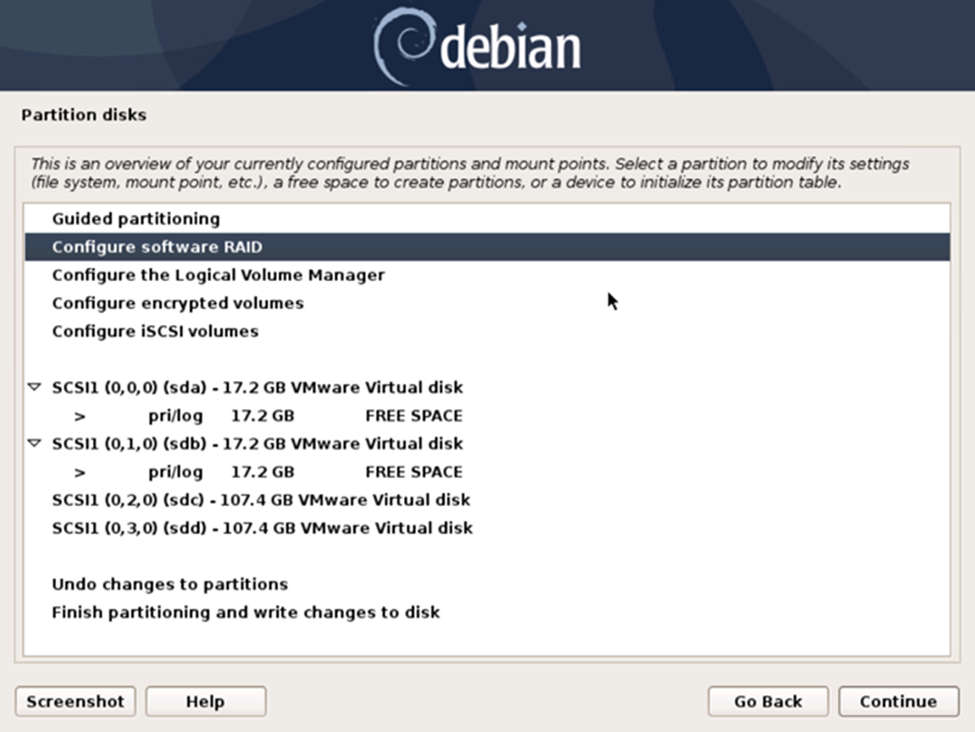
6. From the "Partition disks" screen, select "Configure software RAID" from the listbox, then click the "Continue" button.
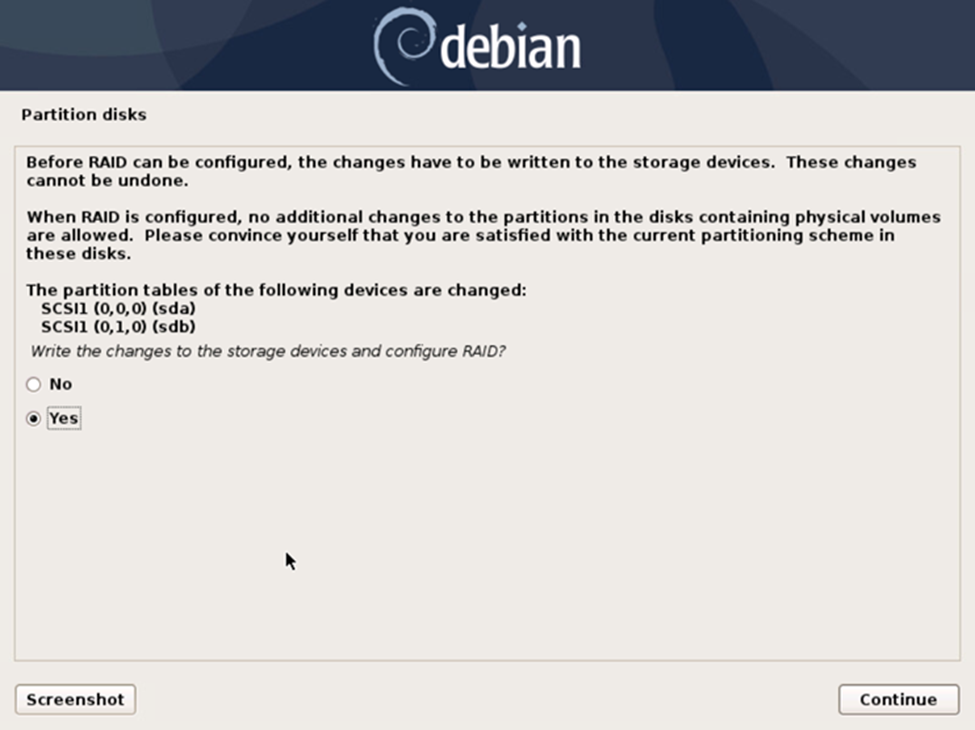
7. From the "Partition disks" screen, select the "Yes" radio button to confirm writing the partition tables to the previously selected disks, then click the "Continue" button.

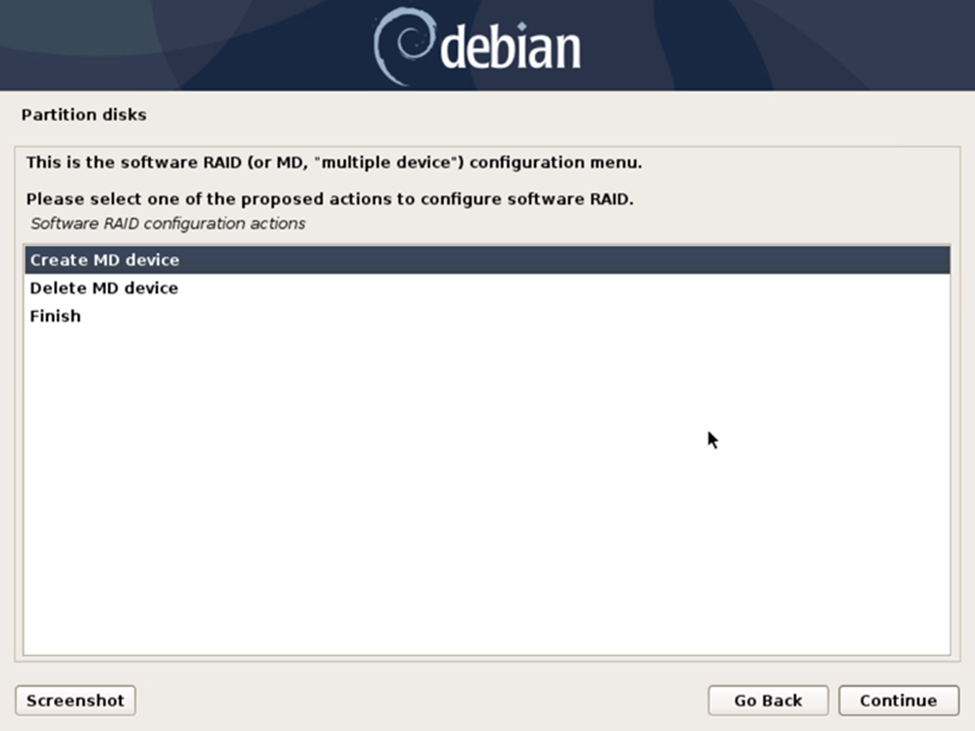
8. From the "Partition disks" screen, select "Create MD device" from the "Software RAID configuration actions" listbox in order to begin the process of creating the "multiple device" software RAID, then click the "Continue" button.
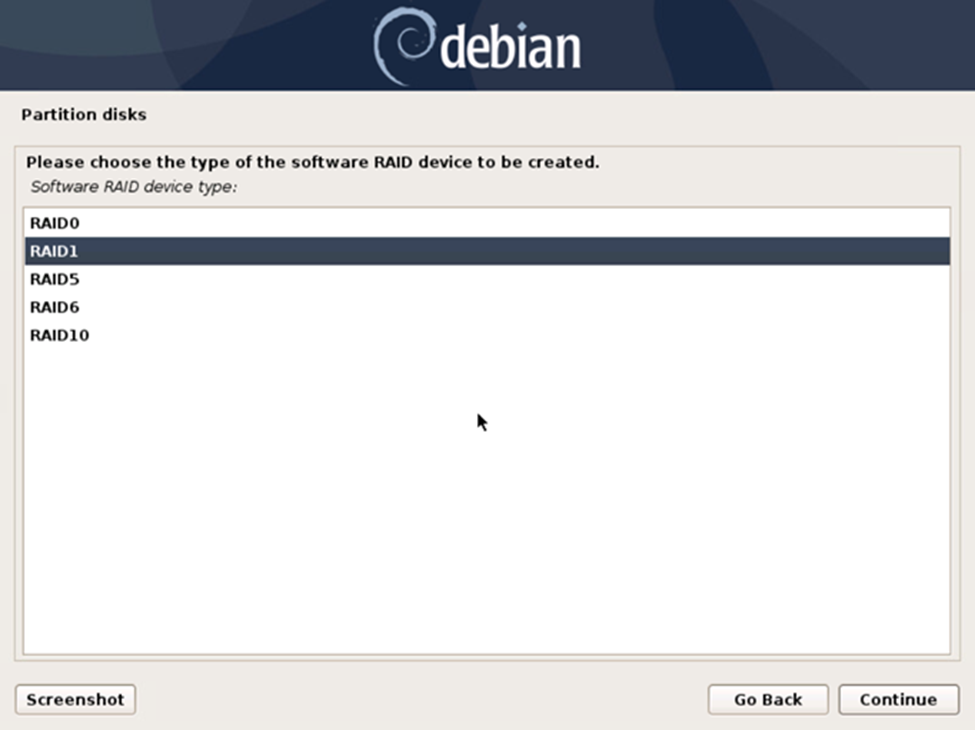
9. From the "Partition disks" screen, select "RAID1" from the "Software RAID device type:" listbox in order to create a mirrored array for redundancy purposes, then click the "Continue" button.
10. From the "Partition disks" screen, enter '2' in the "Number of active devices for the RAID1 array:" text box, then click the "Continue" button.

11. From the "Partition disks" screen, enter '0' in the "Number of spare devices for the RAID1 array:" text box, then click the "Continue" button.

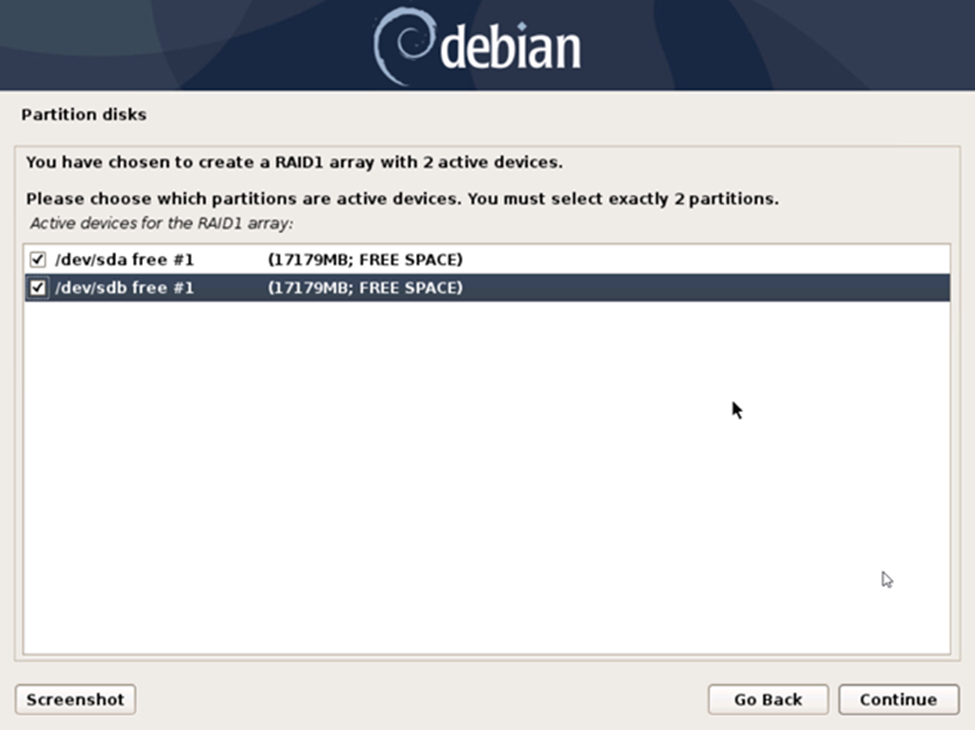
12. From the "Partition disks" screen, select the checkboxes next to both devices in the "Active devices for the RAID1 array:" listbox, then click the "Continue" button.
13. From the "Partition disks" screen, select the "Yes" radio button to confirm writing the partition tables to the previously selected disks, then click the "Continue" button.
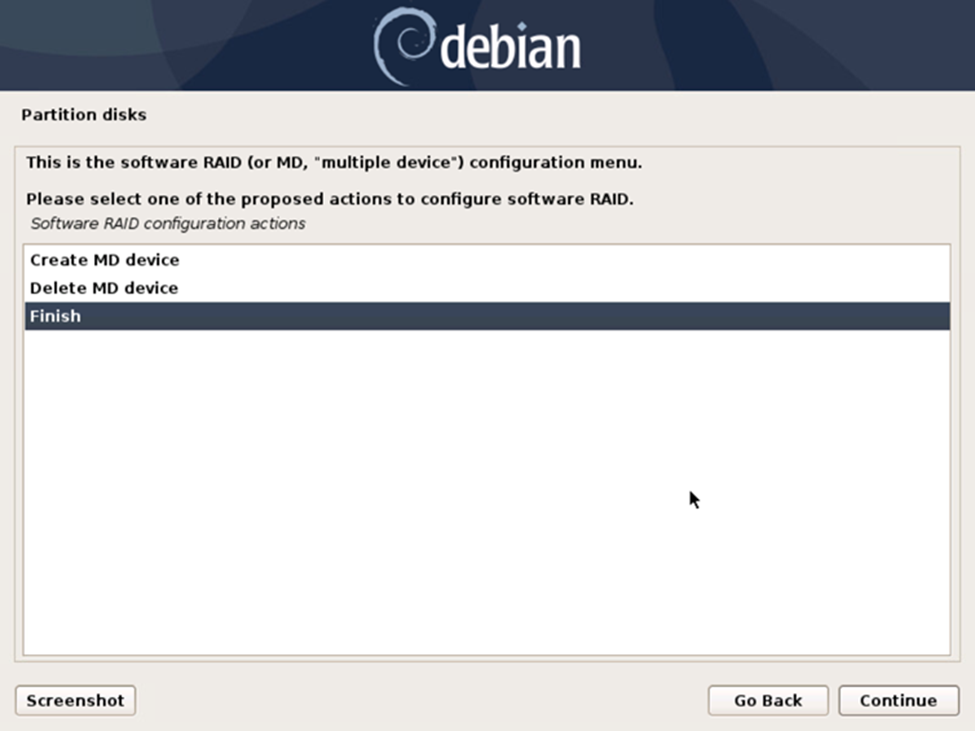
14. From the "Partition disks" screen, select the "Finish" item from the "Software RAID configuration actions" listbox, then click the "Continue" button.
Configure Logical Volume Manager (LVM)
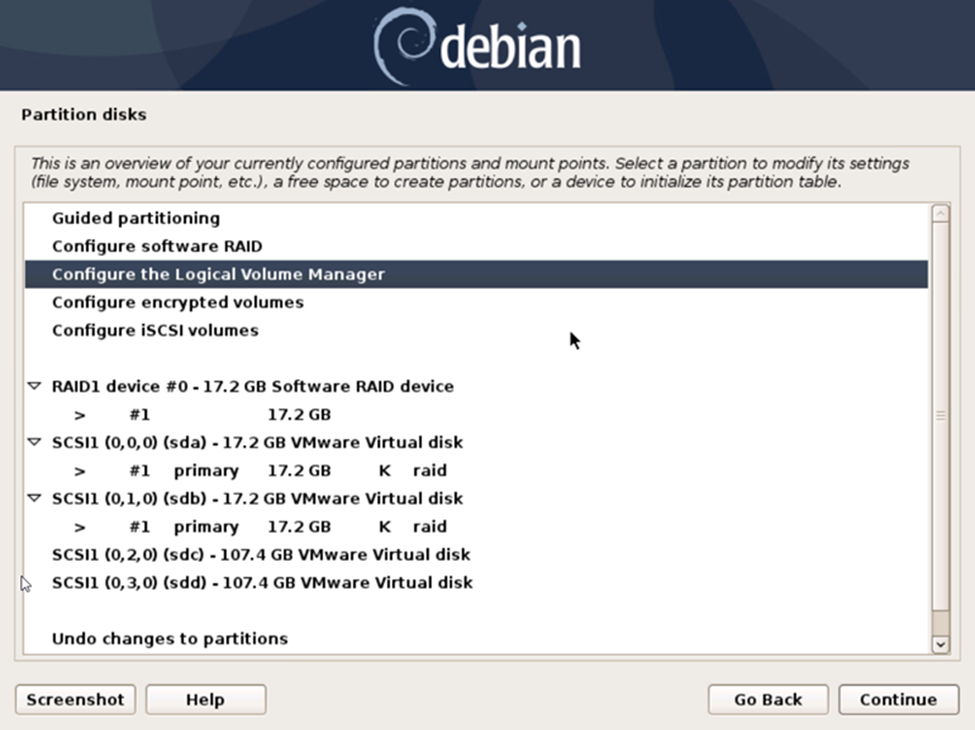
15. From the "Partition disks" screen, select "Configure the Logical Volume Manager" from the "overview of your currently configured partitions and mount points" listbox, then click the "Continue" button.
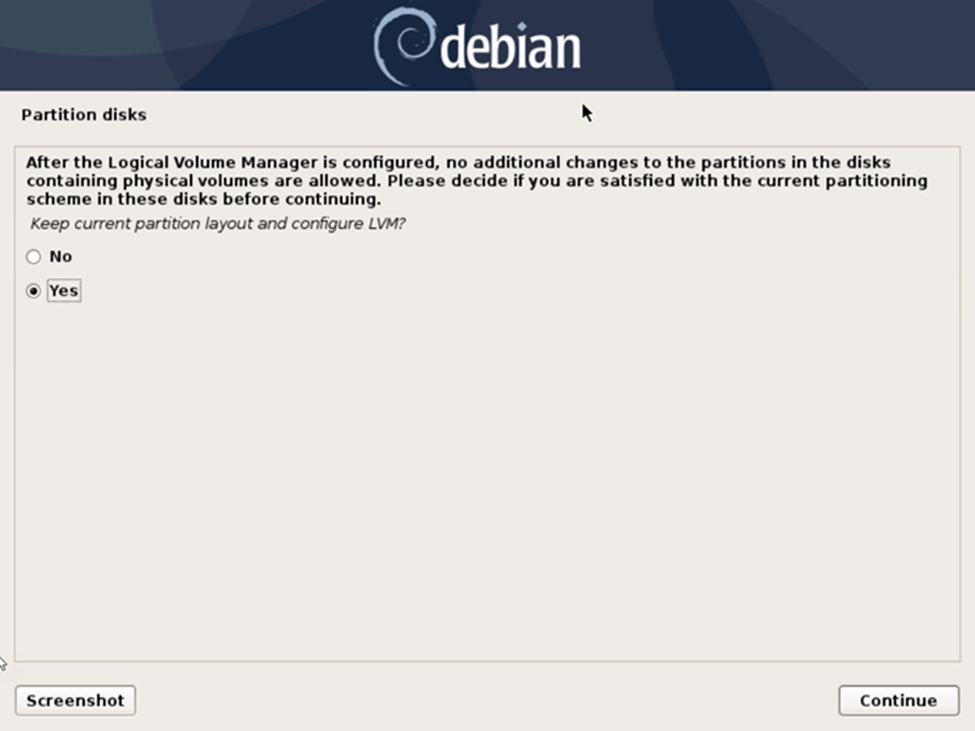
16. From the "Partition disks" screen, select the "Yes" radio button to keep the current partition layout and configure LVM, then click the "Continue" button.
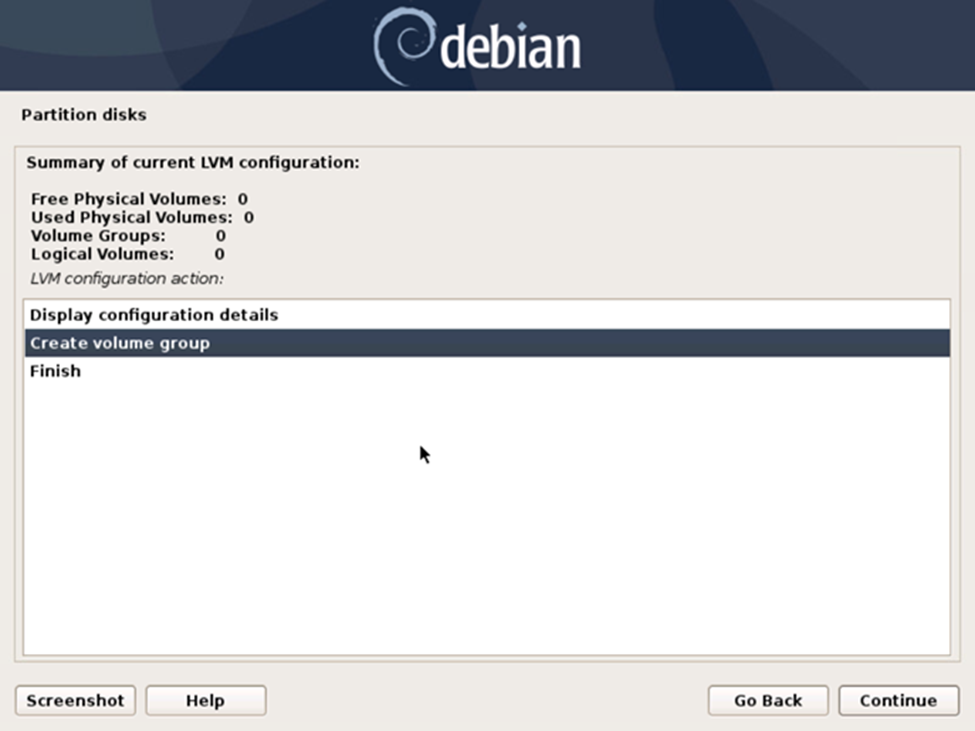
17. From the "Partition disks" screen, select "Create volume group" from the "LVM configuration action:" listbox, then click the "Continue" button.
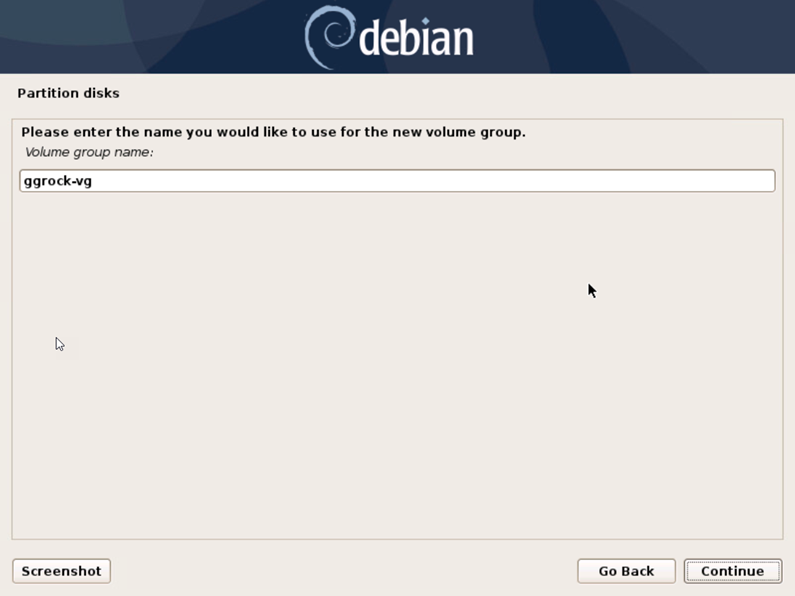
18. From the "Partition disks" screen, enter "ggrock-vg" in the "Volume group name:" text box.
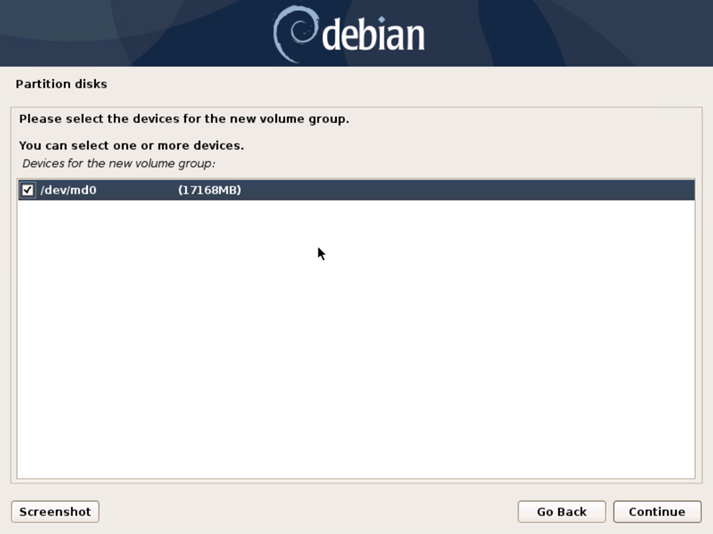
19. From the "Partition disks" screen, place a check next to the multiple device Software RAID group created earlier, then click the "Continue" button.
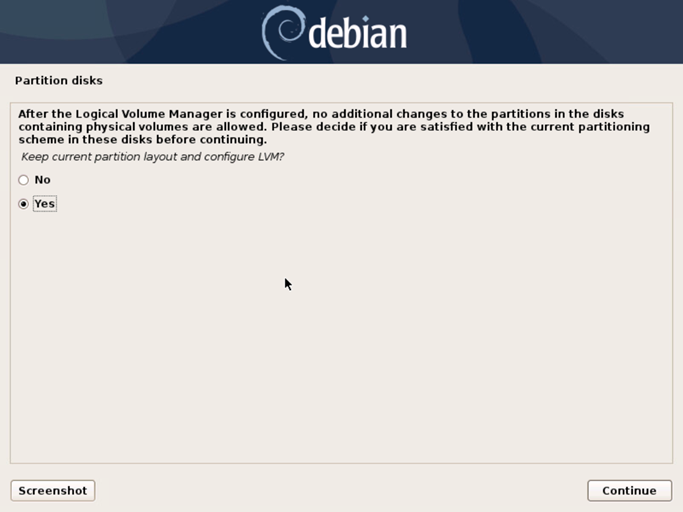
20. From the "Partition disks" screen, select the "Yes" radio button to keep the current partition layout and configure LVM, then click the "Continue" button.
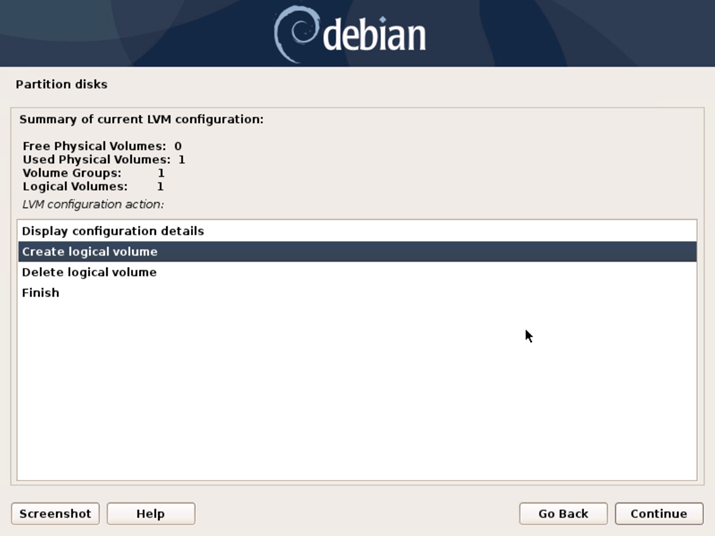
21. From the "Partition disks" screen, select "Create logical volume" from the "LVM configuration action:" listbox, then click the "Continue" button.

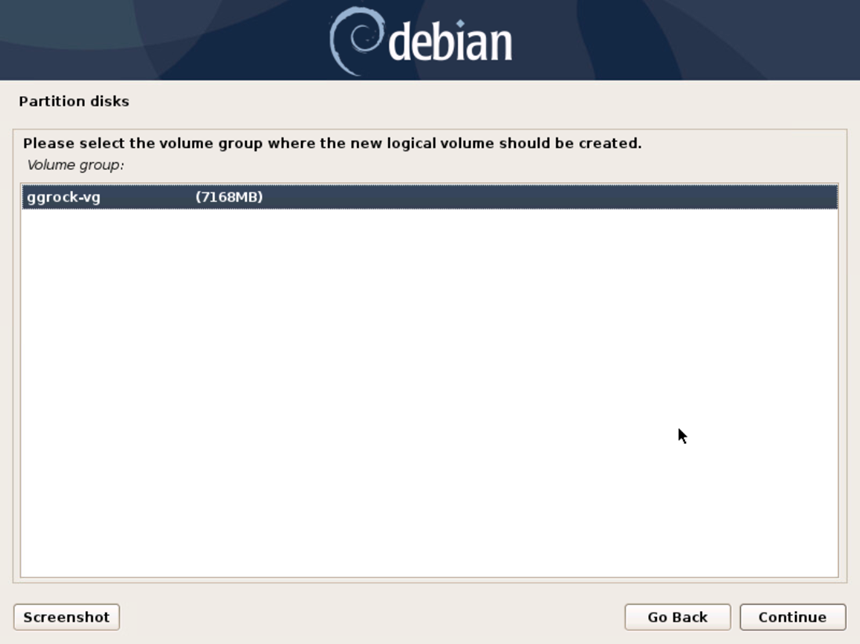
22. From the "Partition disks" screen, select the previously-created volume group from the "Volume group:" listbox, then click the "Continue" button.

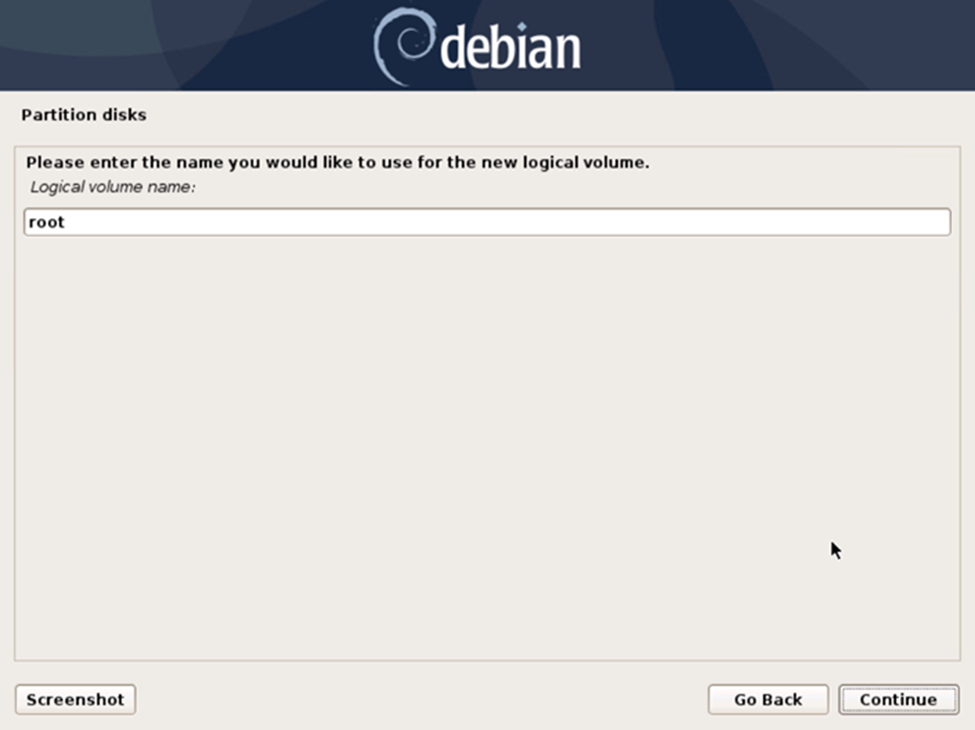
23. From the "Partition disks" screen, enter the name "root" for the first logical volume in the "Logical volume name:" text box, then click the "Continue" button.
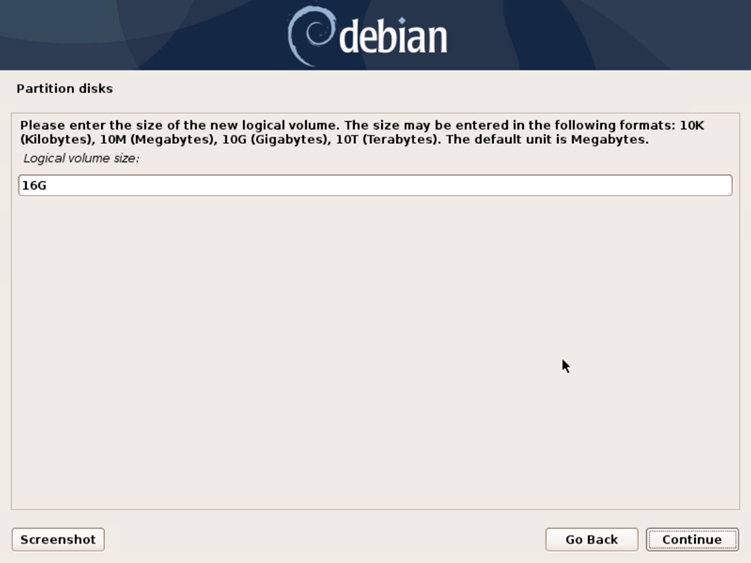
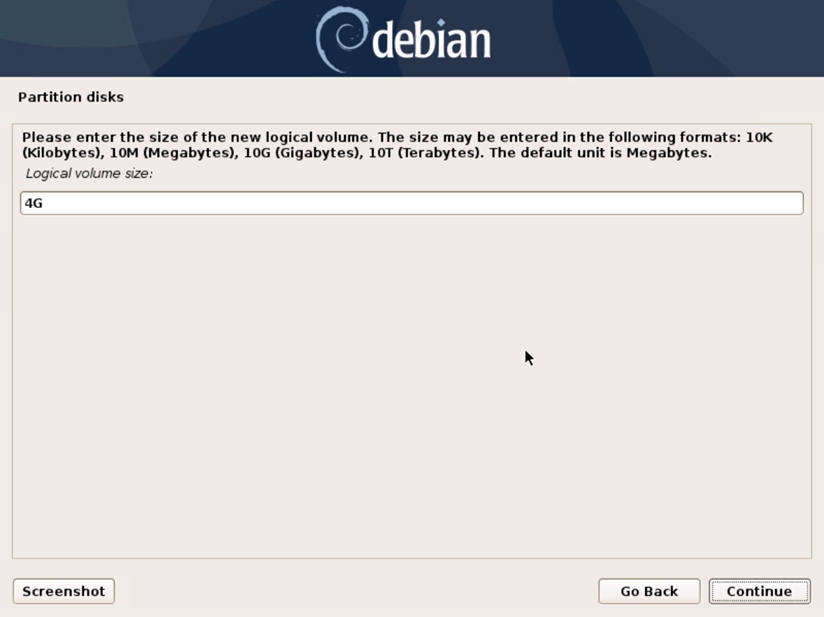
24. From the "Partition disks" screen, enter an amount in Gigabytes for the size of the root volume in the "Logical volume size:" text box, then click the "Continue" button.
We recommend this amount to be a percentage of the capacity of one of your OS drives. e.g. If you are using 250G drives this value can be set at 200G.
If this amount was set lower than you'd like you can follow the steps HERE to alter this.
25. From the "Partition disks" screen, select "Create logical volume" from the "LVM configuration action:" listbox, then click the "Continue" button.
26. From the "Partition disks" screen, select the previously-created volume group from the "Volume group:" listbox, then click the "Continue" button.
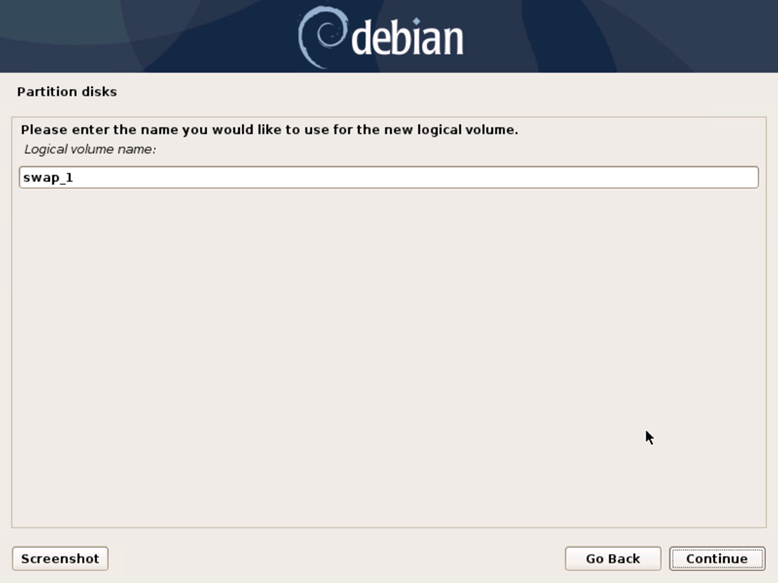
27. From the "Partition disks" screen, enter the name "swap_1" for the second logical volume in the "Logical volume name:" text box, then click the "Continue" button.
28. From the "Partition disks" screen, enter "4G" (4 Gigabytes) for the size of the swap_1 volume in the "Logical volume size:" text box, then click the "Continue" button.
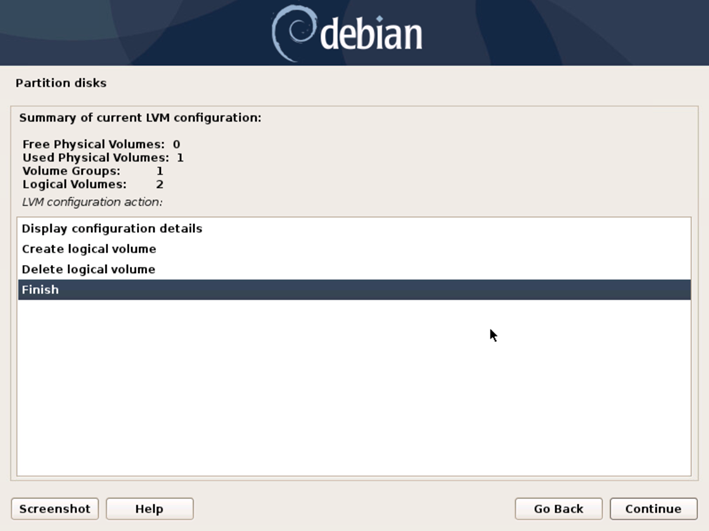
29. From the "Partition disks" screen, select the "Finish" item from the "LVM configuration action:" listbox, then click the "Continue" button.
Configure Partition Usage
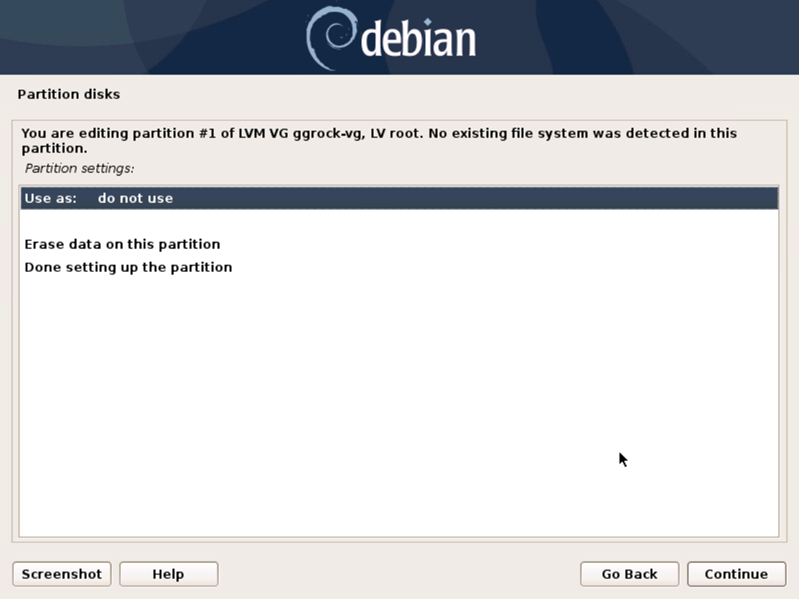
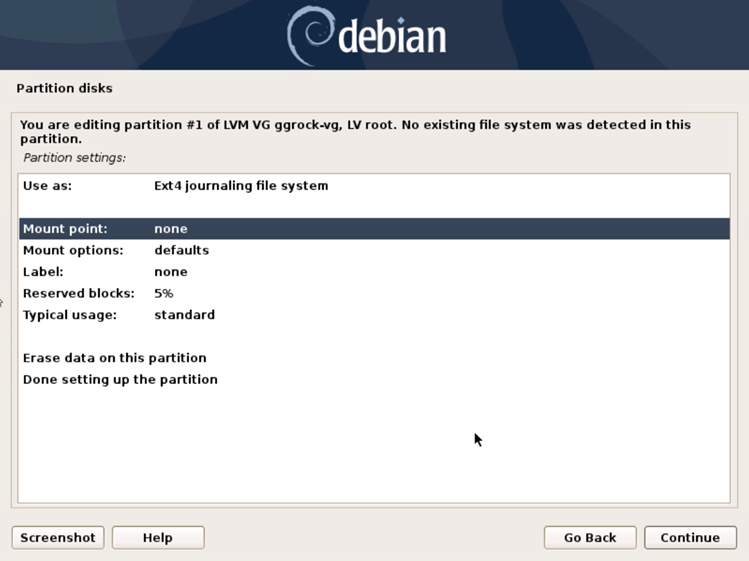
30. From the "Partition disks" screen, select the "#1" item below the "LVM VG ggrock-vg, LV root" (the root logical volume created earlier) item from the "overview of your currently configured partitions" listbox, then click the "Continue" button.

31. From the "Partition disks" screen, select the "Use as: do not use" item from the "Partition settings:" listbox, then click the "Continue" button.
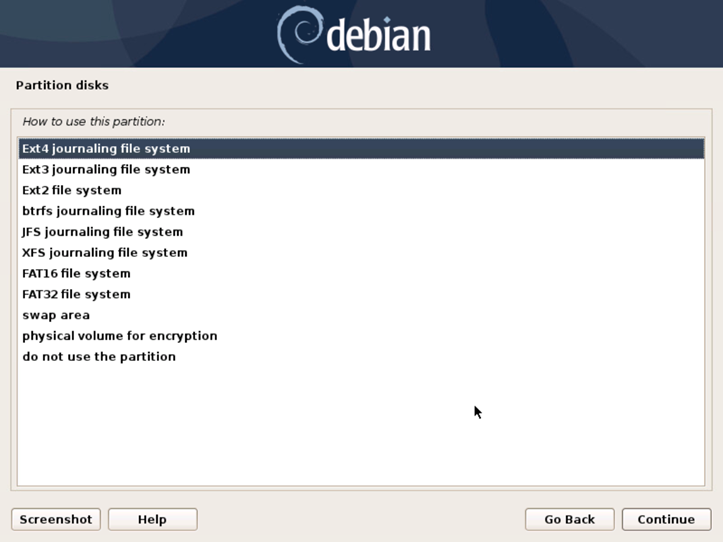
32. From the "Partition disks" screen, select the "Ext4 journaling file system" item from the "How to use this partition:" listbox, then click the "Continue" button.
33. From the "Partition disks" screen, select the "Mount point: none" item from the "Partition settings:" listbox, then click the "Continue" button.
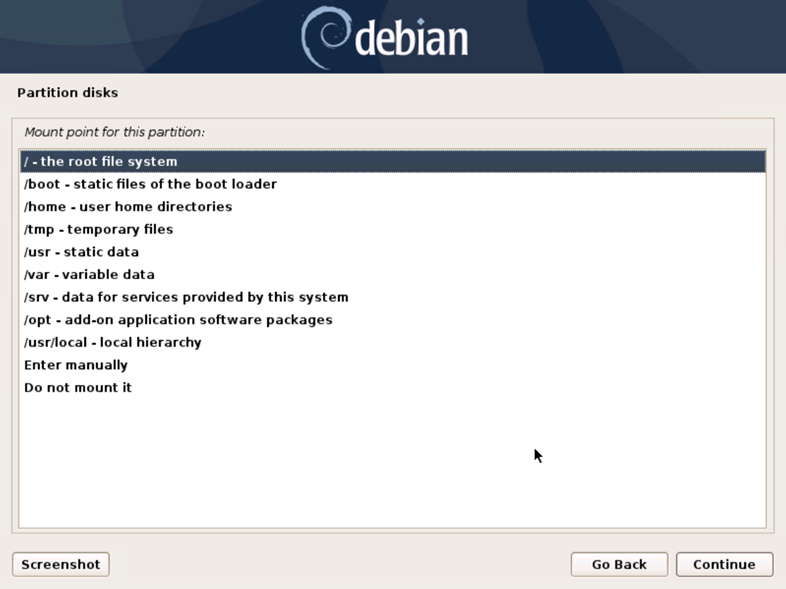
34. From the "Partition disks" screen, select the "/ - the root file system" item from the "Mount point for this partition:" listbox, then click the "Continue" button.
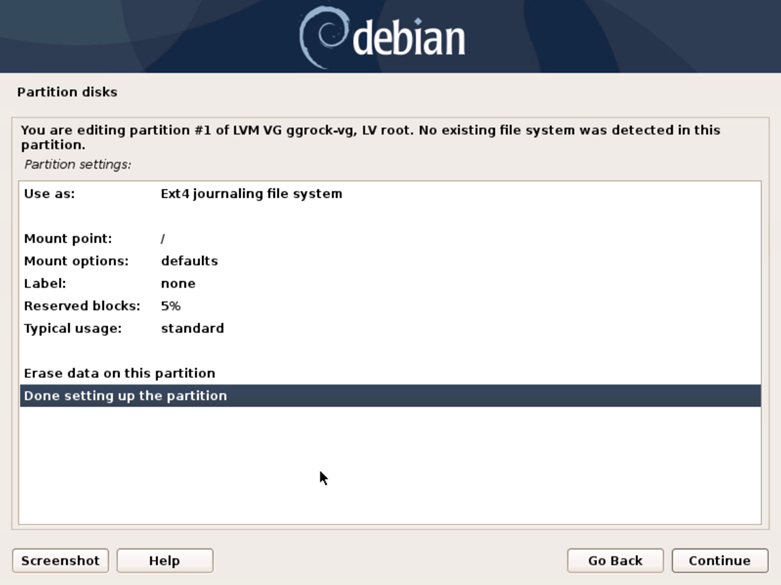
35. From the "Partition disks" screen, select the "Done setting up the partition" item from the "Partition settings:" listbox, then click the "Continue" button.
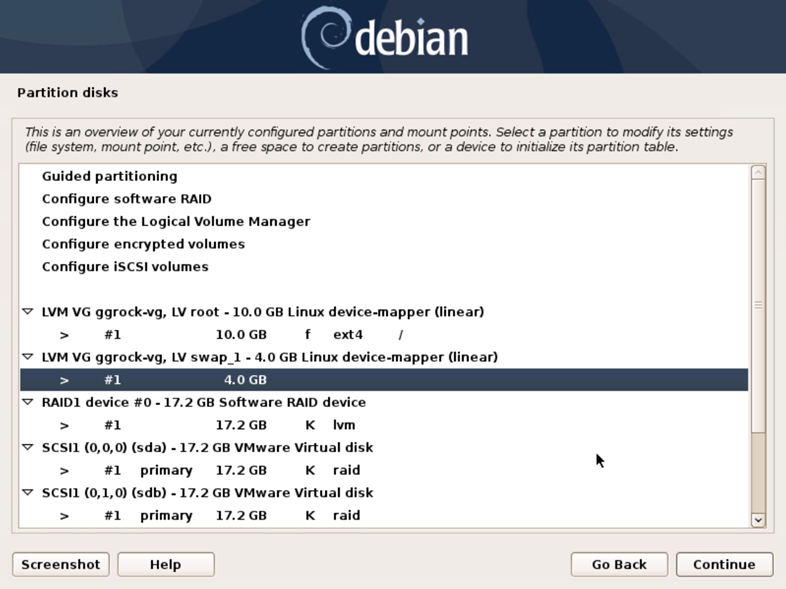
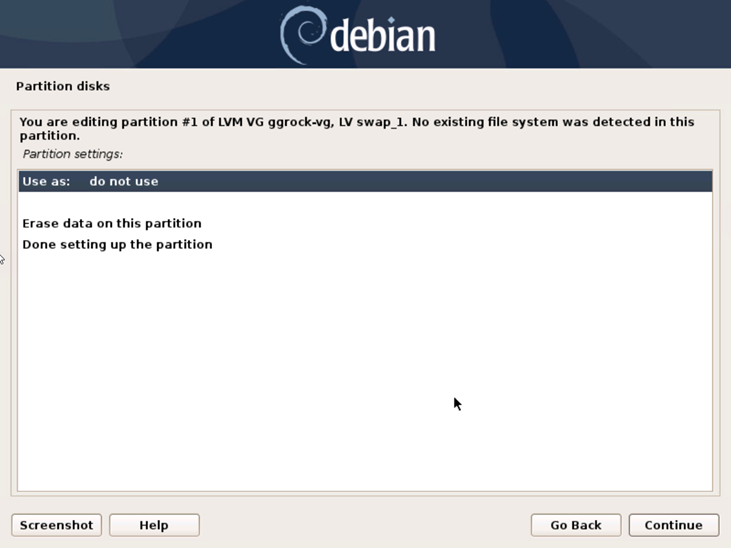
36. From the "Partition disks" screen, select the "#1" item below the "LVM VG ggrock-vg, LV swap_1" item (the swap_1 logical volume created earlier) from the "overview of your currently configured partitions" listbox, then click the "Continue" button.
37. From the "Partition disks" screen, select the "Use as: do not use" item from the "Partition settings:" listbox, then click the "Continue" button.
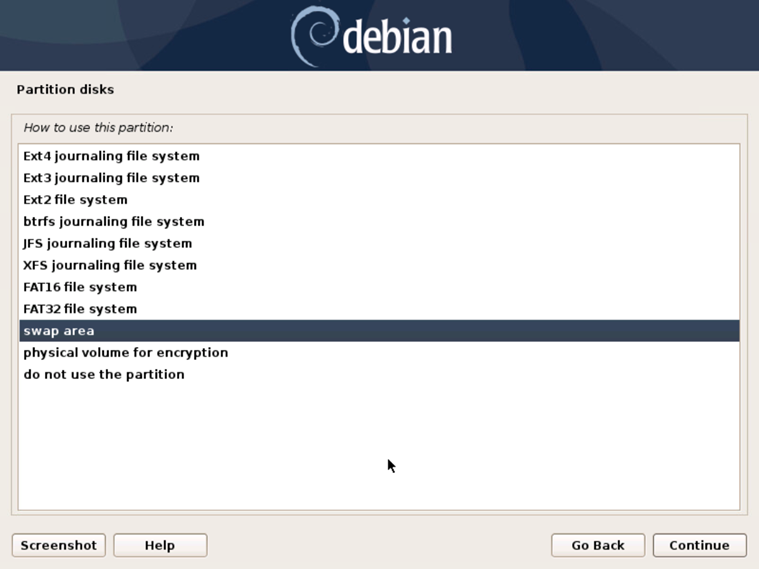
38. From the "Partition disks" screen, select the "swap area" item from the "How to use this partition:" listbox, then click the "Continue" button.
39. From the "Partition disks" screen, select the "Done setting up the partition" item from the "Partition settings:" listbox, then click the "Continue" button.

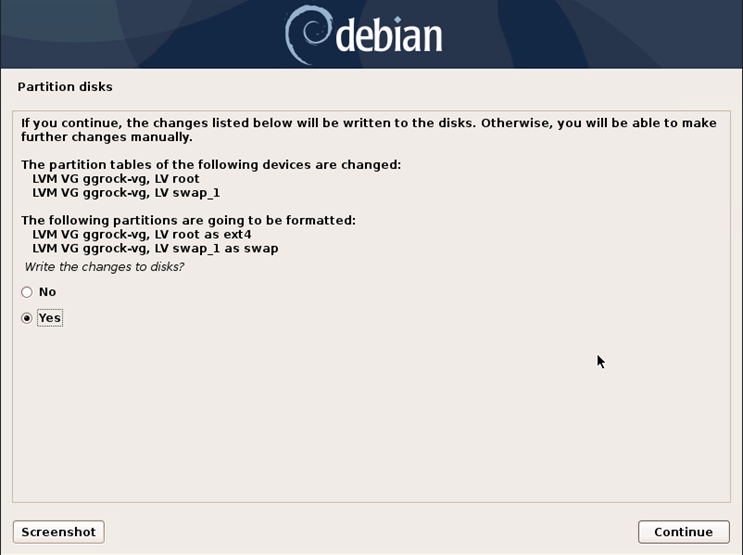
40. From the "Partition disks" screen, select the "Finish partitioning and write changes to disk" item from the "overview of your currently configured partitions and mount points" listbox, then click the "Continue" button.

41. From the "Partition disks" screen, select the "Yes" radio button from the "Write the changes to disks?" prompt, then click the "Continue" button.
Install the GRUB Boot Loader
NOTE:
The Debian OS installer by default only installs the GRUB boot loader to the main hard disk in the software-based RAID array. It is best to install this boot loader to all disks in the RAID1 array in the event that (1) a drive failure occurs and you need to boot from the secondary drive or (2) due to swapping hard drive connections physically in the chassis, the other drive becomes the primary drive.
Please refer to "Appendix III: Install GRUB Boot Loader" for necessary steps to install the GRUB boot loader.