This article helps guide the user through the second step of the installation - installing ggRock application package.
In order to install ggRock you should have a server with Debian installed according to our Install Debian OS article. If the following steps don't make sense to you please refer to the previous section.
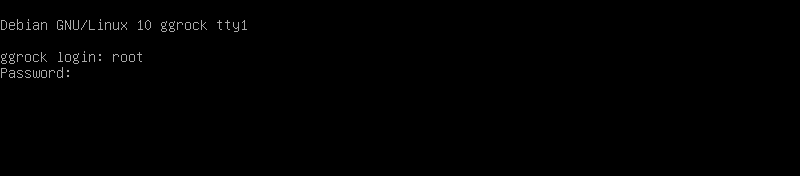
Step 1. Login as root
Your login is: root
Your password is: whatever you set in Step 7. Set your root password.
It is okay to not see the password characters as you enter them. Enter the password and press Enter.
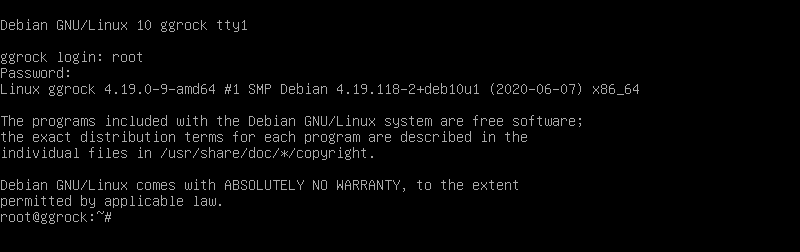
Step 2. Confirm login
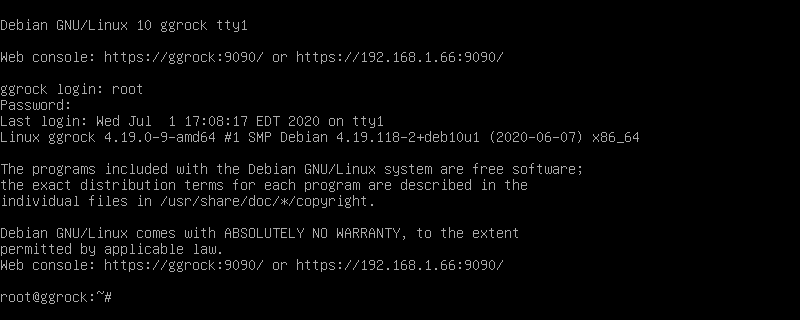
After successful login the last line you should see will read root@ggrock:~#, ggock here is the hostname of your server. If you can't login with the correct password - please check that the CAPS LOCK is disabled
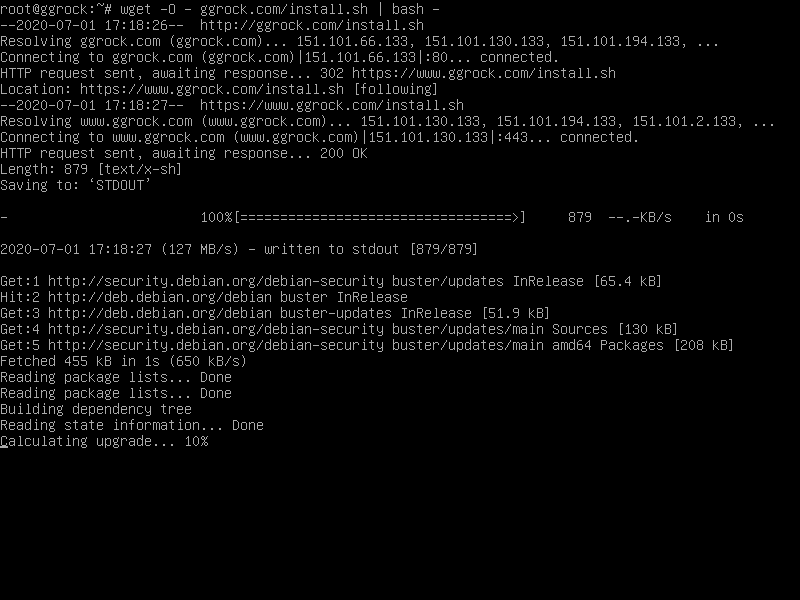
Step 3. Run install command.
Input the following line in the console:
wget -O - ggrock.com/install.sh | bash -
And press Enter. It will take ggRock a couple of minutes to download all the packages after this step.
Important!
Pay attention that pasting the command above might result in characters being misplaced. Please use ssh or just type it in manually. The "O" in the command is a capital o (O), not a digit zero (0). Respect the whitespaces.
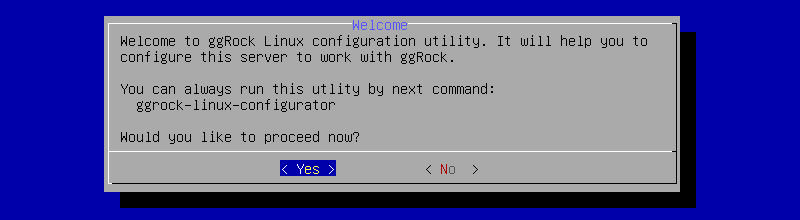
Step 4. Initiate ggRock configuration utility
Press "Yes" button to proceed.
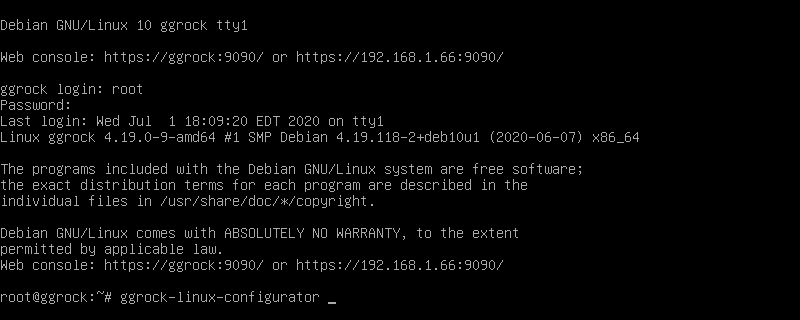
You can always run this utility by initiating ggrock-linux-configurator command
Step 5. Allow ggRock to install Debian dependencies
Press "Yes" to allow ggRock to install packages from the Debian "contrib" repository that it requires

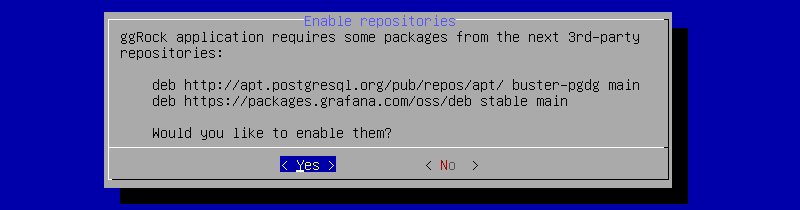
Step 6. Allow ggRock to enable own dependencies
Press "Yes" to allow ggRock to enable database-related and monitoring-related packages
Step 7. Pick server IP address
Choose one of IP addresses, assigned to the server, that will be used for network booting by client PCs. This will be your Server IP Address

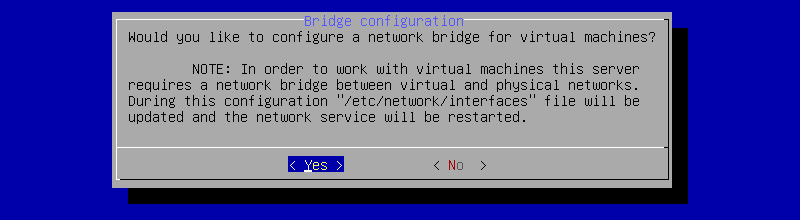
Step 8. Confirm Network Bridge
In order to allow ggRock run it's Virtual Machines kindly allow configuring a network bridge.
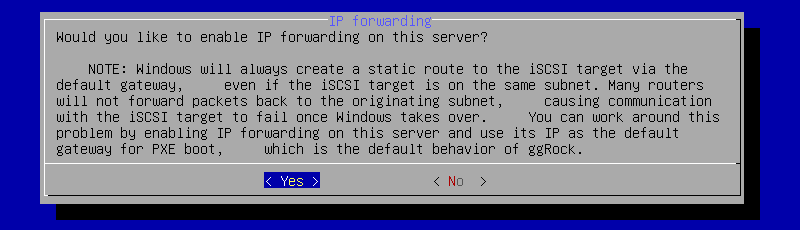
Step 9. Enable IP forwarding
Enable IP forwarding on the server, as it is required for ggRock to function with Windows PXE boot
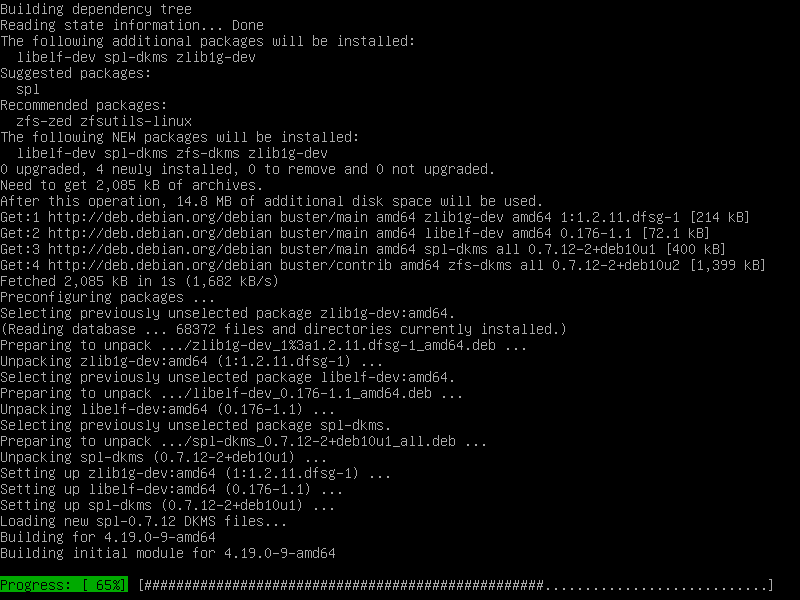
Step 10. Let ggRock install all packages
It will take ggRock 10-30 minutes to install itself and all dependencies
Step 11. Check the installation
Depending on your hardware, the installation might require up to 30 minutes.
Once complete, server should display the following message:

ggRock has been installed. Open it in your web browser http://SERVER_IP/
Server IP is the local web address that you can use to access ggRock from now on. Congratulations!
Note:
At this point (and from this point forward) you may elect to administer your ggRock server remotely by following the optional instructions in the Access Debian Control Panel Article.
Step 12. Reboot the server
Finally, you have to Reboot the server once again.
Input the following line in the console:
reboot
And press Enter.

NOTE:
The following steps outline the process of configuring a static IP address in Debian. This is the preferred moment to do so.
Step 13. Login as root
Your login is: root
Your password is: whatever you set in Step 7. Set your root password.
It is okay to not see the password characters as you enter them.
Enter the password and press Enter

Step 14. Confirm login
After successful login the last line you should see will read root@ggrock:~#, ggock here is the hostname of your server. If you can't login with the correct password - please check that CAPS LOCK is disabled
Step 15. Backup network config
Make a backup of the network configuration file.
Input the following line in the console:
cp /etc/network/interfaces /etc/network/interfaces.bak
And press Enter

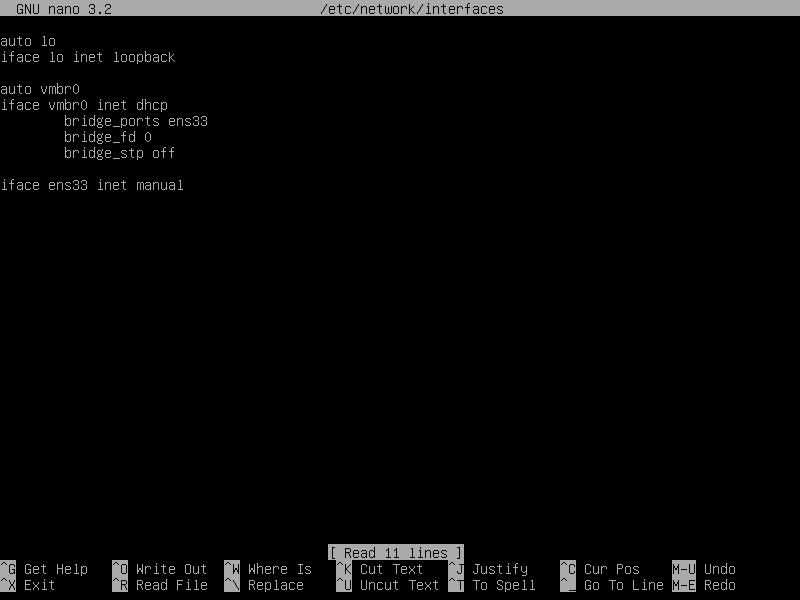
Step 16. Open network configuration
Input the following line in the console:
nano /etc/network/interfaces
And press Enter
Content of this file for you might be different
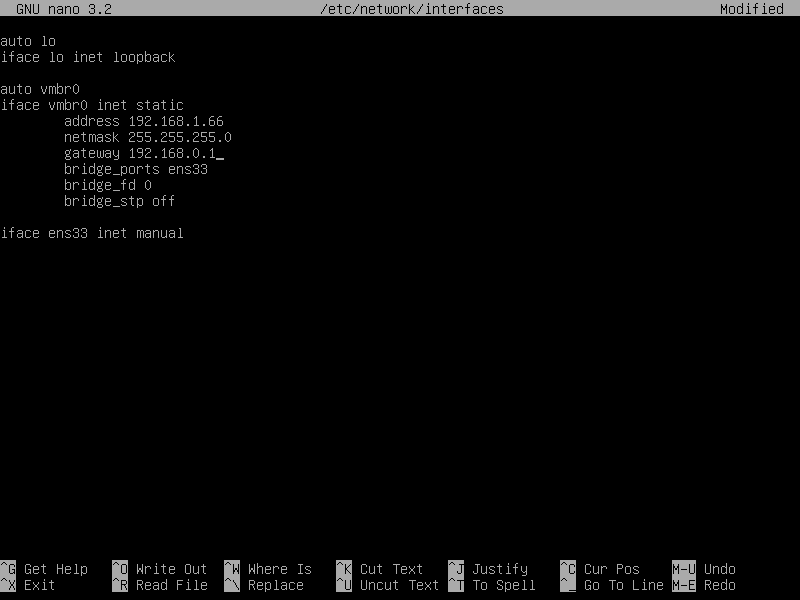
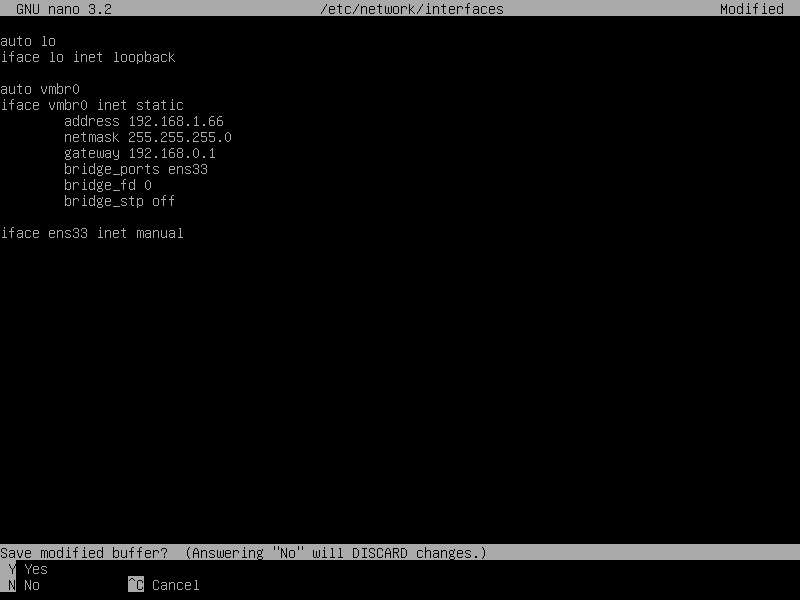
Step 17. Set the Static IP
You need to change several aspects of the configuration file.
Replace
auto vmbr0
iface vmbr0 inet dhcp
with:
auto vmbr0
iface vmbr0 inet static
address 192.168.1.66
netmask 255.255.255.0
gateway 192.168.0.1
Importantly, the values here are:
-
address value is your Server IP (192.168.1.66 in this installation)
-
netmask value by default is 255.255.255.0, only change if you are certain that your network uses a different value
-
gateway value is the IP address of your router. Usually 192.168.0.1 or 192.168.1.1, but can be different, consult your network administrator
-
The whitespaces before the address, netmask and gateway are achieved by pressing Tab
Step 18. Save interface settings
In order to save the settings first press Ctrl+X, then Y, then press Enter
Step 19. Backup DNS configuration
Make a backup of the DNS configuration file.
Input the following line in the console:
cp /etc/resolv.conf /etc/resolv.conf.bak
And press Enter

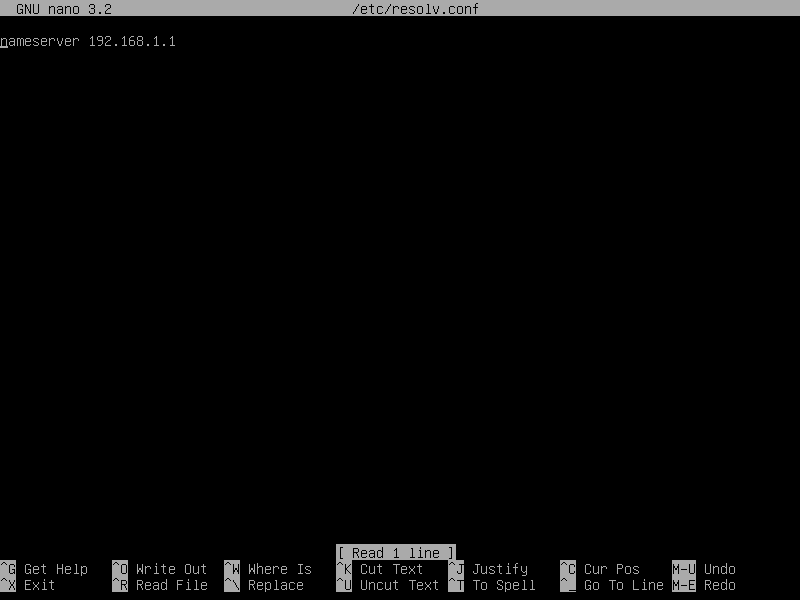
Step 20. Open DNS settings
Input the following line in the console:
nano /etc/resolv.conf
And press Enter
Content of this file for you might be different
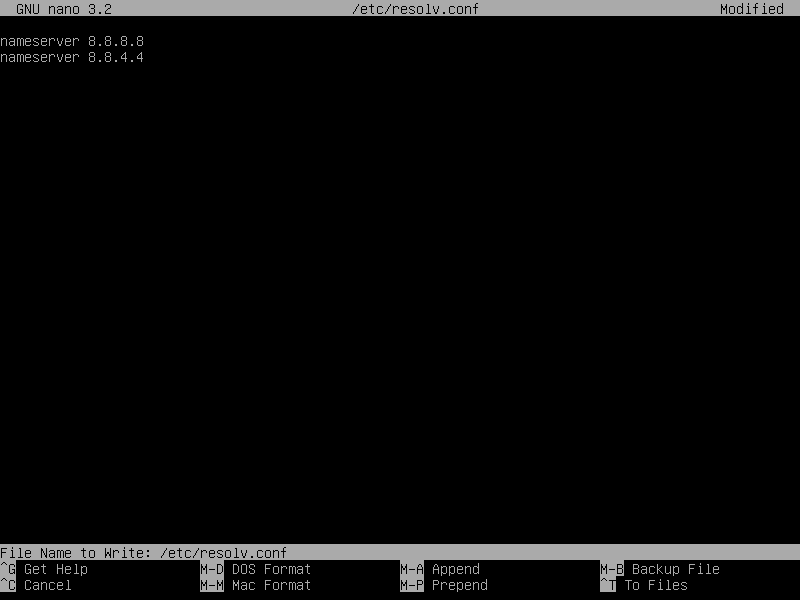
Step 21. Set DNS values
Change the text in the file to:
nameserver 8.8.8.8
nameserver 8.8.4.4
To save press Ctrl-X, then press Y and finally Enter
Step 22. Reboot the server
Input the following line in the console:
reboot
And press Enter

Optional Step 23. Rerun ggRock Configurator
If you have decided to set your Static IP to something different from your initial Server IP, then please:
-
Login as root
-
Input the following line in the console:
ggrock-linux-configurator
And then follow Step 4. Initiate ggRock configuration utility - Step 11. Check the installation from Install ggRock article.
This is required in order for ggRock to re-adjust for your new IP address